The most demanding method of amateur astrophotography is through-the-scope, or prime focus, photography. This method involves attaching a 35mm camera to the rear cell (i.e., prime focus) of a telescope, thereby turning it into a monster telephoto lens. For example, if you attach your camera to an 8-inch Schmidt-Cassegrain telescope with a focal ratio of 10, it becomes a 2032mm telephoto lens (80-inch focal length times 25.4 millimeters to the inch). If a “normal” 50mm camera lens is regarded as having a magnification of 1 (which means it has no magnification or reduction in the image it produces) and magnification increases proportionally to focal length, then the 8-inch SCT to which you have attached your camera has a magnification of about 41 (i.e., 2032/50).
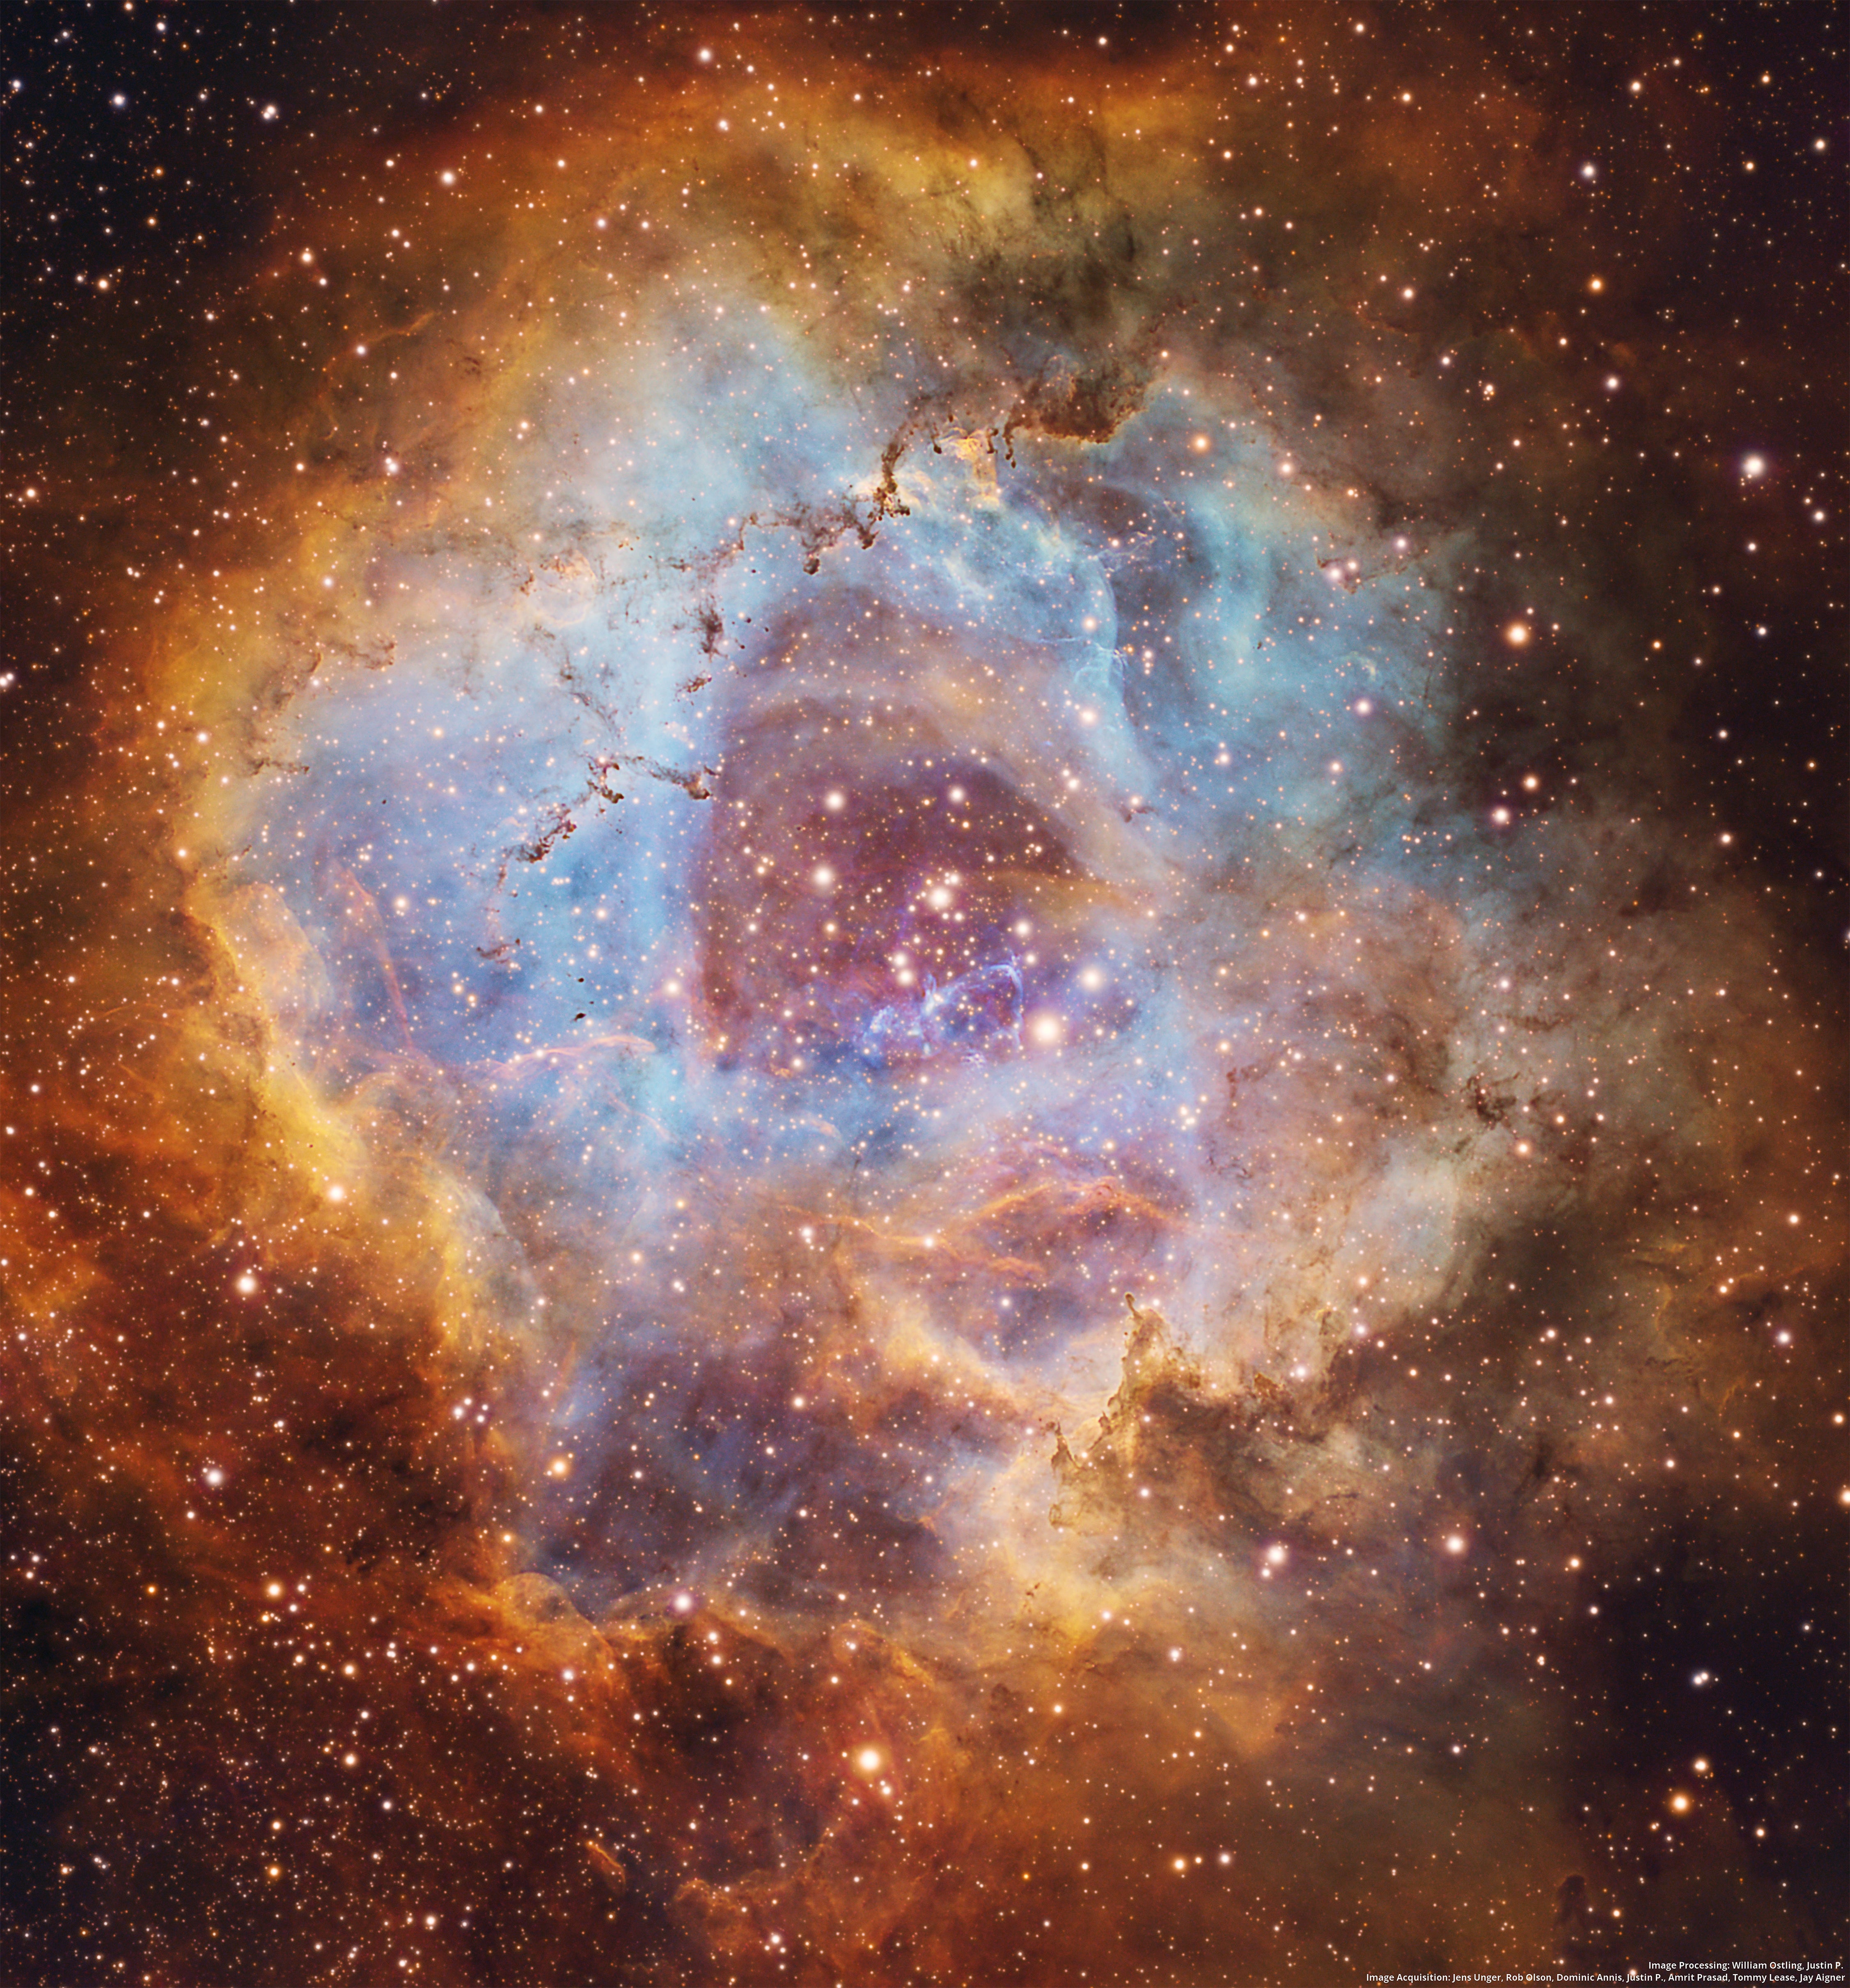
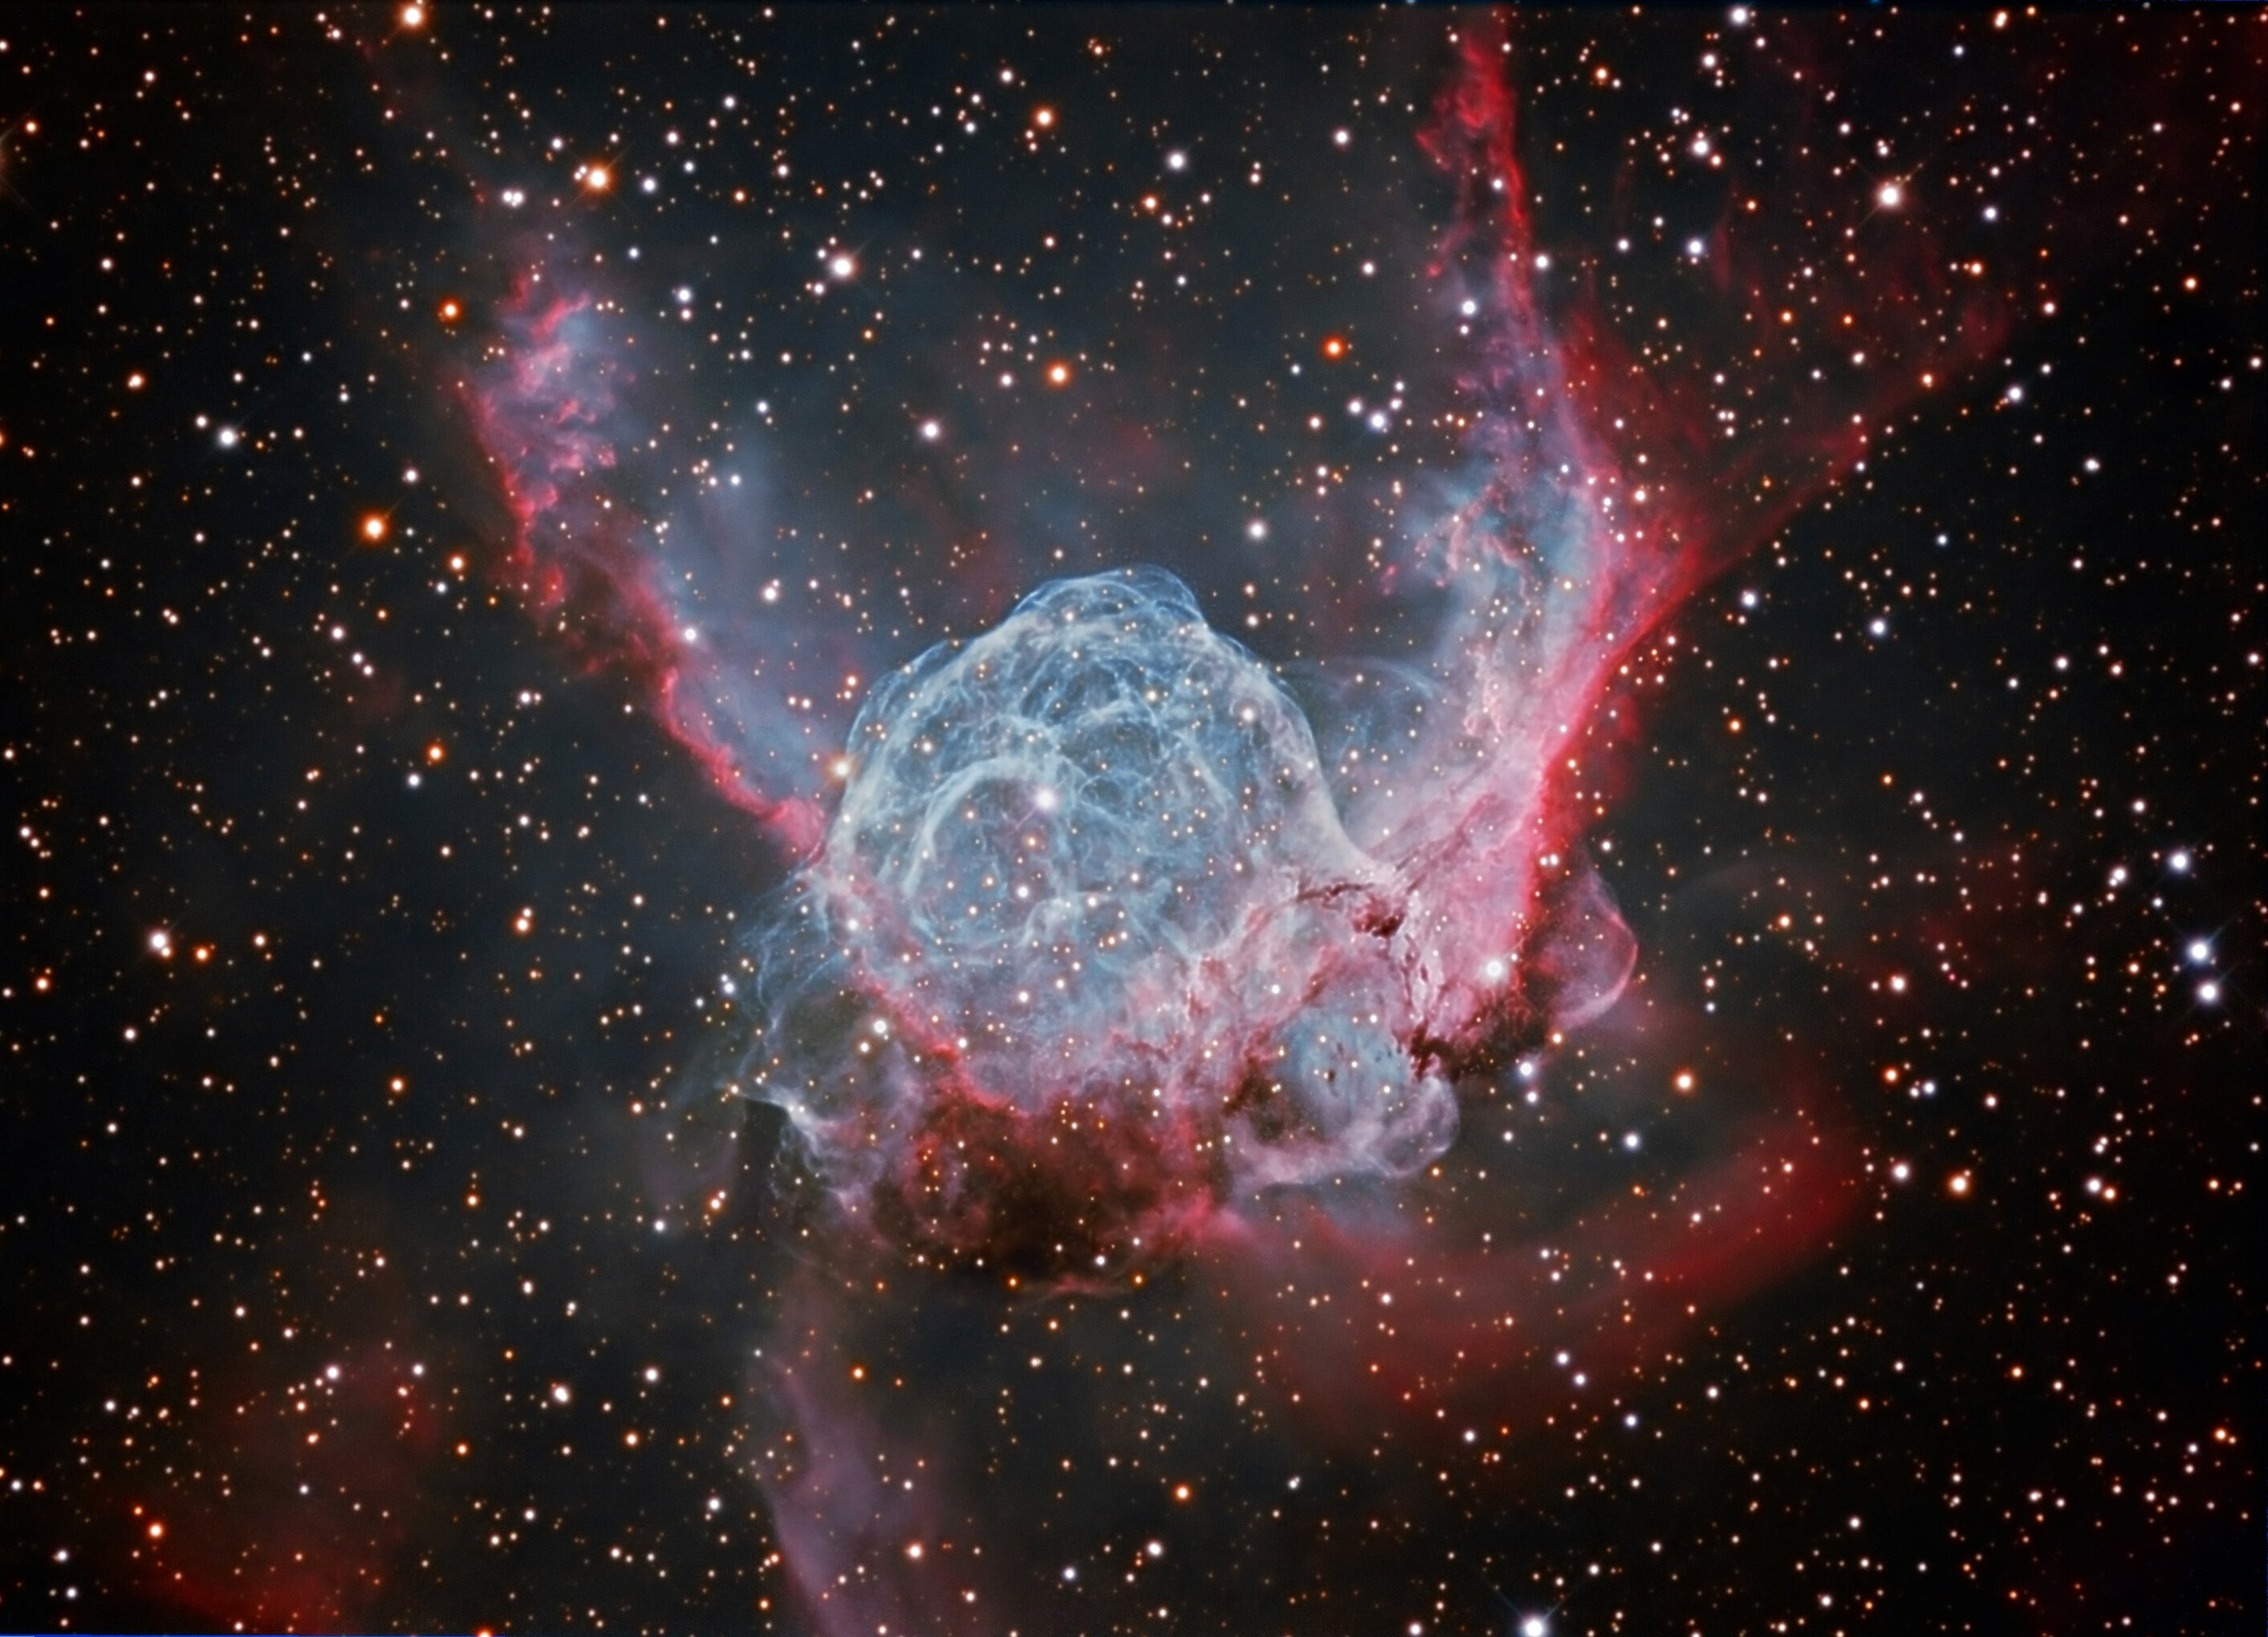
Taking deep-sky pictures at 41 power is sufficient to make “close-ups” of many of the galaxies, star clusters, and nebulae that are too small in angular diameter to show up well in piggyback photos, even those taken with long-focus lenses. However, every problem or mistake that occurs over the course of a long exposure is also blown up by 41 times: Every gust of wind that shakes the telescope, every minor focusing error, and every tracking and guiding error, human or mechanical, will be obvious on your photo. To these potential problems you can add the simple challenges of finding the object you want to photograph and locating a suitable guide star. For no matter how fine your polar alignment and telescope drive, exposures long enough to record any deep-sky object on film must receive guiding corrections during the exposure. Whether these corrections are made by you or by an autoguider is a subject we’ll get into later.

Let’s start at the beginning. What equipment will we need for prime-focus astrophotography? The list will include all the items we used for piggybacking (see “A Simple Guide to Piggybacking”) plus a couple other essential gadgets. The following seven or eight items will help you take that top-prize photo.
First, use an equatorially mounted telescope on a tripod or pier. My photography has been done with fork-mounted Schmidt-Cassegrain telescopes, but the techniques should be similar with German equatorials, etc. Unfortunately, because of the field rotation problem discussed in the piggybacking article, altazimuth-mounted scopes are inappropriate for long-exposure prime-focus photography unless equipped with a field de-rotator. The scope should be painstakingly polar-aligned.
Second, get an adapter to attach the camera body to the telescope. Telescope makers such as Meade and Celestron offer T-rings and T-adapters to fit their telescopes to various camera brands, and Orion Telescopes and Binoculars has a wide selection.
Third, an illuminated-reticle guiding eyepiece will be very useful. Again, many telescope makers offer these. Typically they are 12mm focal-length eyepieces with double crosshairs and variable-brightness LED illumination powered either by a self-contained battery pack or a cord that plugs into a power source in the telescope base. I strongly recommend the battery-pack model because there is less to trip over in the dark.
Fourth, obtain a 35mm camera body. Preferably this should be an “obsolete,” mechanically operated model, whose shutter can be held open with a locking cable release. Ideally, the camera should be equipped with a bright focusing screen that will enable you to see dim target objects in the camera finder and focus accurately on a star. (Orion offers these screens, which require a Pentax, Olympus, or Nikon camera model with screen-interchangeability). An accessory right-angle finder will reduce the contortions necessary to set up a long-exposure deep-sky photo and probably enable you to shoot some inconveniently located objects that you would be unable to otherwise.
A fifth element for good through-the-telescope astrophotography is anti-dew protection, especially for front-lens telescopes such as SCTs, Maksutovs, or refractors. Dew protection will have to be more or less automatic if you are planning to guide your photos manually. The best dew protection is to shoot your photos from a dry-climate location. Failing that, a friend manning a hair dryer is next best. Sometimes a simple lens hood will suffice, unless the object being photographed is near the zenith. Orion and Kendrick Astro Instruments offer lines of electrically heated dewcaps and straps that cure dewing problems on all but the wettest nights. Kendrick also offers batteries that will power the anti-dew heaters (and your telescope drive) in the field.
An off-axis guider is sixth on our list. This guider, positioned between the rear cell of the telescope and the camera, has a small prism that protrudes slightly into the edge of the camera’s field of view. Its purpose is to pluck the image of a star from the edge of the field and divert it into a tube containing the guiding eyepiece. Off-axis guiders have the advantage of stability – guiding corrections can be made from the field of view that is being photographed. The main disadvantage of an off-axis guider is that appropriately positioned guide stars may be hard to find. What’s more, guide stars are dimmed because only a small portion of the telescope’s incoming light path (i.e., that which falls on the guider’s prism) is used to image the guide star. Your ability to find an appropriate guide star may depend on what you’re photographing. If you are shooting a nebula or star cluster embedded in the Milky Way, guide stars will be plentiful. On the other hand, you may struggle to find a guide star if you are photographing galaxies, which are usually found in star-poor regions of the sky. Several suppliers offer off-axis guiders, including Meade, Celestron, Orion, and Lumicon.
Alternatively, you can use a separate guidescope. Guide telescopes, which are mounted on the telescope being used for photography, have the advantage of easy guide-star selection. Guidescope mountings can be moved left/right and up/down in relation to the main telescope, allowing you to guide the photograph using any nearby bright star, which can be located by using the guidescope’s finder. The primary disadvantage of a guidescope, aside from the additional weight that might unbalance the main telescope, is that over the course of a long exposure the guidescope may flex in relation to the main scope, causing tracking errors on the film. Small-aperture long-focus refracting telescopes as well as 311/42-inch to 5-inch SCTs can be turned into appropriate guidescopes. Guide Star offers a selection of adjustable mountings for various popular telescopes and guidescopes.
And lastly, consider a telecompressor, or focal-reducing lens. Many popular telescopes have such long focal ratios (f/10 or greater) that photographing dim deep-sky targets such as galaxies requires impractically long exposure times. The telecompressor threads into the off-axis guider body or into the camera-to-telescope adapter and effectively reduces the focal ratio of the optical system, typically by two stops, from f/10 to f/5. This reduction has several consequences, among them that exposure times can be reduced by 75 percent (or even more, depending on the reciprocity characteristics of the film you are using). The field you are photographing is, accordingly, reduced to 25 percent of its original area, a considerable sacrifice in image scale, but one that can be minimized if you can use a fine-grain film. Your photograph will now likely display vignetting — your galaxy will look as if it is being viewed through a porthole. This effect can be eliminated during image processing or enlarging by cropping the image. The usual suspects — Meade, Celestron, Orion, and Lumicon — supply telecompressors.
All the targets in the accompanying table are bright enough to be seen in the typical telescope’s finder if the sky is not too light polluted. However, it is advisable to learn the use of your telescope’s pointing tools (digital or manual setting circles or “go-to” capability) and the target’s celestial coordinates (right ascension and declination) to reliably find these and other dimmer objects. Facility in this sort of celestial navigation will be invaluable in photographing such objects as the Horsehead Nebula, which you are unlikely to be able to see at all in your finderscope or camera viewfinder.
An indispensable guide not only to finding deep-sky objects and their angular size and brightness but to every aspect of amateur astronomy is the annual Observer’s Handbook. The year 2000 edition of this must-have book is available from the Royal Astronomical Society of Canada, 136 Dupont Street, Toronto, Ontario, Canada M5R 1V2.
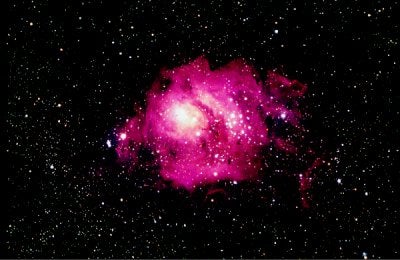
Assuming that your telescope is accurately polar-aligned, a reliable way of locating deep-sky objects is to offset from a nearby bright star. It’s sort of a numerical star-hop method. For example, if you want to locate M57, the Ring Nebula, you can point your telescope at Vega, which, according to the Observer’s Handbook, is located at 18h37m right ascension and 38°47′ declination. If your telescope has manual setting circles, set them to Vega’s coordinates. If your telescope has digital setting circles or “go-to” capability, “synch” on Vega. Again, according to the Observer’s Handbook, the Ring’s coordinates are 18h57m right ascension and 33°2′ declination. With manual setting circles, move your telescope until the circles read the Ring’s coordinates. If you can’t see it in the eyepiece or camera finder, a little sweeping should pick it up. If you are equipped with “go-to” capability, then “go-to” M57.
Once you have your guide star in the field of view, make sure that Vega is sharply focused in the camera finder. You will discover that focusing your camera using the deep-sky object you want to photograph is highly unreliable – after all, nebulae are by definition fuzzy. Always focus on a nearby bright star, traveling through and beyond sharpest focus several times to be certain. While your telscope-plus-camera-plus-guider-plus-reticle-eyepiece rig is pointed at Vega, take the opportunity to move the star around and just outside your camera’s field of view (using the scope’s slow-motion controls). Do this to learn at what position relative to your camera’s field of view Vega can be seen in the guiding eyepiece. I habitually rotate the guider body relative to the camera so that a star just off the left margin of the camera’s finder can be seen in the guiding eyepiece. With that position in mind, it will be much easier to locate a potential guide star using the camera’s finder. Then move the telescope until that star is just off the left edge of the camera’s field. With a little luck, you can find such a star with your target object still more or less centered in the camera’s viewfinder. Take this opportunity to focus Vega in the guiding eyepiece, but not by using the telescope’s focuser, for this will throw Vega out of focus in your telescope and camera. Focus the star image in your guiding eyepiece by sliding the eyepiece in and out of its tube.
Now move the telescope back to M57 and locate a guide star. If it is necessary to rotate the camera and guider to position the guide star so that it can be seen in the guiding eyepiece, it is best to return the telescope to Vega and refocus, for rotating the guider or camera may have defocused the image. One further note on focusing: make it a practice to refocus after every exposure. Focusing with these extremely long focal lengths is so sensitive that even the cooling-off of your telescope in the evening will shorten its focal length and throw your picture out of focus.
Once the camera is focused and returned to M57, turn the guiding eyepiece in its tube until the guide star will track along one of the illuminated crosshairs when the telescope is moved in right ascension (east/west). This position of the guiding eyepiece will vastly simplify making guiding corrections later on. Center the guide star in the crosshairs, start your timer, and begin the exposure by opening the shutter with a locking cable release. Using your telescope’s “guide” speed slow-motion controls or a separate drive corrector, keep the star at the intersection of the crosshairs during the exposure. If the star tends to drift out of its proper position to the east or west, the cause is most likely to be irregularities in your telescope’s drive gears. Most telescopes suffer from some degree of “periodic error” that recurs over the time that it takes the worm gear to make one revolution – a period of perhaps four minutes. Some of the newer amateur scopes have “periodic error correction” (PEC) in which the scope’s electronics actually “learn” the gears’ periodic error and automatically compensate by speeding or slowing the drive rate at the proper times. A PEC system, when properly programmed, can sharply reduce the number of guiding corrections needed.
If the guide star consistently drifts either north or south during the exposure and requires corrections in declination, the culprit is probably poor polar alignment.
Manual guiding is fun for about the first five minutes but can be a major drag over the course of a long exposure, especially if you haven’t properly anticipated which way the scope will move during the exposure and you find yourself in an excruciatingly cramped position. Some faint objects (or slow films) can require exposure times of an hour or more. The task of guiding exposures this long is a test of human endurance (or at least bladder capacity) and calls into question the notion that astronomy is something we do for the love of it.