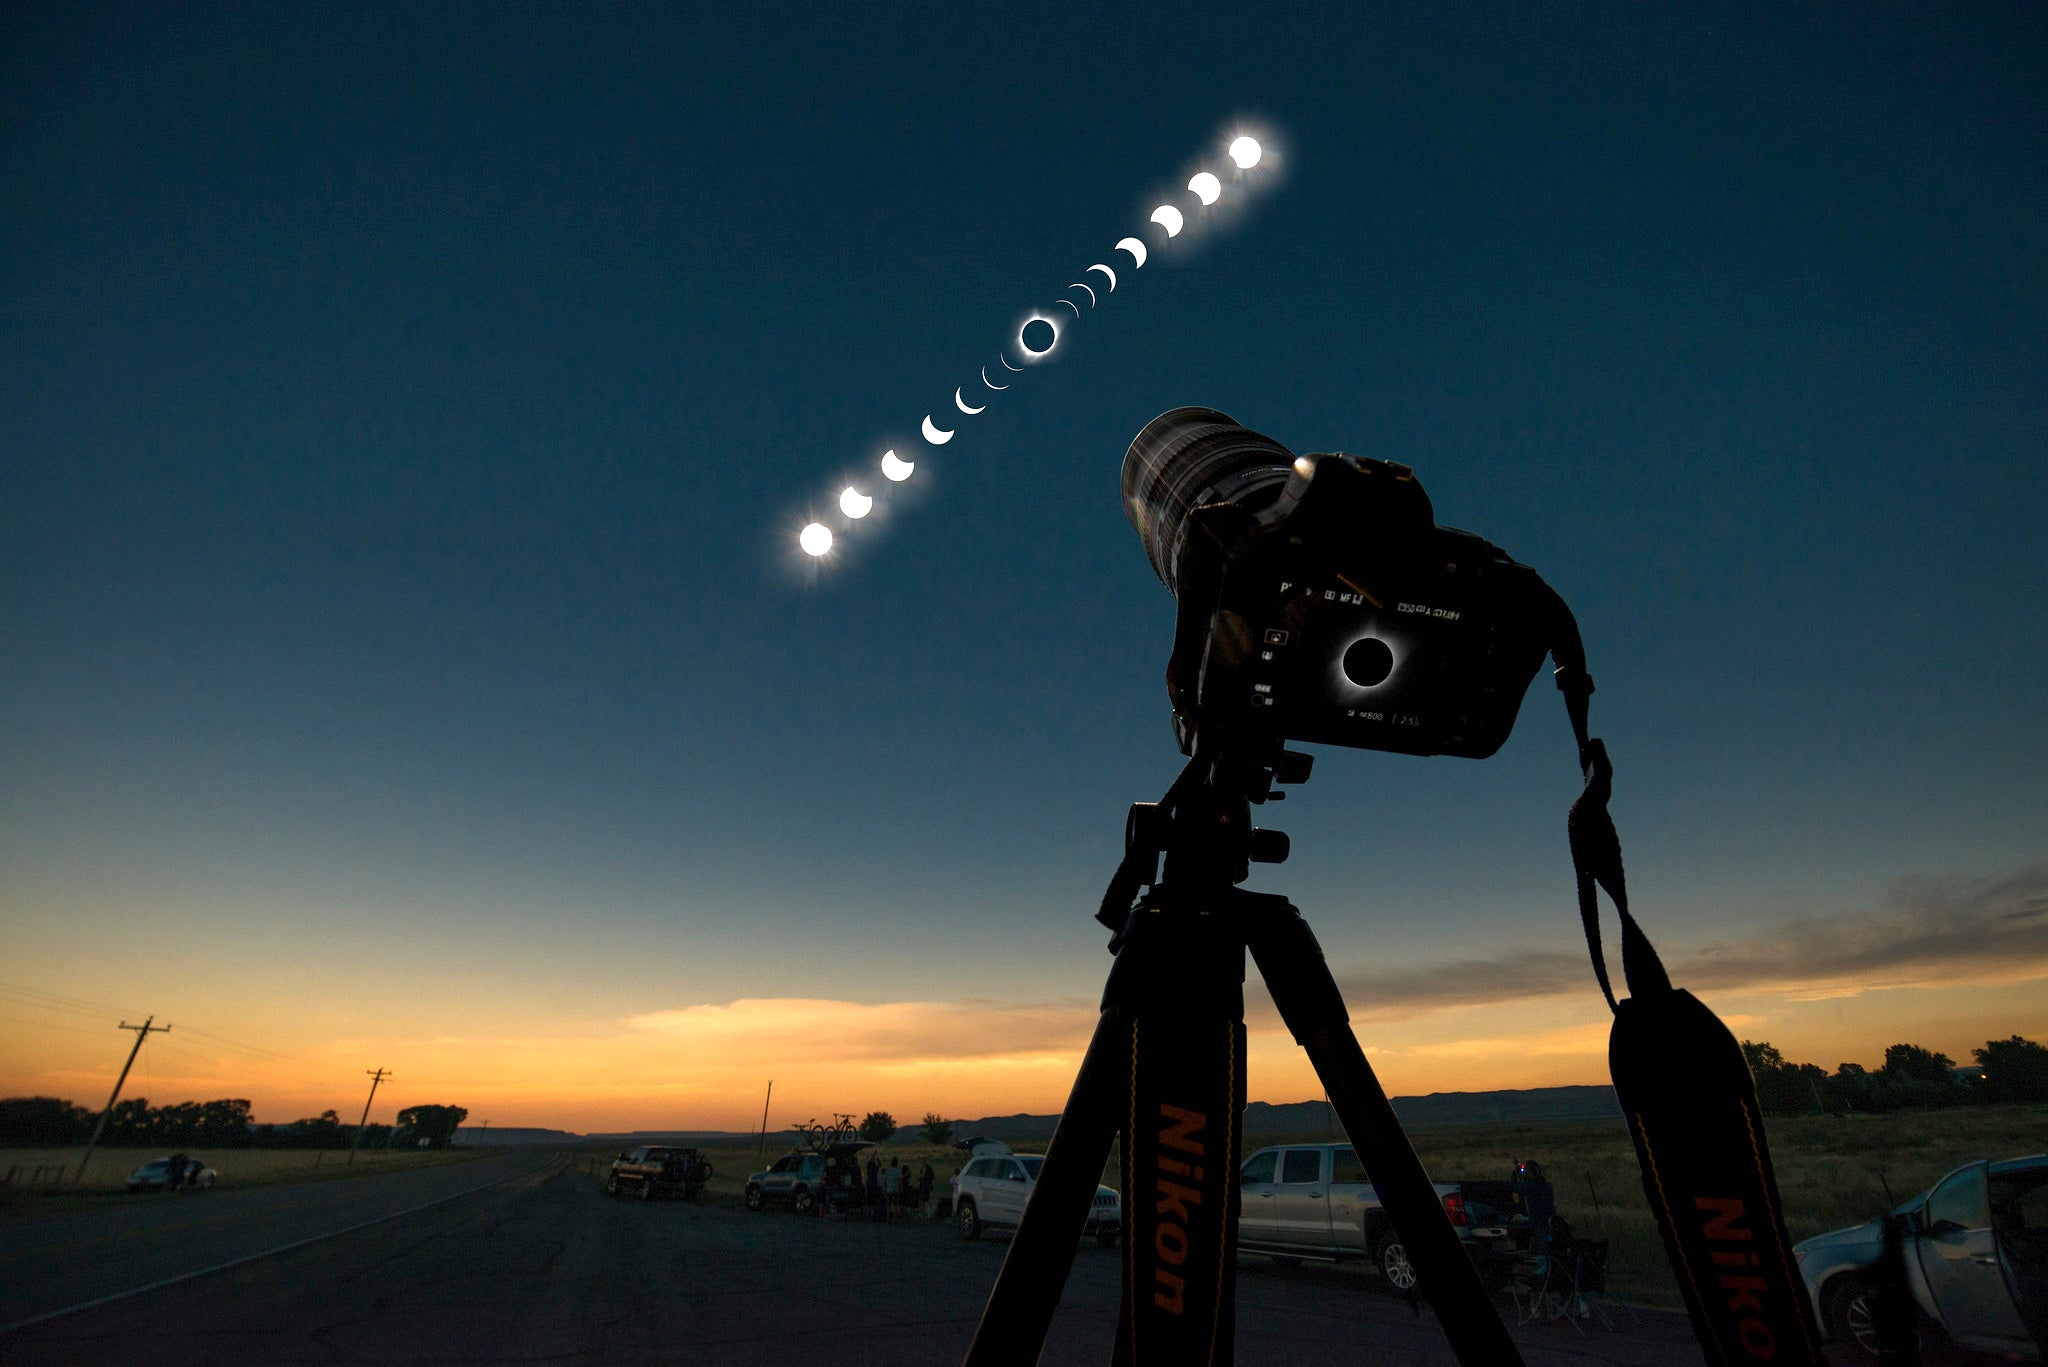
The practice of using a device to project an image of the Sun is thousands of years old. But if using a pinhole doesn’t give the image quality you want, then try this project. The final image will look a lot better.
You’ll need a little lumber, a bit of hardware, a tape measure, and a straight-through finder scope — not one that has a right-angle bend. Any finder will do, although the larger the front lens, the more it generally costs, so keep this in mind if you’re on a budget.
Tale of the tape
The first measurement you’ll make is of the finder’s focus distance. Tape a white piece of paper to a board and project the Sun’s image on it. Measure the distance between the eyepiece and the paper. Let’s call this T. You can use inches or centimeters — just be consistent. Then measure the diameter of the Sun’s image. We’ll call that D.
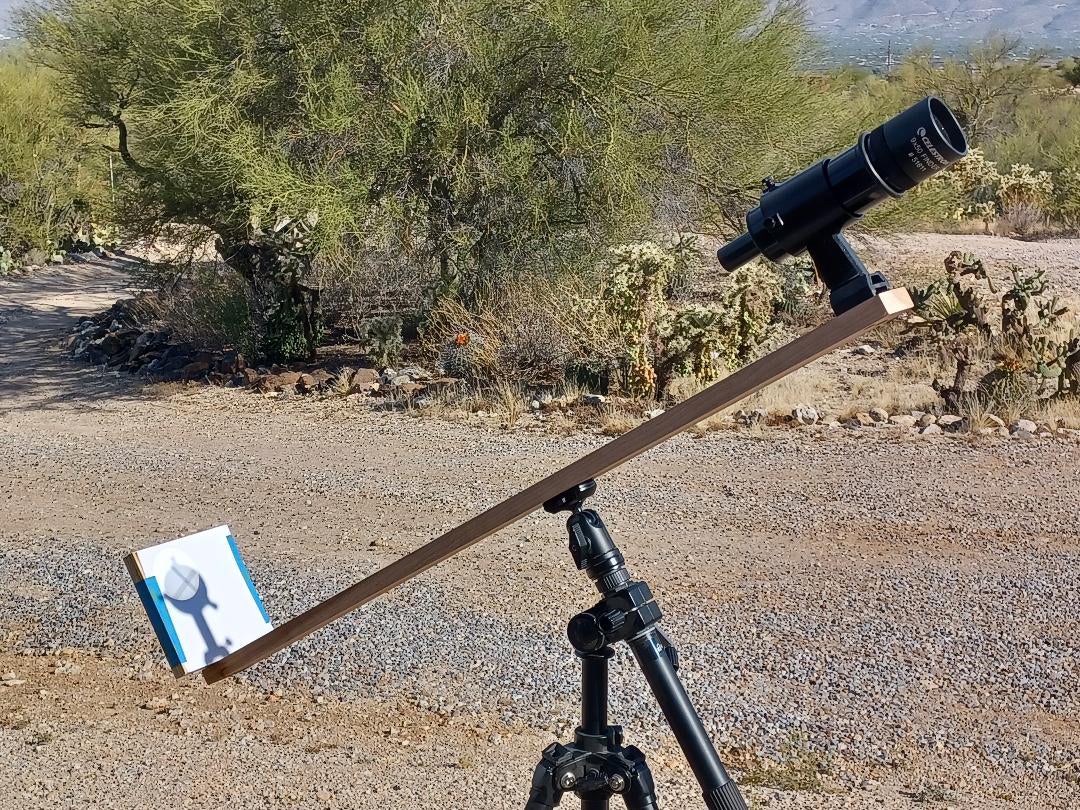
You’ll mount everything on a long narrow board (the long arm). Make it T inches (or centimeters) long, plus enough extra length for the finder bracket and the thickness of a square piece of wood (the screen board), where the image will be projected.

For my finder, T equals 29¾ inches (75.6 centimeters) and D equals 4¼ inches (10.8 cm). The extra length needed to attach the finder is 7 inches (17.8 cm). I chose a screen board ¾ inch (1.9 cm) thick, a good thickness because it needs to be attached to the long arm with two screws. Because D is 4¼ inches, my screen board is 6 inches (15.2 cm) square.
All this made my long arm 38 inches (96.5 cm) long. I chose to make that piece 2¼ inches (5.7 cm) wide, just a bit more than I needed to accommodate the base of the finder scope. More width just adds unnecessary weight.
Next, attach the finder’s base to the long arm with two 1¼-inch-long (3.2 cm) bolts. (I used two 1-inch [2.5 cm] bolts and drilled each hole bottom wide enough to hide the nuts attached to the bolts, and deep enough to keep them from protruding.) Then attach the screen board to the long arm with two 1½-inch-long (3.8 cm) screws. Make sure it’s perpendicular to the long arm and parallel with the finder’s front lens.
Next, attach the finder-scope base, the finder scope, and the screen board to the long arm. Then find the center point where the assembly balances. At that spot, drill a hole and tap it for a ¼”-20 thread. Finally, attach a piece of white paper to the screen board.
You’re done. Choose a tripod sturdy enough to carry the weight steadily. Try not to over-tighten the tripod-mounting bolt. If you do strip the threads, home-supply stores sell metal ¼”-20 inserts you can hammer into place.
Or use binoculars
If you don’t have a finder scope lying around, you can use binoculars as a projector. I ventured online and spent $24 for a pair of 7×35 binoculars. And they work great! Just make sure that they have a threaded-mounting hole on the front of the bridge, between the barrels. (Most binoculars these days do, typically covered by a cap screw.)
The parts that make this version of the projector are a wooden base, a metal L bracket, a metal plate for the tripod bolt to screw into, and a wooden support for a screen. My binoculars measure 7¼ inches by 5¼ inches (18.4 cm by 13.3 cm). My base is 2 inches wide by 26 inches long (5.1 cm by 66 cm). The Sun’s light passing through the binoculars focused 20 inches (51 cm) away. That distance, plus the 5¼ inches of my binoculars, determined the base length I used.
I mounted the L bracket to the base so the ends of the binocular’s front lenses were even with the front end of the base. I used wood screws to secure the L bracket to the base and a short ¼”-20 bolt to attach the binoculars to the bracket. The L bracket must hold the binoculars high enough that the Sun’s image isn’t cut off at the base. To find this height, measure the diameter of the Sun’s focused image, take one-half that length, and add ½ inch (1.3 cm) to it.
With two small screws, attach an 8-inch-square (20.3 cm), ¼-inch-thick (0.6 cm) piece of plywood as a projection screen. Paint it white or attach white paper to it.
Next, attach the plate the tripod’s bolt will screw into. I used a 3-inch-long, 1-inch-wide, ¼-inch-thick (7.6 cm by 2.5 cm by 0.6 cm) piece of steel. At its center, I drilled and tapped a ¼”-20 hole for the bolt. Before you mount it, attach the binoculars and the screen board to the base. Then find the balance point. That’s where to position the hole in the plate. Finally, attach the metal bar with two screws.
Once you assemble the unit, it’s your choice whether to use one side of the binoculars or both (if the images don’t overlap). I like the effect of having two Suns visible. Good luck!