The Cambridge Dictionary defines magnificent as “deserving to be admired.” I had no trouble doing that when I walked into the offices of Stellarvue to get an extension ring for my SVX140T and to visit my friend and Stellarvue owner Vic Maris: While there, I witnessed an SVX180T 180mm f/7 refractor being prepared for shipment to some lucky customer.
Until that moment, I had been happy with my Stellarvue 140mm f/6.7, but the power of 180mm dwarfed it by comparison. Completely captivated, I put a deposit down on a 180mm and waited — these hand-crafted instruments can take months to assemble. Fortunately, Stellarvue was in full production and just four months later I got the long-awaited call saying “Your scope is ready, come pick it up!”
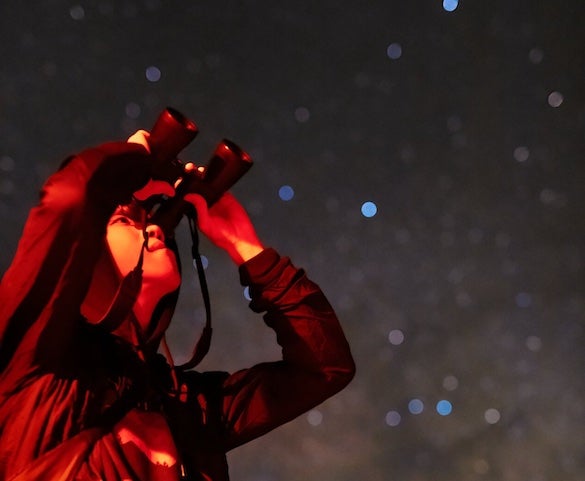
The time has finally arrived
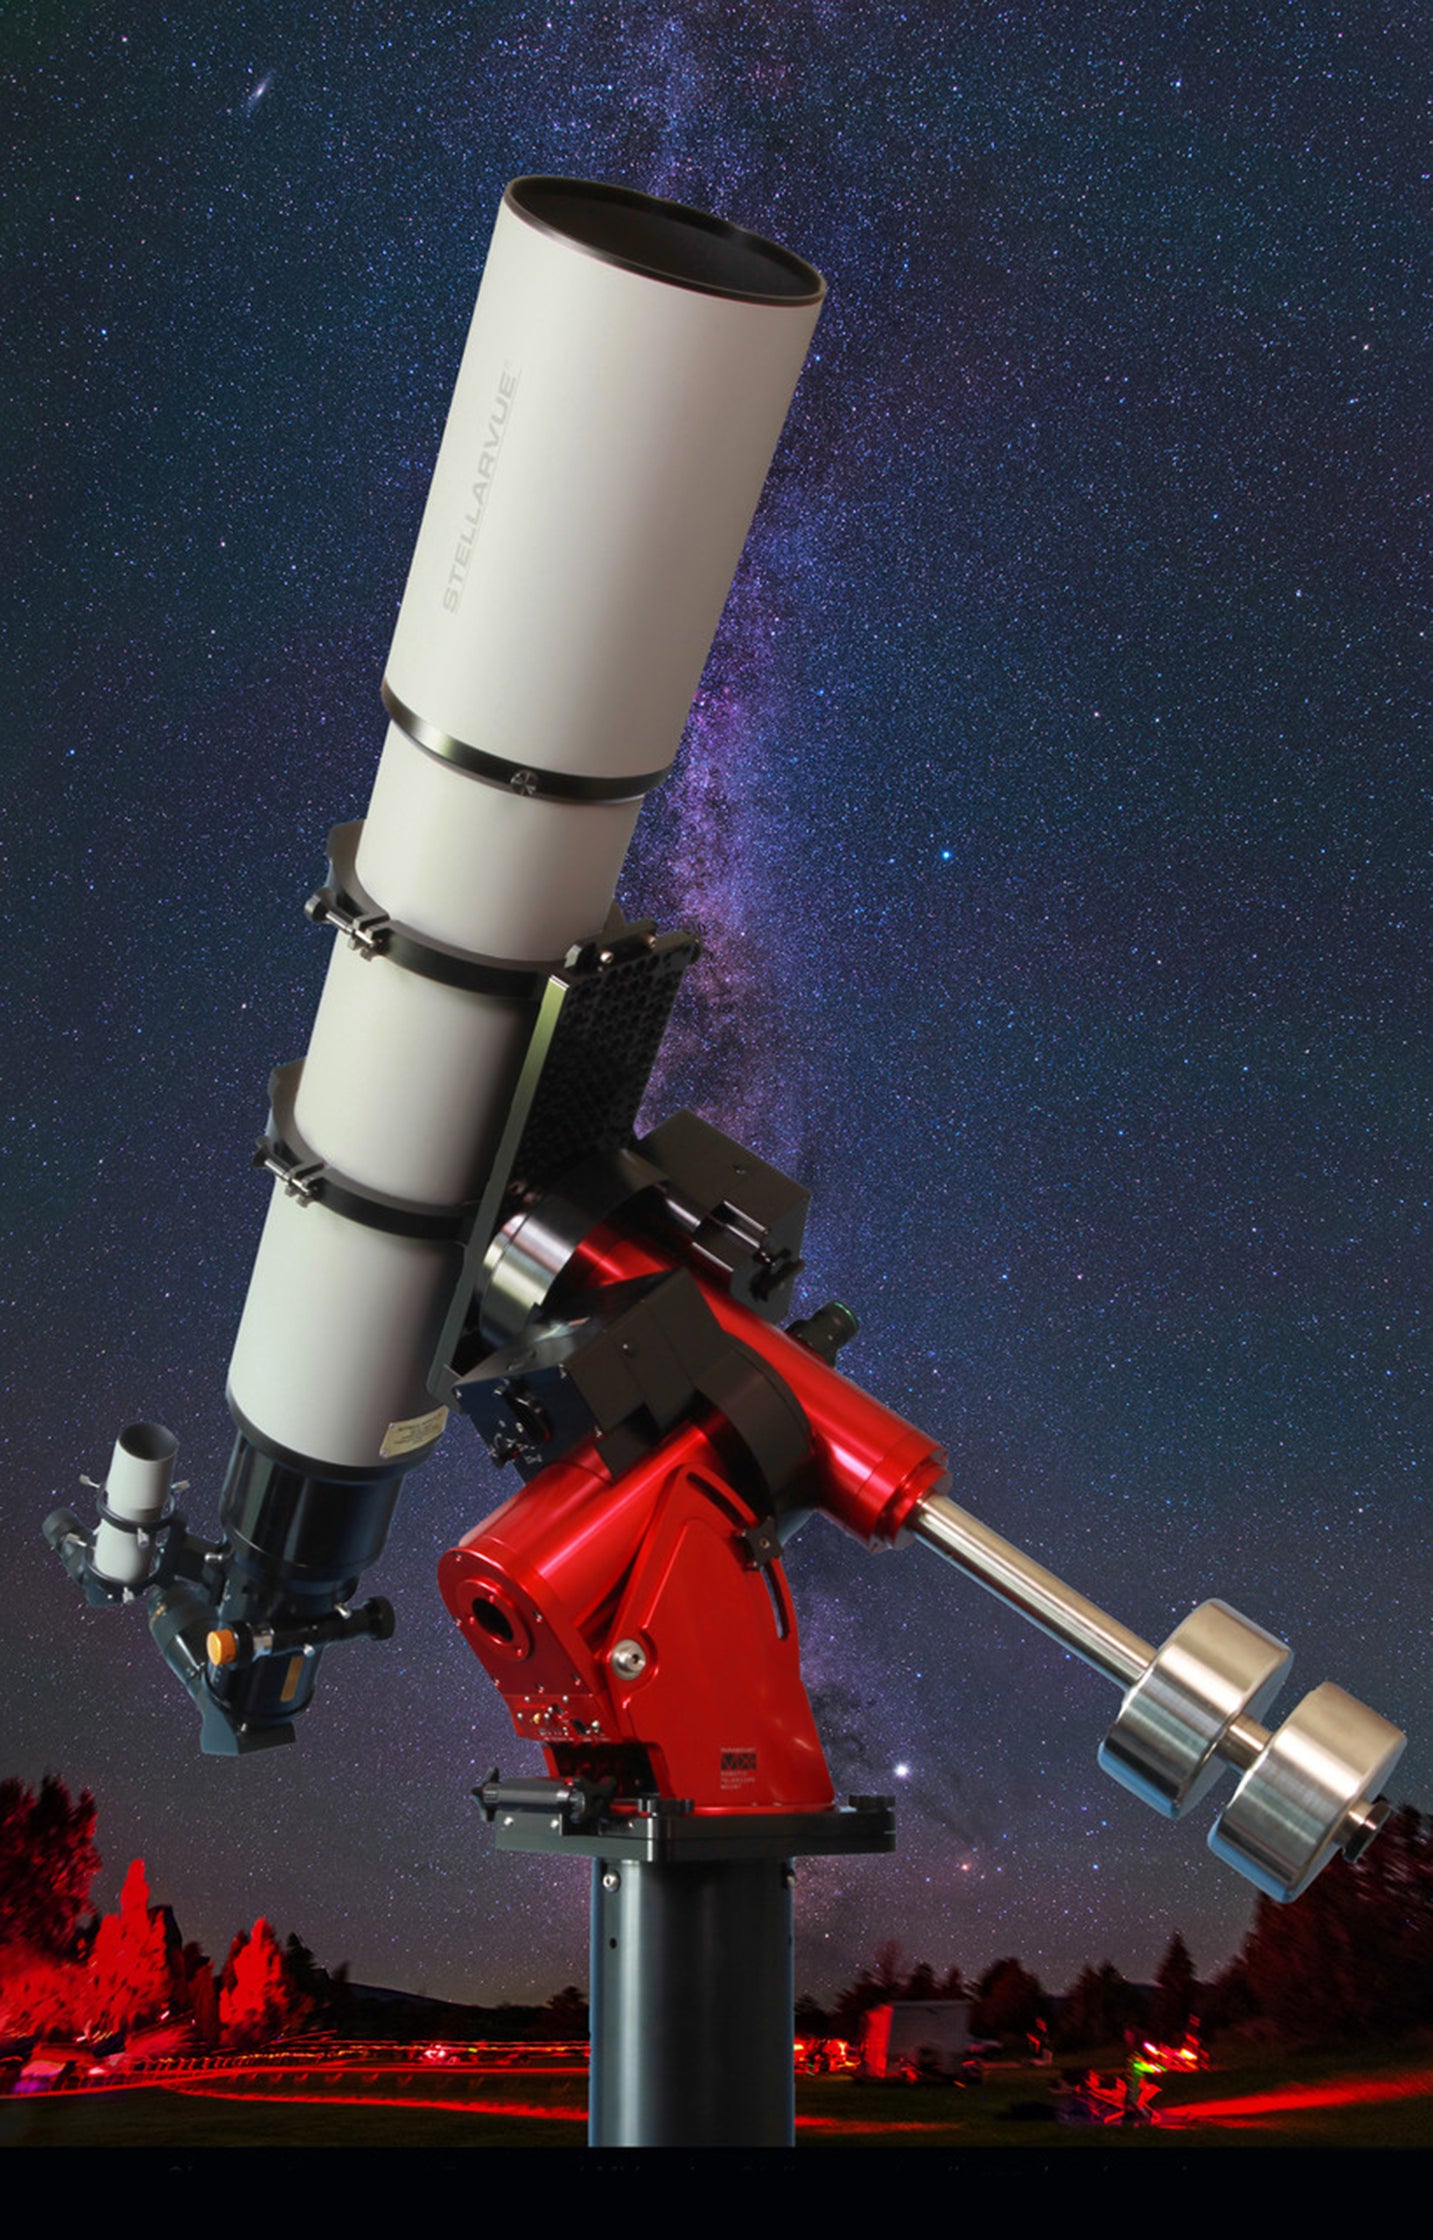
The first thing you notice when you see this telescope is that it is massive. No effort was spared to make this the ultimate refracting telescope. For example, although the objective is 180mm, its fully baffled tube is 8 inches (203 millimeters) across. This aids in thermal stability as heat currents are more likely to stay out of the optical path. The dew shield is also large enough to give the front of the objective room to breathe and ample space for dew control. The 180mm scope has three options for the focuser; I chose the Starlight Instruments 3.5″ focuser, which is extremely rugged and well made. Stellarvue built a huge field flattener for imaging — as an optional add-on — that fastens directly to the focuser and covers any size camera with the right adapters.
To see how well a telescope baffles light, do this experiment: Place a white, well-lit board in front of the telescope, remove the eyepiece and diagonal, and look through the scope. What do you see? A well-made refractor should show you nothing but the bright white circle of the lens surrounded by a black void, whereas a poorly made refractor will make a bright star look like a colorful blur. When you perform this test on the Stellarvue 180mm refractor, a clear, bright point is exactly what you’ll see. The scope is extremely well baffled, so any spurious light is blocked from reaching the eyepiece or camera.
A whole new view
My original intent for purchasing this telescope was for visual use, as I own a large corrected Dall-Kirkham reflector for astrophotography. And for several months, that is how I employed the 180mm. As expected, the contrast was superior, the illumination was beautifully even, and the smallest stars were mere pinpricks. The planets and the Moon appeared the best I have ever seen them during moments of good seeing.
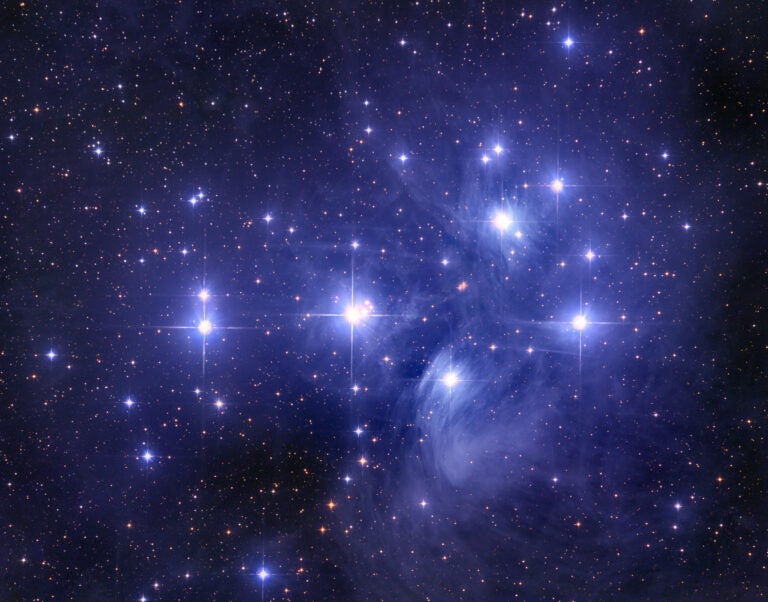
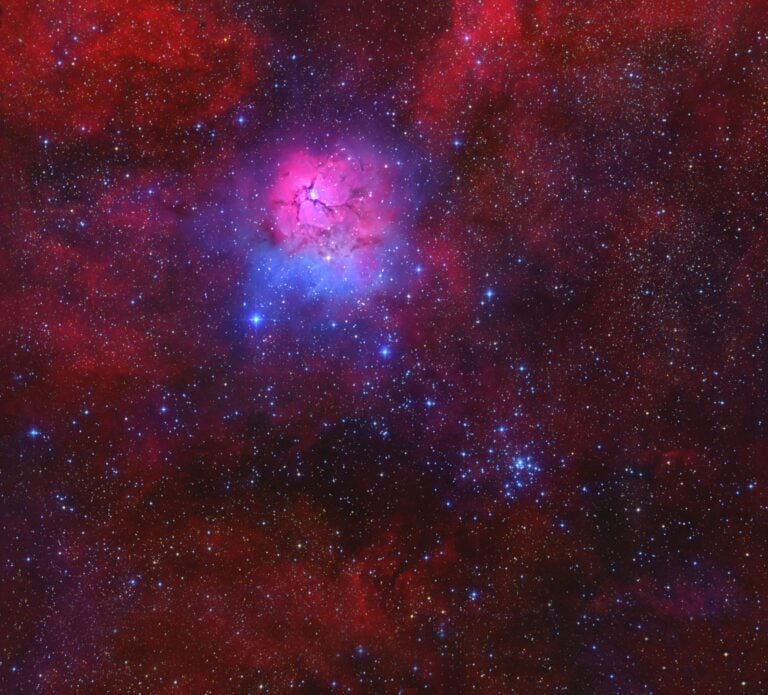
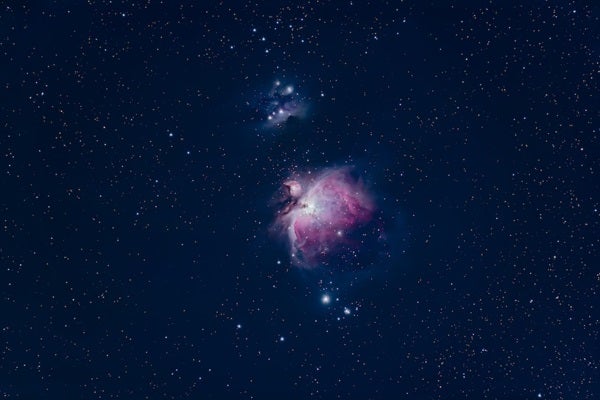
One event really stands out: One night I was looking at the craterlets in the lunar crater Plato. As I looked at one of the craterlets, it seemed to split into two. Bad seeing? Thermal effects? But the more I looked, the more I was convinced I was seeing a real double craterlet. The next day I looked up a NASA picture of Plato and lo and behold, there is indeed a double craterlet there. It was the first time I saw this with any telescope. I was also surprised at how well the 180mm handled deep-sky objects. It was nice to see M81 and M82 in the same field of view with an added Pentax 40mm XW eyepiece. The views through this fine instrument are excellent.
But Vic was curious how the scope would perform photographically in my hands — and so was I. With the assistance of some friends, I pulled my reflector from its imaging mount and installed the 180mm in its place. For the next several nights, I ran the scope through several tests with my complementary metal-oxide semiconductor (CMOS) camera and noted how sensitive the scope was to temperature changes. I decided to also add the automated Starizona’s Microtouch focus motor, with built-in software for temperature compensation, to the rig.
The power of an APO Lens
One of the questions I hear about the 180mm is whether it is a true apochromatic (APO lens), where all the colors focus in the same spot. This question highlights a classic difference between a reflecting telescope and a refracting telescope. A reflector brings all the reflected light to the same point, regardless of wavelength. But a refractor bends the incoming light through a lens, so the colors come to a focus in slightly different positions. In traditional refractors, images of bright stars often produce a purple-red ring around them. This “false-color” issue really becomes a problem when using narrowband filters, particularly when pairing those with more disparate wavelengths.
An apochromatic refractor uses a number of lenses to remove this issue and get all wavelengths of light to come to a common focus. Stellarvue uses Ohara S-FPL-55 super-low-dispersion glass in a unique lens design to achieve this, creating a true apochromat. During manufacture, the objectives are repeatedly tested with a Zygo phase-shifting interferometer to detect irregularities — if any are found, the opticians carefully remove them. This process can take months, as each objective must be tested over and over again after each correction. Stellarvue doesn’t stop until the lens is as perfect as can be. The telescope can then deliver a final figure centered on the green wavelength of light and showing a commonly known projection effect, a Ronchigram.
The 180mm — with its modern lens design and use of the finest materials — transmits RGB and narrow bands such that that they all come to a focus at the same point.
One-of-a-kind telescope for one-of-a-kind photos
Unlike mass-produced telescopes, Stellarvue telescopes are custom made in the U.S. at the company’s Auburn, California, facilities.
All this perfection would be useless if the lens cell, which holds the large lens elements, were made from an improper material such as aluminum. Aluminum expands and contracts with temperature, meaning lens elements can be pinched in colder temperatures, which changes the shape of the lens and affects the quality of the image. To avoid this, Stellarvue makes the lens cell from steel that has a low coefficient of expansion, thereby avoiding any pressure on the lens elements even as the temperature changes.
The Stellarvue 180mm f/7 APO triplet refracting telescope represents the finest large refractor available to the discriminating consumer. With limited choices for color correction available on the market, this air spaced triplet has been built with no compromises by dedicated opticians and machinists. It is the result of years of telescope building, research, and experimentation in the quest for perfection. A large refractor is more than just excellent optics — the entire telescope has to work seamlessly together to create a unified whole. And this is what you experience with Stellarvue’s magnificent telescopes.
Achieving the ideal imaging setup
Once I made the decision to add Starizona’s Microtouch focus motor to the rig, next came the challenge to attach it. The heavily geared telescope motor fastens directly to the focus shaft, eliminating any chance of focus backlash — unlike less powerful motors that attach through the 10:1 reduction gearing. After installing the focus motor, I ran the easy-to-use temperature compensation “learning feature” (included in motor’s software), which calculates the focus shift in relation to temperature drop. The focus motor continually keeps the image in focus by adjusting every 0.18-degree-Fahrenheit (0.1 degree Celsius) drop in temperature. Using the motor allows me to run my rig all night without having to refocus, and stars maintain the exact sharpness from the first image of the evening to the final image, even with an overall drop of nearly 22 F (12 C) through the night.
One of the recent game changers in astrophotography has been the advent of small-pixel CMOS cameras with low noise and good quantum efficiency. That last item means the photo sensor captures a large percentage of the photons that hit it. Unlike their older, larger 9-micropixel CCD predecessors, these 3.7-micropixel CMOS cameras can resolve incredibly fine detail. This plays directly to the strengths of large, razor-sharp, high-contrast refractors.
I started a typical imaging run by setting up the scope just before sunset so it had time to reach thermal equilibrium. Once it was dark enough, I slewed to my chosen target and framed it, entering its position into the mount memory. I then generated a V-curve with an autofocus software application to achieve pinpoint focus. At this point, I opened the focus motor control and turned on temperature compensation, allowing the motor to monitor the temperature and adjust the focus accordingly. Next, I started up my image acquisition software application to find a guide star and start tracking. My final step was to set up the imaging sequence and start imaging.
I keep my mount on an analog timer both to prevent it from running the telescope into the pier and to shut off the power when the session is complete. Although there are many automated programs that will do all this for you, I am still a bit old-school.