Like many of today’s astronomical imagers, I started astrophotography by taking simple star and planet trail shots, and photographing the Moon through my telescope. This was during the film era, when most amateur astronomers considered color emulsions advanced, not to mention special spectroscopic and astronomical films and techniques, like cold cameras and film hypersensitization.
As I progressed though more detailed and complicated photographic techniques, acquiring a mount that accurately tracked the sky was the next step. This took the trails out of my exposures and gave me nice wide-field images of the night sky. Today’s digital techniques are similar to the ones I used in the film days; the advantage is that you can control with your camera many of the settings I had to deal with by using different film types or in the darkroom. As with film, prints, and the darkroom, digital processing is another story in itself.
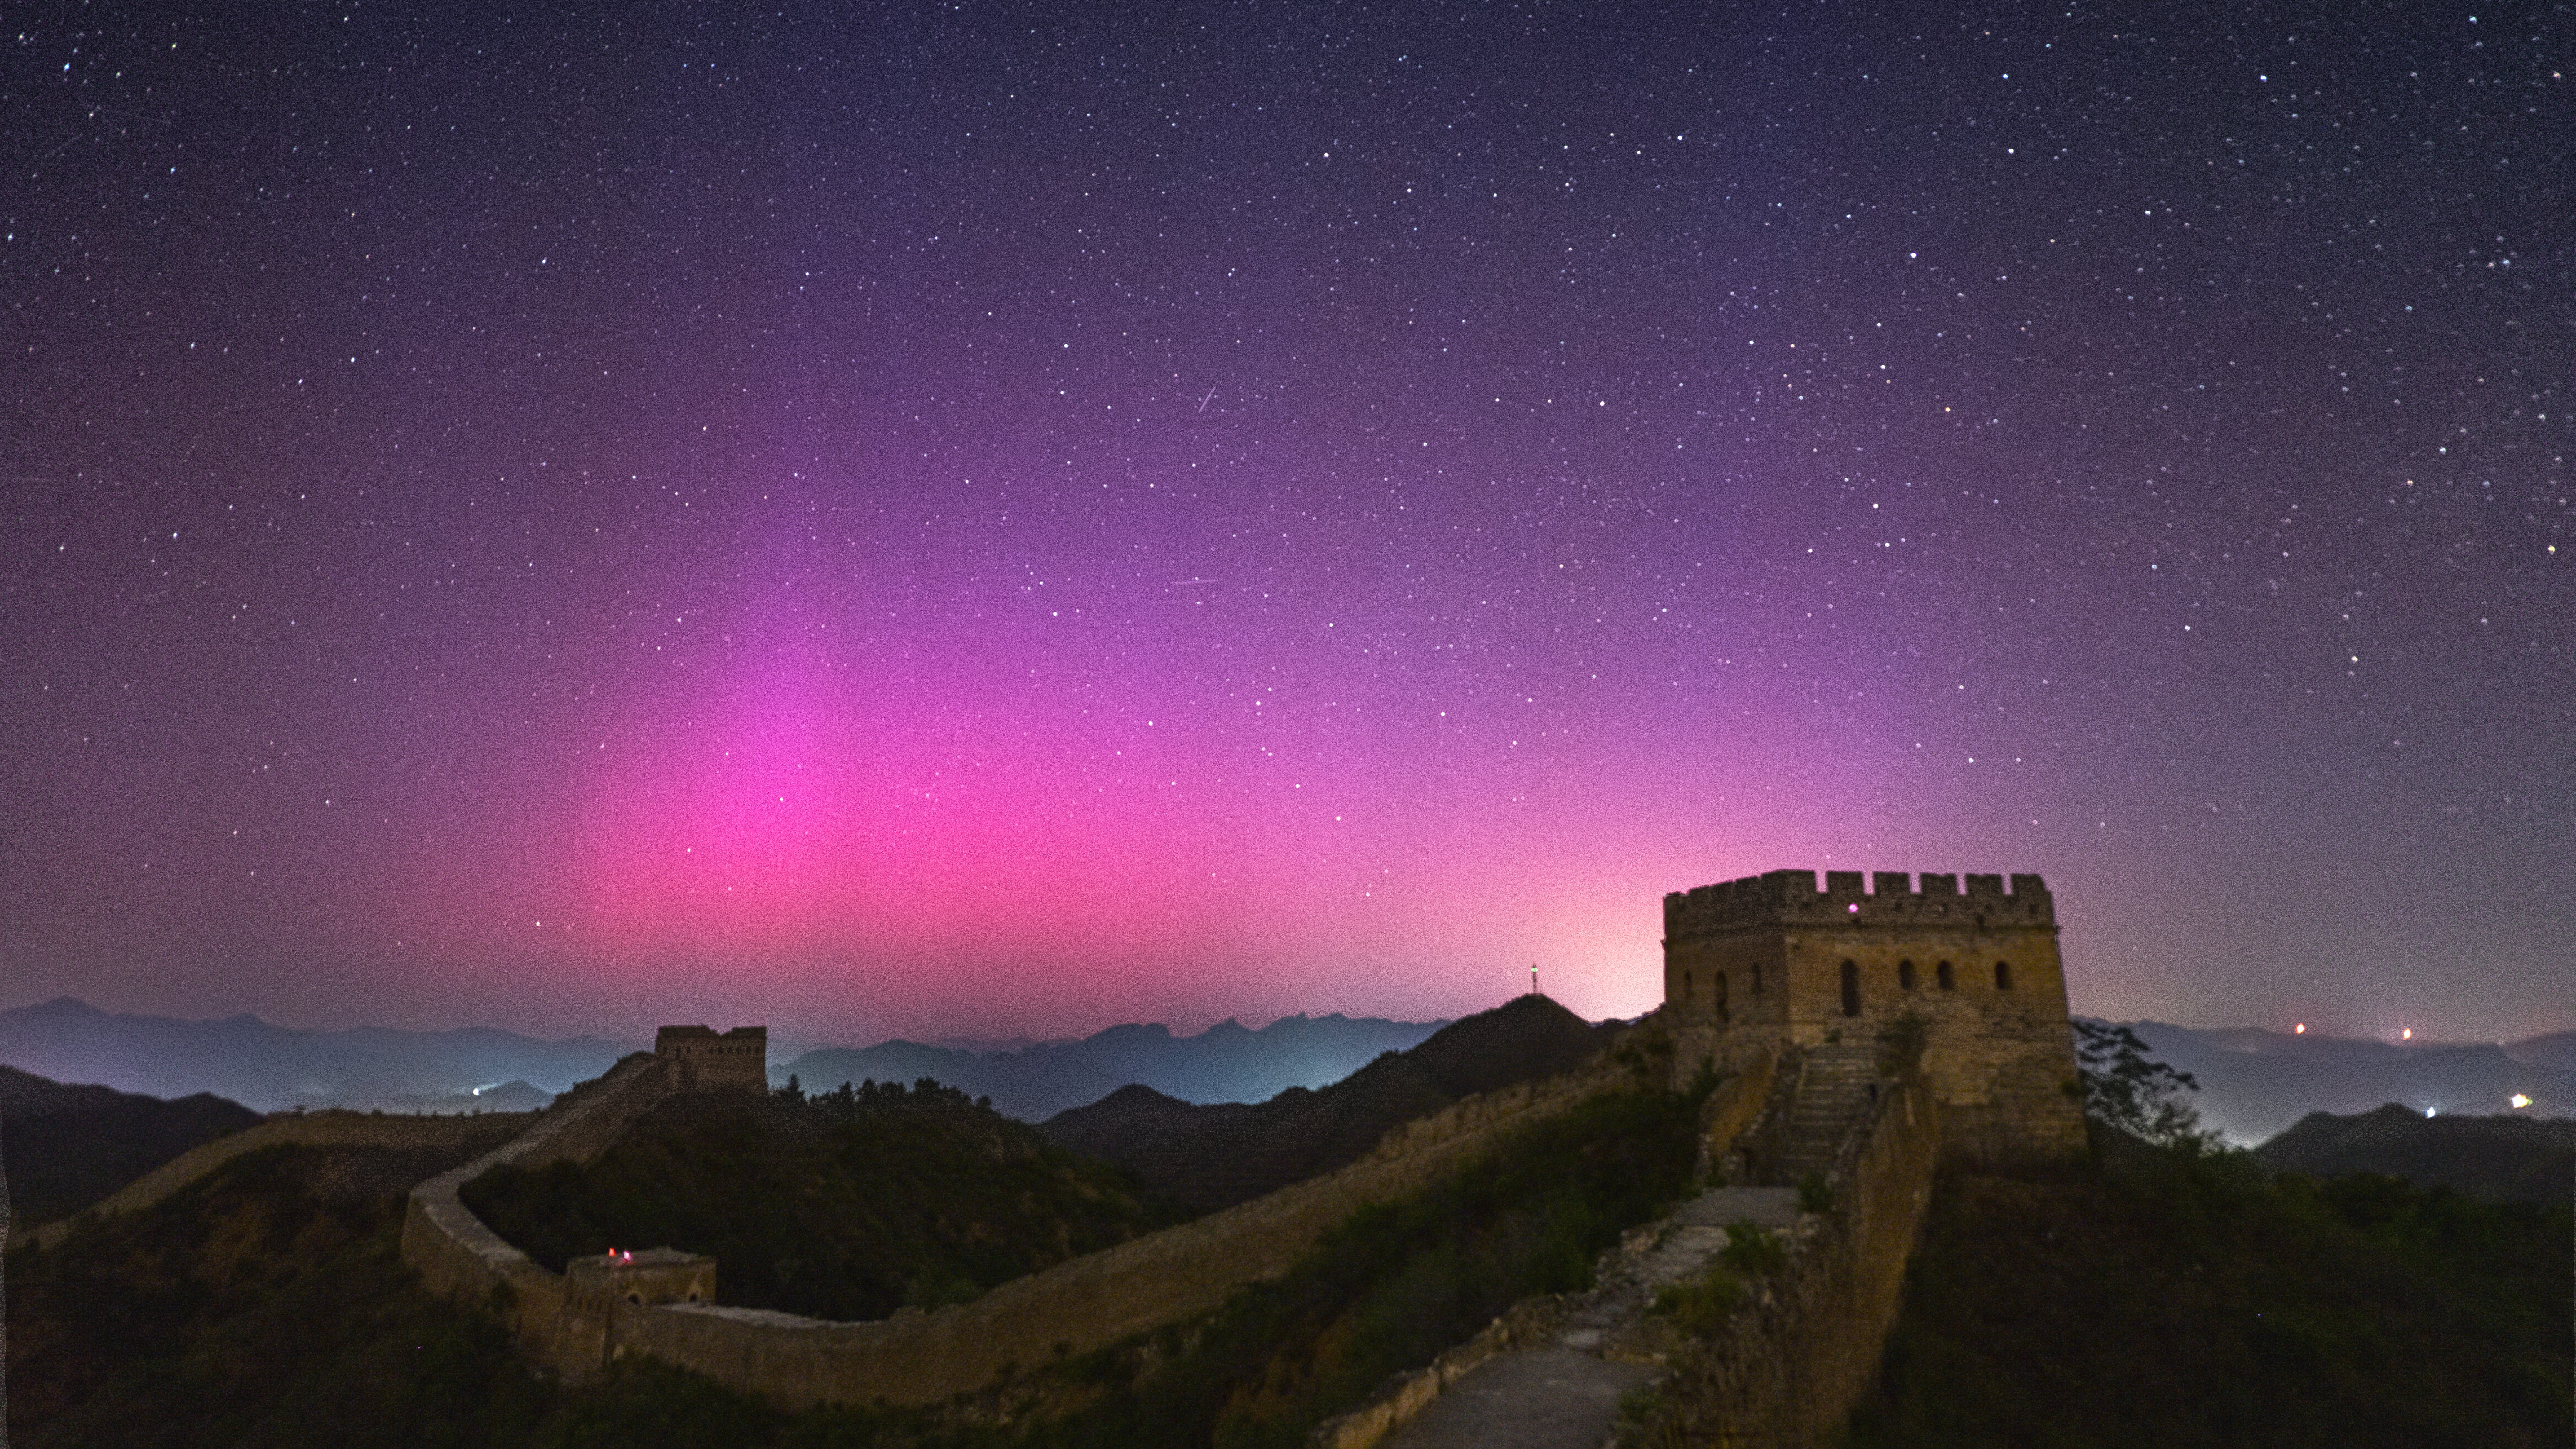
General interest in wide-field camera-lens imaging has partially been reignited through the work of The World at Night (TWAN). Initiated by Babak Tafreshi and Mike Simmons through Astronomers Without Borders, the 30 or so regular TWAN photographers (and many others) have contributed well-composed images and time-lapse videos of celestial objects with interesting natural or human-made landmarks in the foreground. The phrases “lightscape imaging” or “light painting” are often used to describe such work.
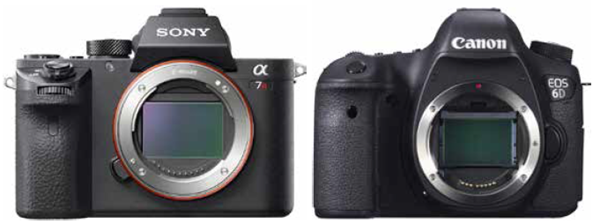
These superb full-frame cameras for astroimaging use different tech. The Canon 6D (right) is a standard DSLR that employs a mirror to send the image to the viewfinder. The Sony a7R II is a mirrorless digital camera.
What do you need to create wide-field astronomical images of your own? First, get a camera that will allow a number of settings for long-exposure photography. I define “long exposure” here as anything greater than 1 second. The digital single-lens reflex camera, or DSLR, is a great choice. Price points for DSLRs range from several hundred to thousands of dollars. And what you may have heard is true — you can take high-quality tracked astrophotos with one of the lower-priced DSLRs.
An alternative to the DSLR has emerged: the mirrorless camera. This version doesn’t need a mechanical mirror to switch between the viewfinder and the sensor. Manufacturers can reduce the camera’s overall complexity, weight, and size by replacing the optical viewfinder with a digital version. This also eliminates a vibration source in the system. There are some pros and cons: Most mirrorless cameras have reduced-size sensors, require specific mirrorless camera lenses or a special lens adapter, and use battery power at a faster rate than DSLRs. Sony and Fuji are currently the leaders in mirrorless cameras. Like the DSLR, these will continue to evolve.
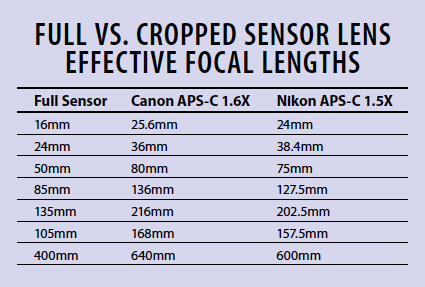
Next, invest in a good camera lens. Most of today’s DSLR lenses easily meet that requirement, even those referred to as kit lenses (less expensive lenses included with the purchase of a DSLR). Lens autofocus and image stabilization features are not necessary and actually can cause problems. Your lens focal length should not be too long. I usually consider anything longer than a 135-millimeter telephoto lens to be too long, though I often shoot through telephoto lenses.
One discussion you might hear is whether you should use a zoom lens. Today’s zoom lenses are much better than those of 30 years ago, back in the film era. The glass used to make lenses is of higher quality, and the lens mechanics are greatly improved. I have had good success using zoom lenses for astrophotography. With a zoom lens, I have the flexibility to create a specific field of view. Another advantage is having multiple focal lengths available in one lens instead of buying several fixed-focal-length lenses. I use both zoom and fixed lenses for astrophotography, yet find myself almost entirely using zoom lenses for regular photography.
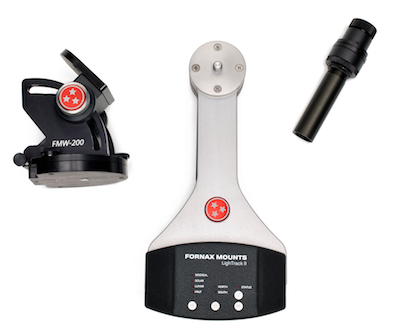
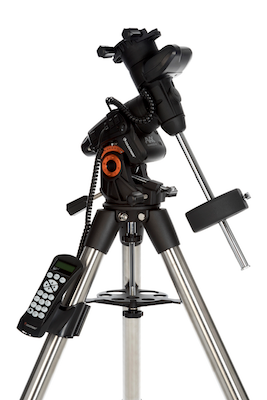
Next, let’s take a look at tracking. A high-quality polar-aligned mount or go-to platform with accurate tracking is essential if you want to produce images without trails. Accessories are available that will let you piggyback, or attach, a camera-lens combination to a telescope on a mount. This can be an ideal setup if the mount is equatorial. The only drawback to this method is if you are setting up a scope just to piggyback a camera, as a lot of work is involved.
A number of small equatorial tracking platforms are available at reasonable prices. Each will carry a camera and lens, or even a small telescope with a camera attached, but you will need a sturdy tripod on which to mount the tracking platform. Setting up and polar aligning such a system is usually easy, and this equipment is also light, so it’s a joy to transport. For the exposures you’ll collect, perfect polar alignment is not as important as it is when you’re planning to use a CCD or DSLR through the telescope, yet this does depend on the length of the exposure.
Other beneficial accessories include a reasonable-size memory card that allows you to quickly download exposures, a fully charged battery or an external power supply, and an intervalometer. I also carry spare memory cards and charged batteries with me.
With an intervalometer, you can set the length of each exposure when you set your camera to “bulb” on some DSLRs or “manual” on others. With most intervalometers, you can set the time between activation and when the first exposure is taken, the period between exposures, and the number of exposures. Some intervalometers even allow you to set the time between mirror lockup and exposure, since the mirror lockup introduces vibration in the system.
Camera settings
Proper camera and lens settings will not only save you a lot of frustration, but also noticeably improve the quality of your images. And the beauty of digital media is that you can delete and reshoot — unless your subject is a total solar eclipse or a magnificent fireball.
Turn off your flash: This one might seem obvious, but I’ve seen instances when a novice did not know to turn off the flash, or an experienced imager forgot to do so. This is one of the reasons why I still use a checklist when I prepare for a night of astrophotography.
Mirror lockup: This lets you lock the mirror before you begin imaging. In normal operation, when the mirror swings out of the way as you start an exposure, the motion introduces a vibration into the system. This is not a problem for normal, handheld, usually short exposures, but it can cause problems for exposures when you want stars to appear as points of light, rather than squiggly lines.
Set the white balance to auto: White balance lets you adjust colors so that the image looks natural in its setting. This is great if you are shooting a wedding under some unusual lighting, or skiers against bright white snow, but it’s not necessary for nightscapes. So, leave the white balance on auto.
Manual or bulb setting: Your DSLR features a pre-determined number of exposure lengths, with the longest usually 30 seconds. With the manual setting, you set the exposure length. On the bulb setting, the shutter stays open while you depress the shutter button, and it closes when you release it. Most cameras also allow you to manually set your lens aperture from either of these settings.
File size: This lets you choose the exposure’s final size. I always recommend capturing RAW exposures, the largest file possible. This will use more space on your memory card, but it will also give you more data for better results when processing your images.
Noise reduction: Electronic noise can be an issue with digital cameras. With this feature, you can reduce the amount of noise (which usually looks like faint stars), an important consideration when many of your backgrounds will be black and your subjects will be faint points of light. The drawback is a decrease in detail. Experiment with this feature, and see what works best for you.
Dew control: I bring along a plastic garbage bag to cover my equipment in case of sudden inclement weather. Depending on where you observe, condensation might also be a problem. A variety of accessories — for example, a dew heater — can help you combat this potentially session-ending issue.
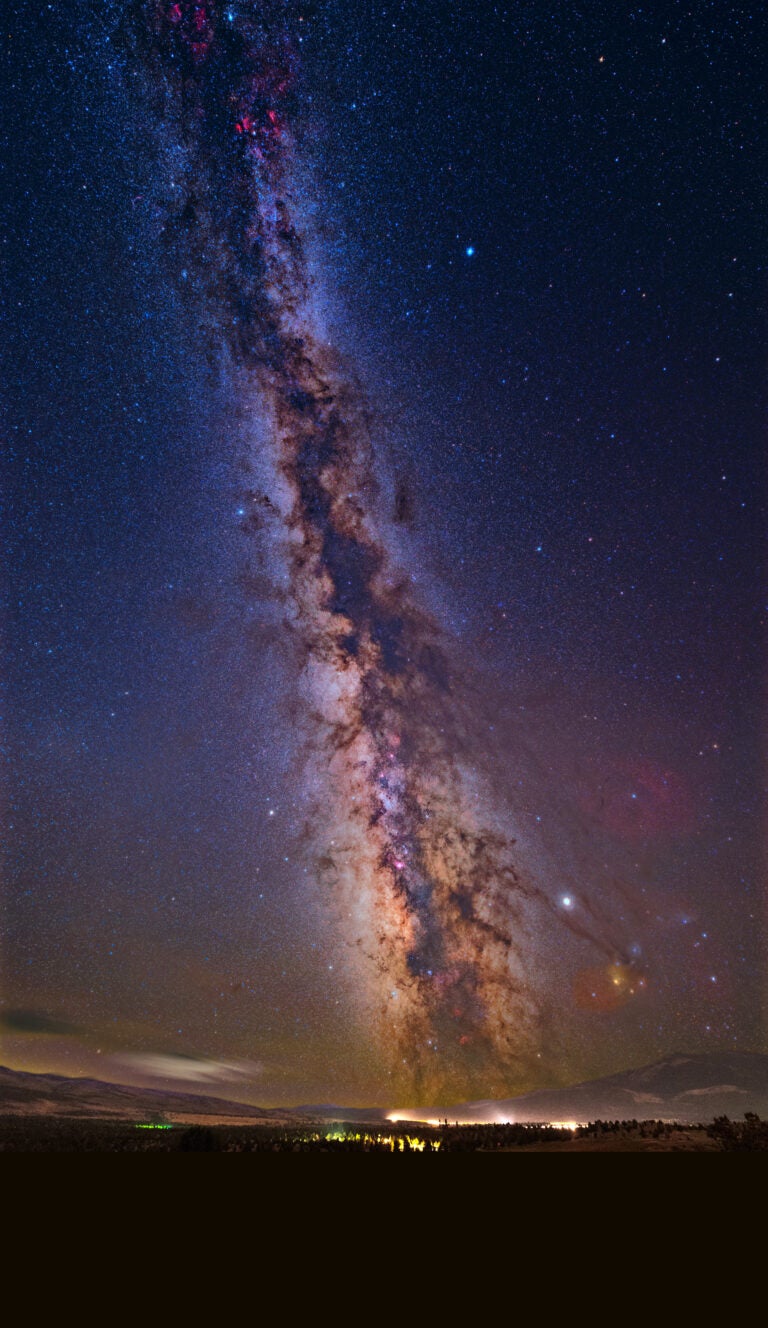
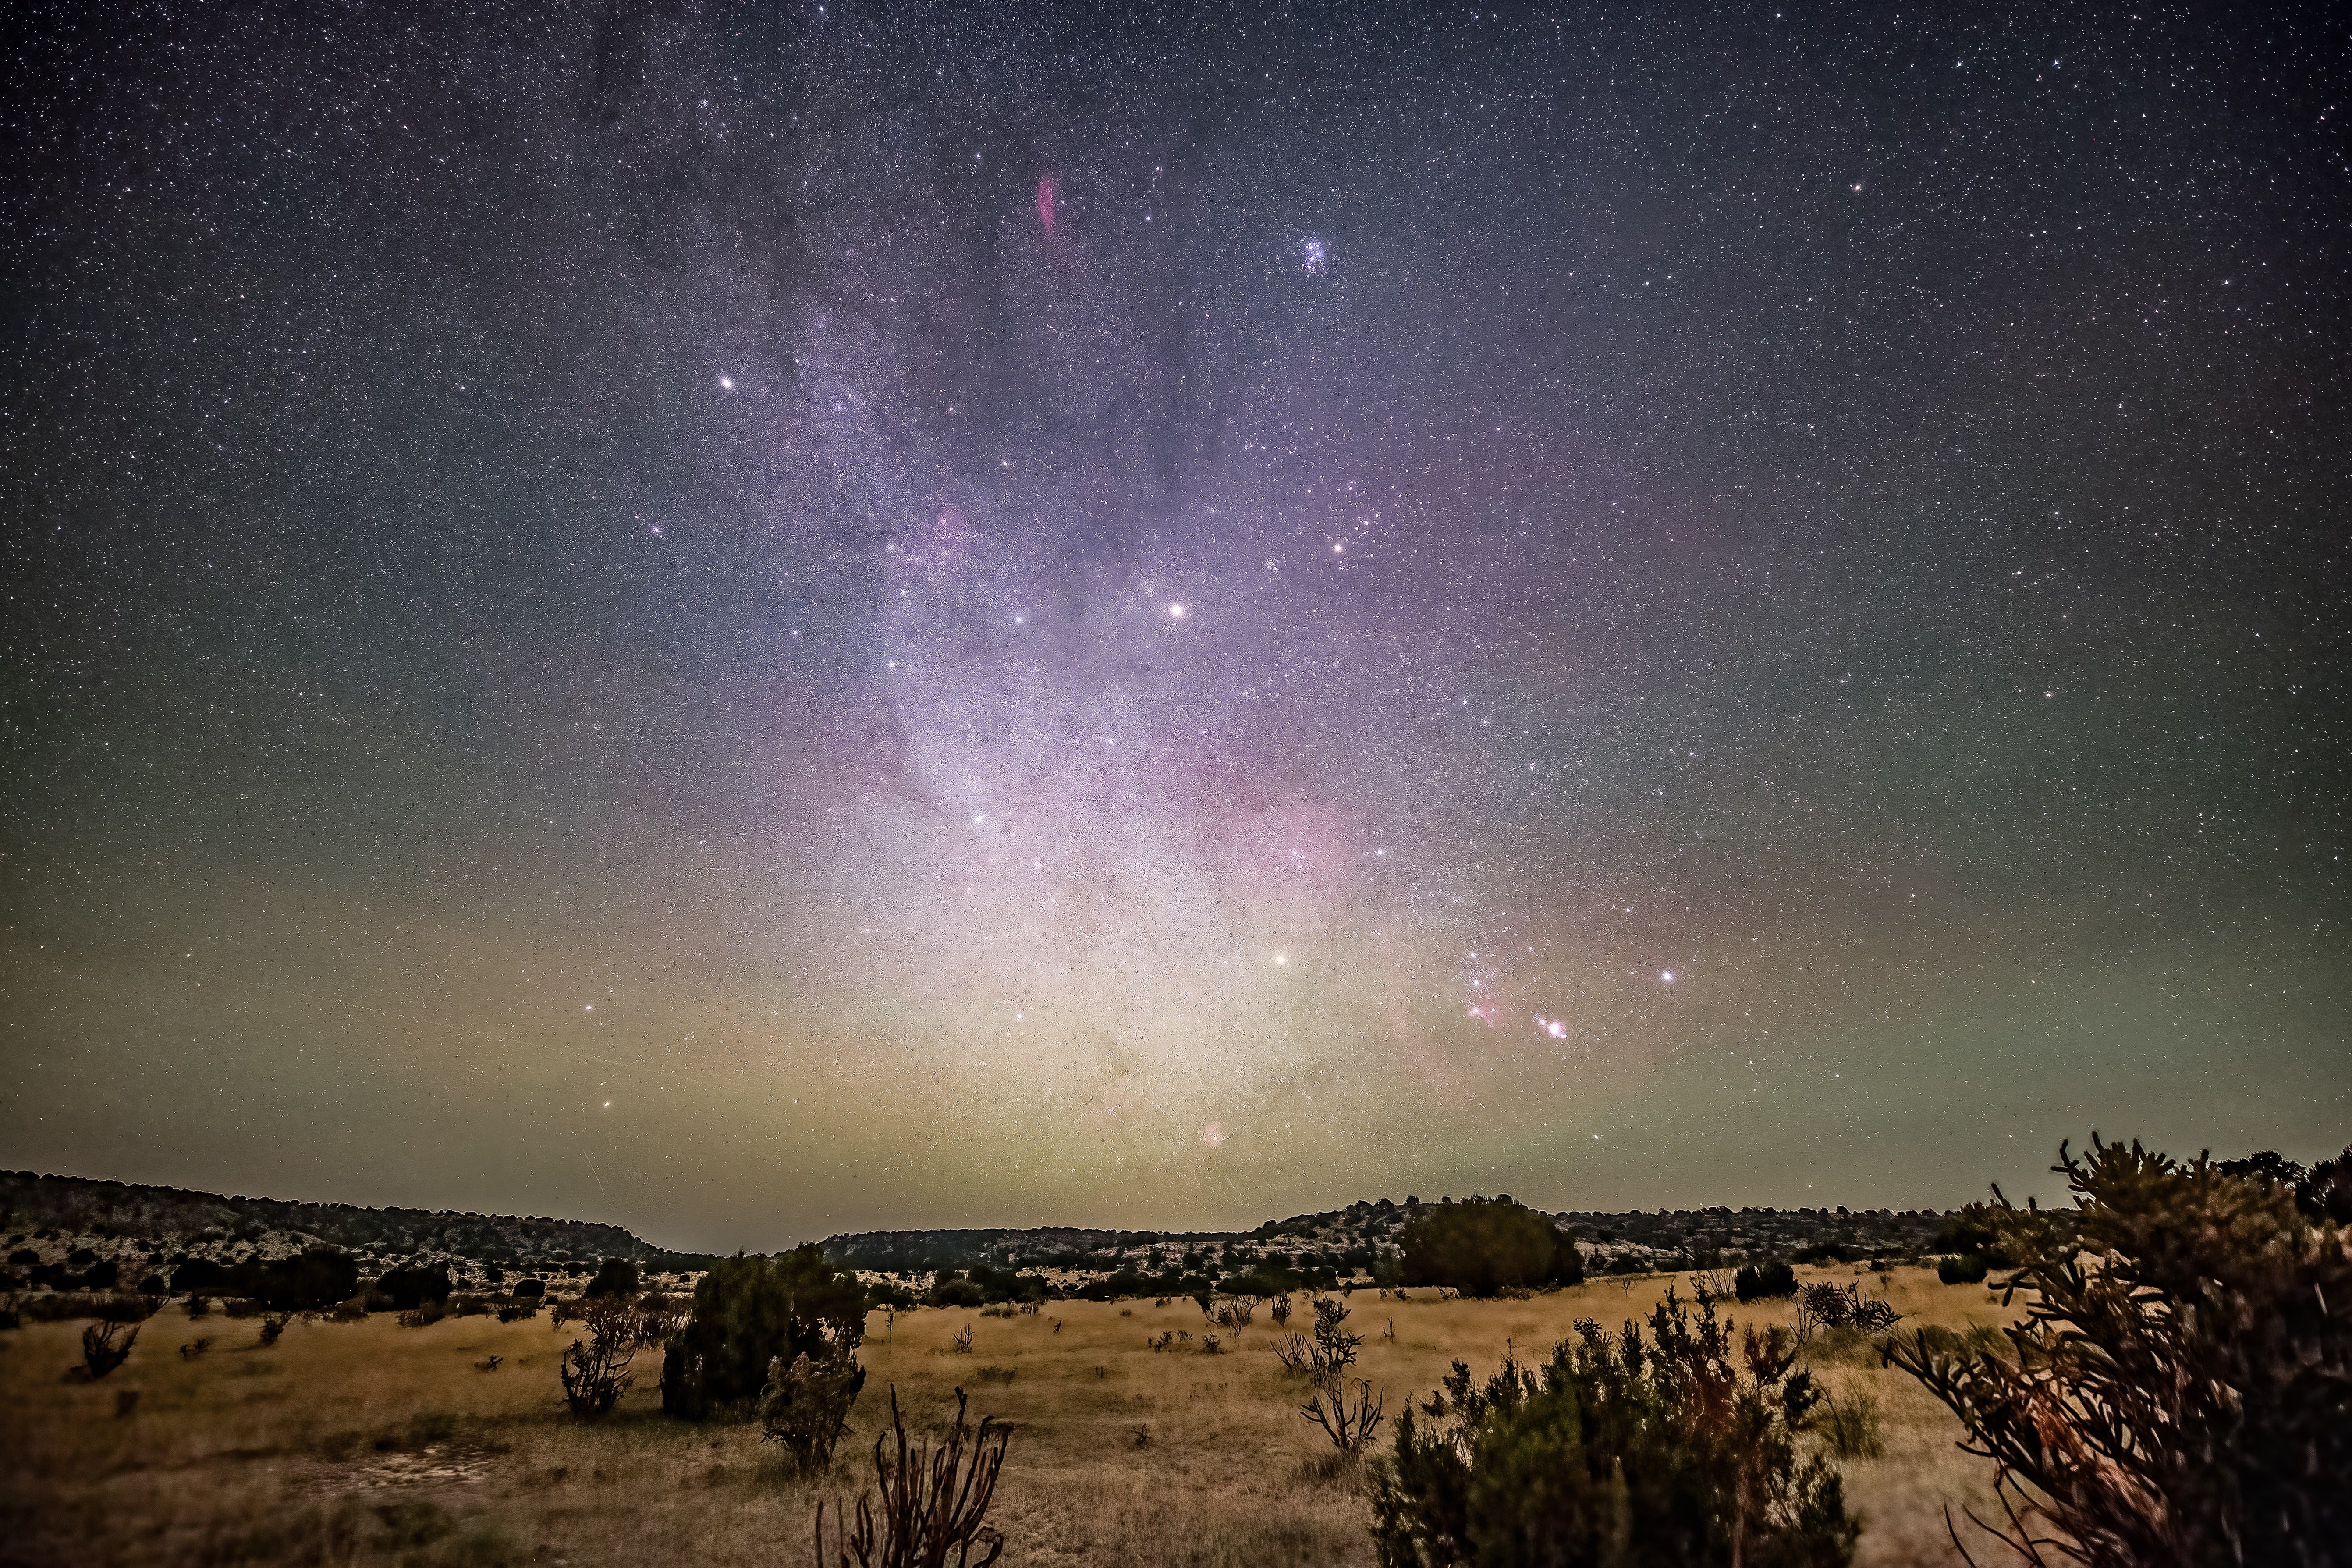
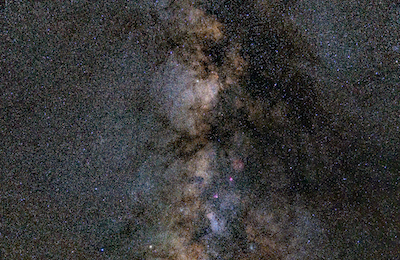
As you complete your checklist, keep in mind where you will be doing your imaging. You won’t take many good images with a lot of light pollution around. Yet some imaging from a light-polluted area can make for interesting lightscape photography. I am fortunate to live far enough from bright city lights that I can easily see the Milky Way without optics. However, you might have to travel some distance to find a dark sky.
Under the stars
Now that you’ve completed your preparation, you’re ready for some imaging. But where do you begin? If it’s your first session, start with a bright constellation. This will help you see what the sky conditions are. Take some initial test shots with different exposures and a couple of different lenses if you have them.
You can approach exposure length a couple of different ways, depending on whether you plan to process your images, a whole new factor in astrophotography. Or do you want to keep it simple for now and see what immediate results you can get? The maximum length you can expose depends on factors like sky conditions, the lens and its aperture, ISO setting, noise reduction factor, how well your mount is polar aligned, and more. I also experiment. Try a range of exposures from short to long, and pick the one that looks best to you.
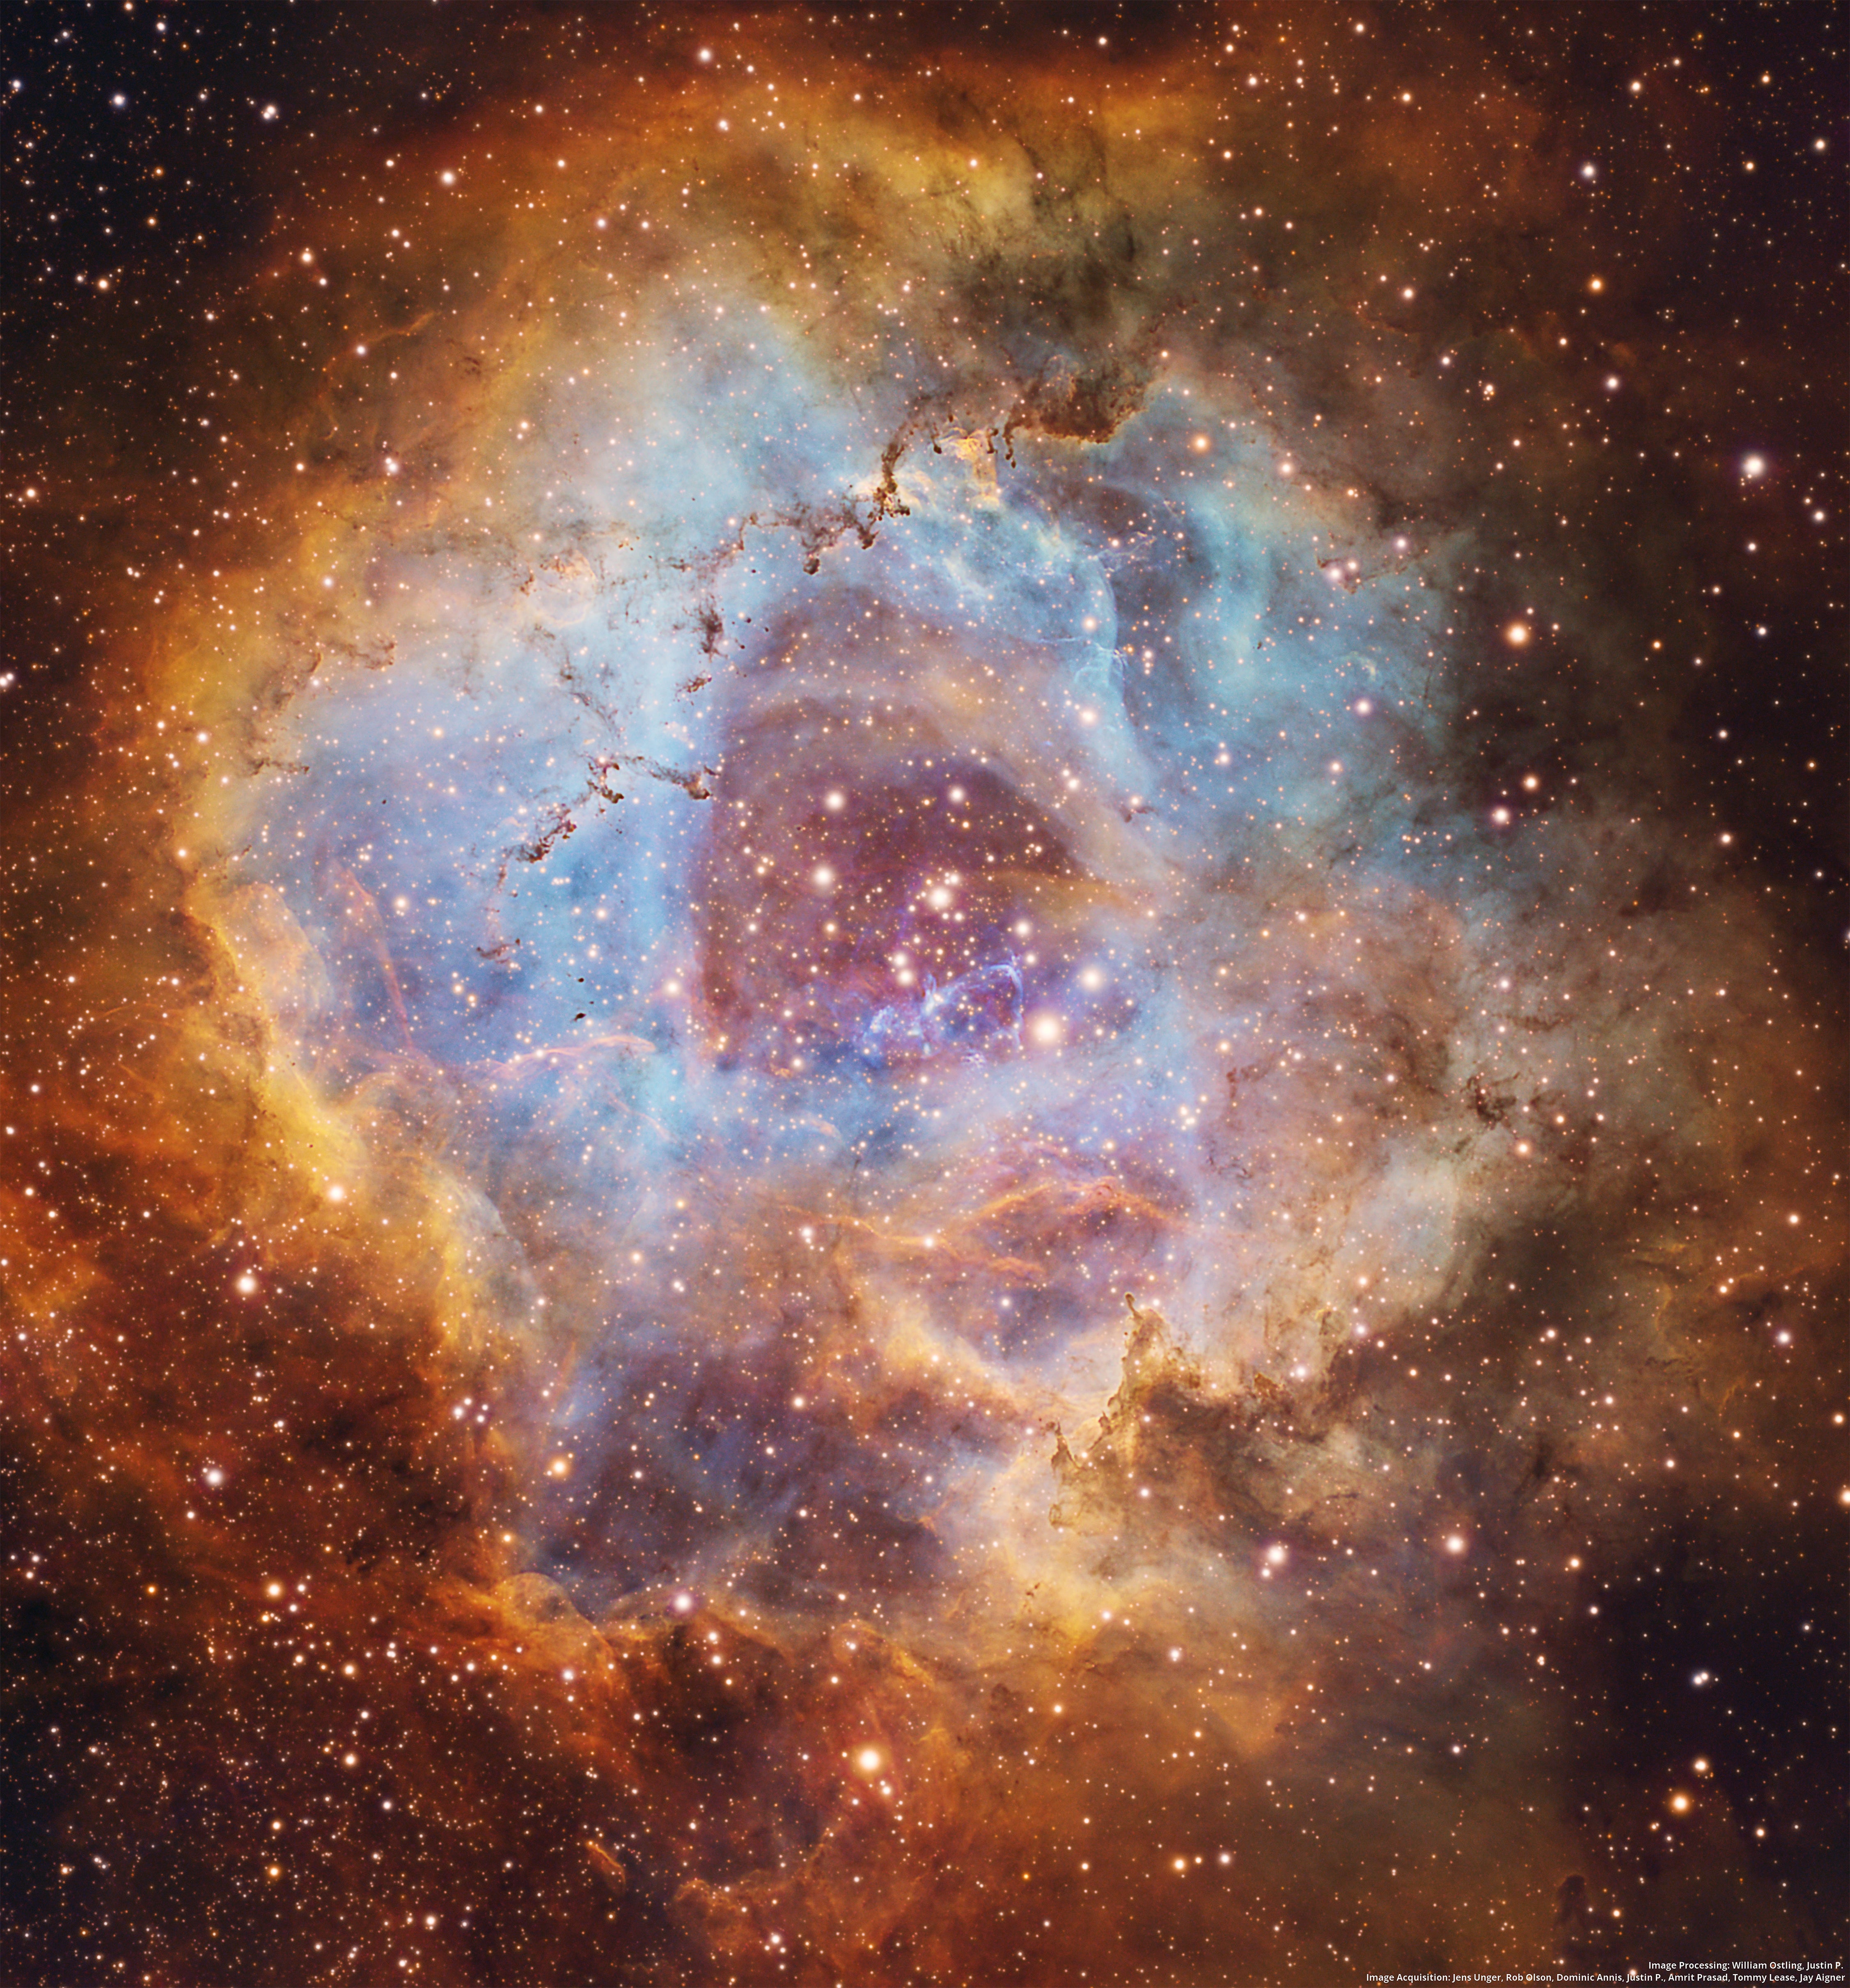
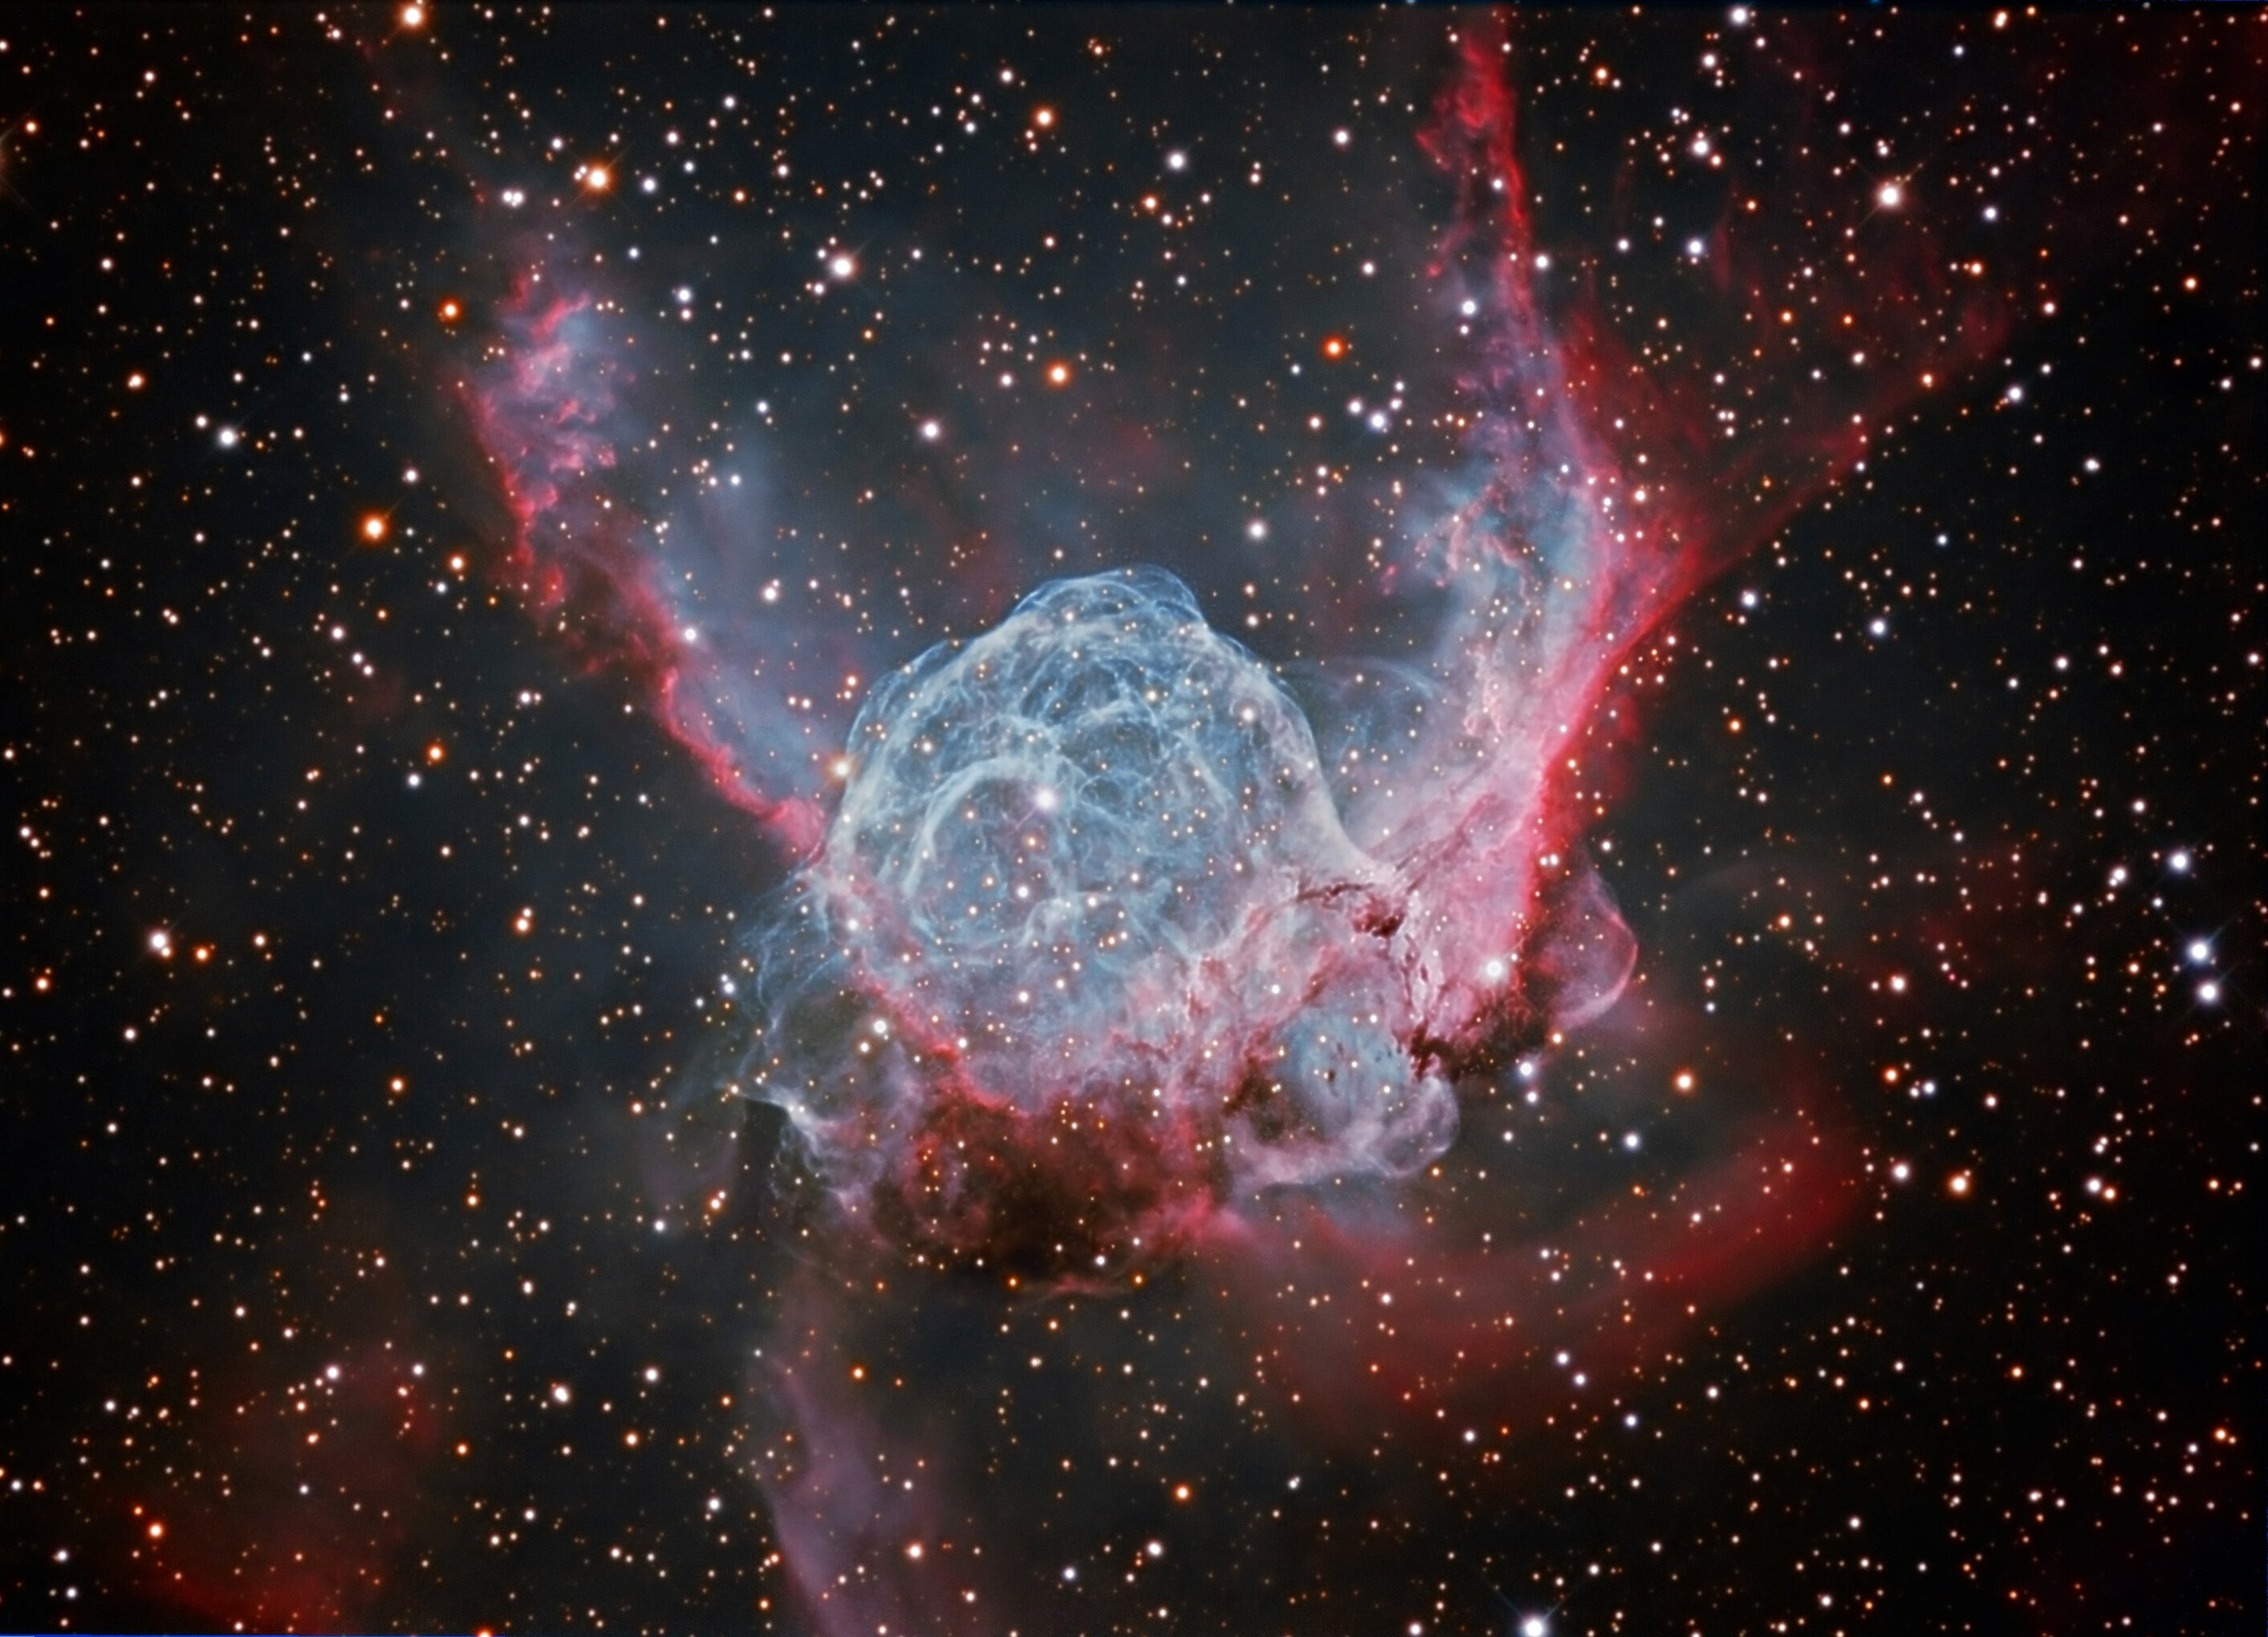
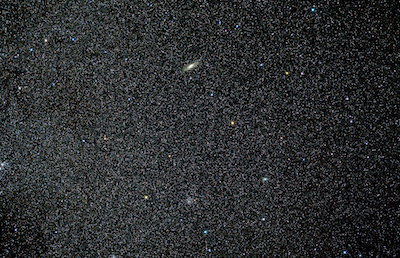
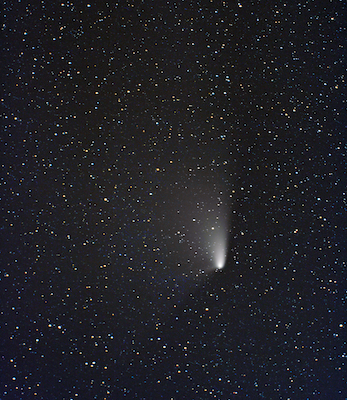
Wide-field astronomical photography will let you image the Milky Way, meteors and meteor showers, and aurorae dancing in the starry sky. You might even capture a satellite or the International Space Station passing through one of your images.
I cannot encourage you enough to give DSLR-tracked astronomical imaging a try, especially if you already have the equipment. You’ll find it fun and relaxing to create images. You’ll also have lots of chances to experiment, sometimes with the placement of a pine tree in the foreground, and at other times by trying a range of lens focal lengths. Hopefully, your sessions will lead to high-quality pictures you’ll be proud to share.