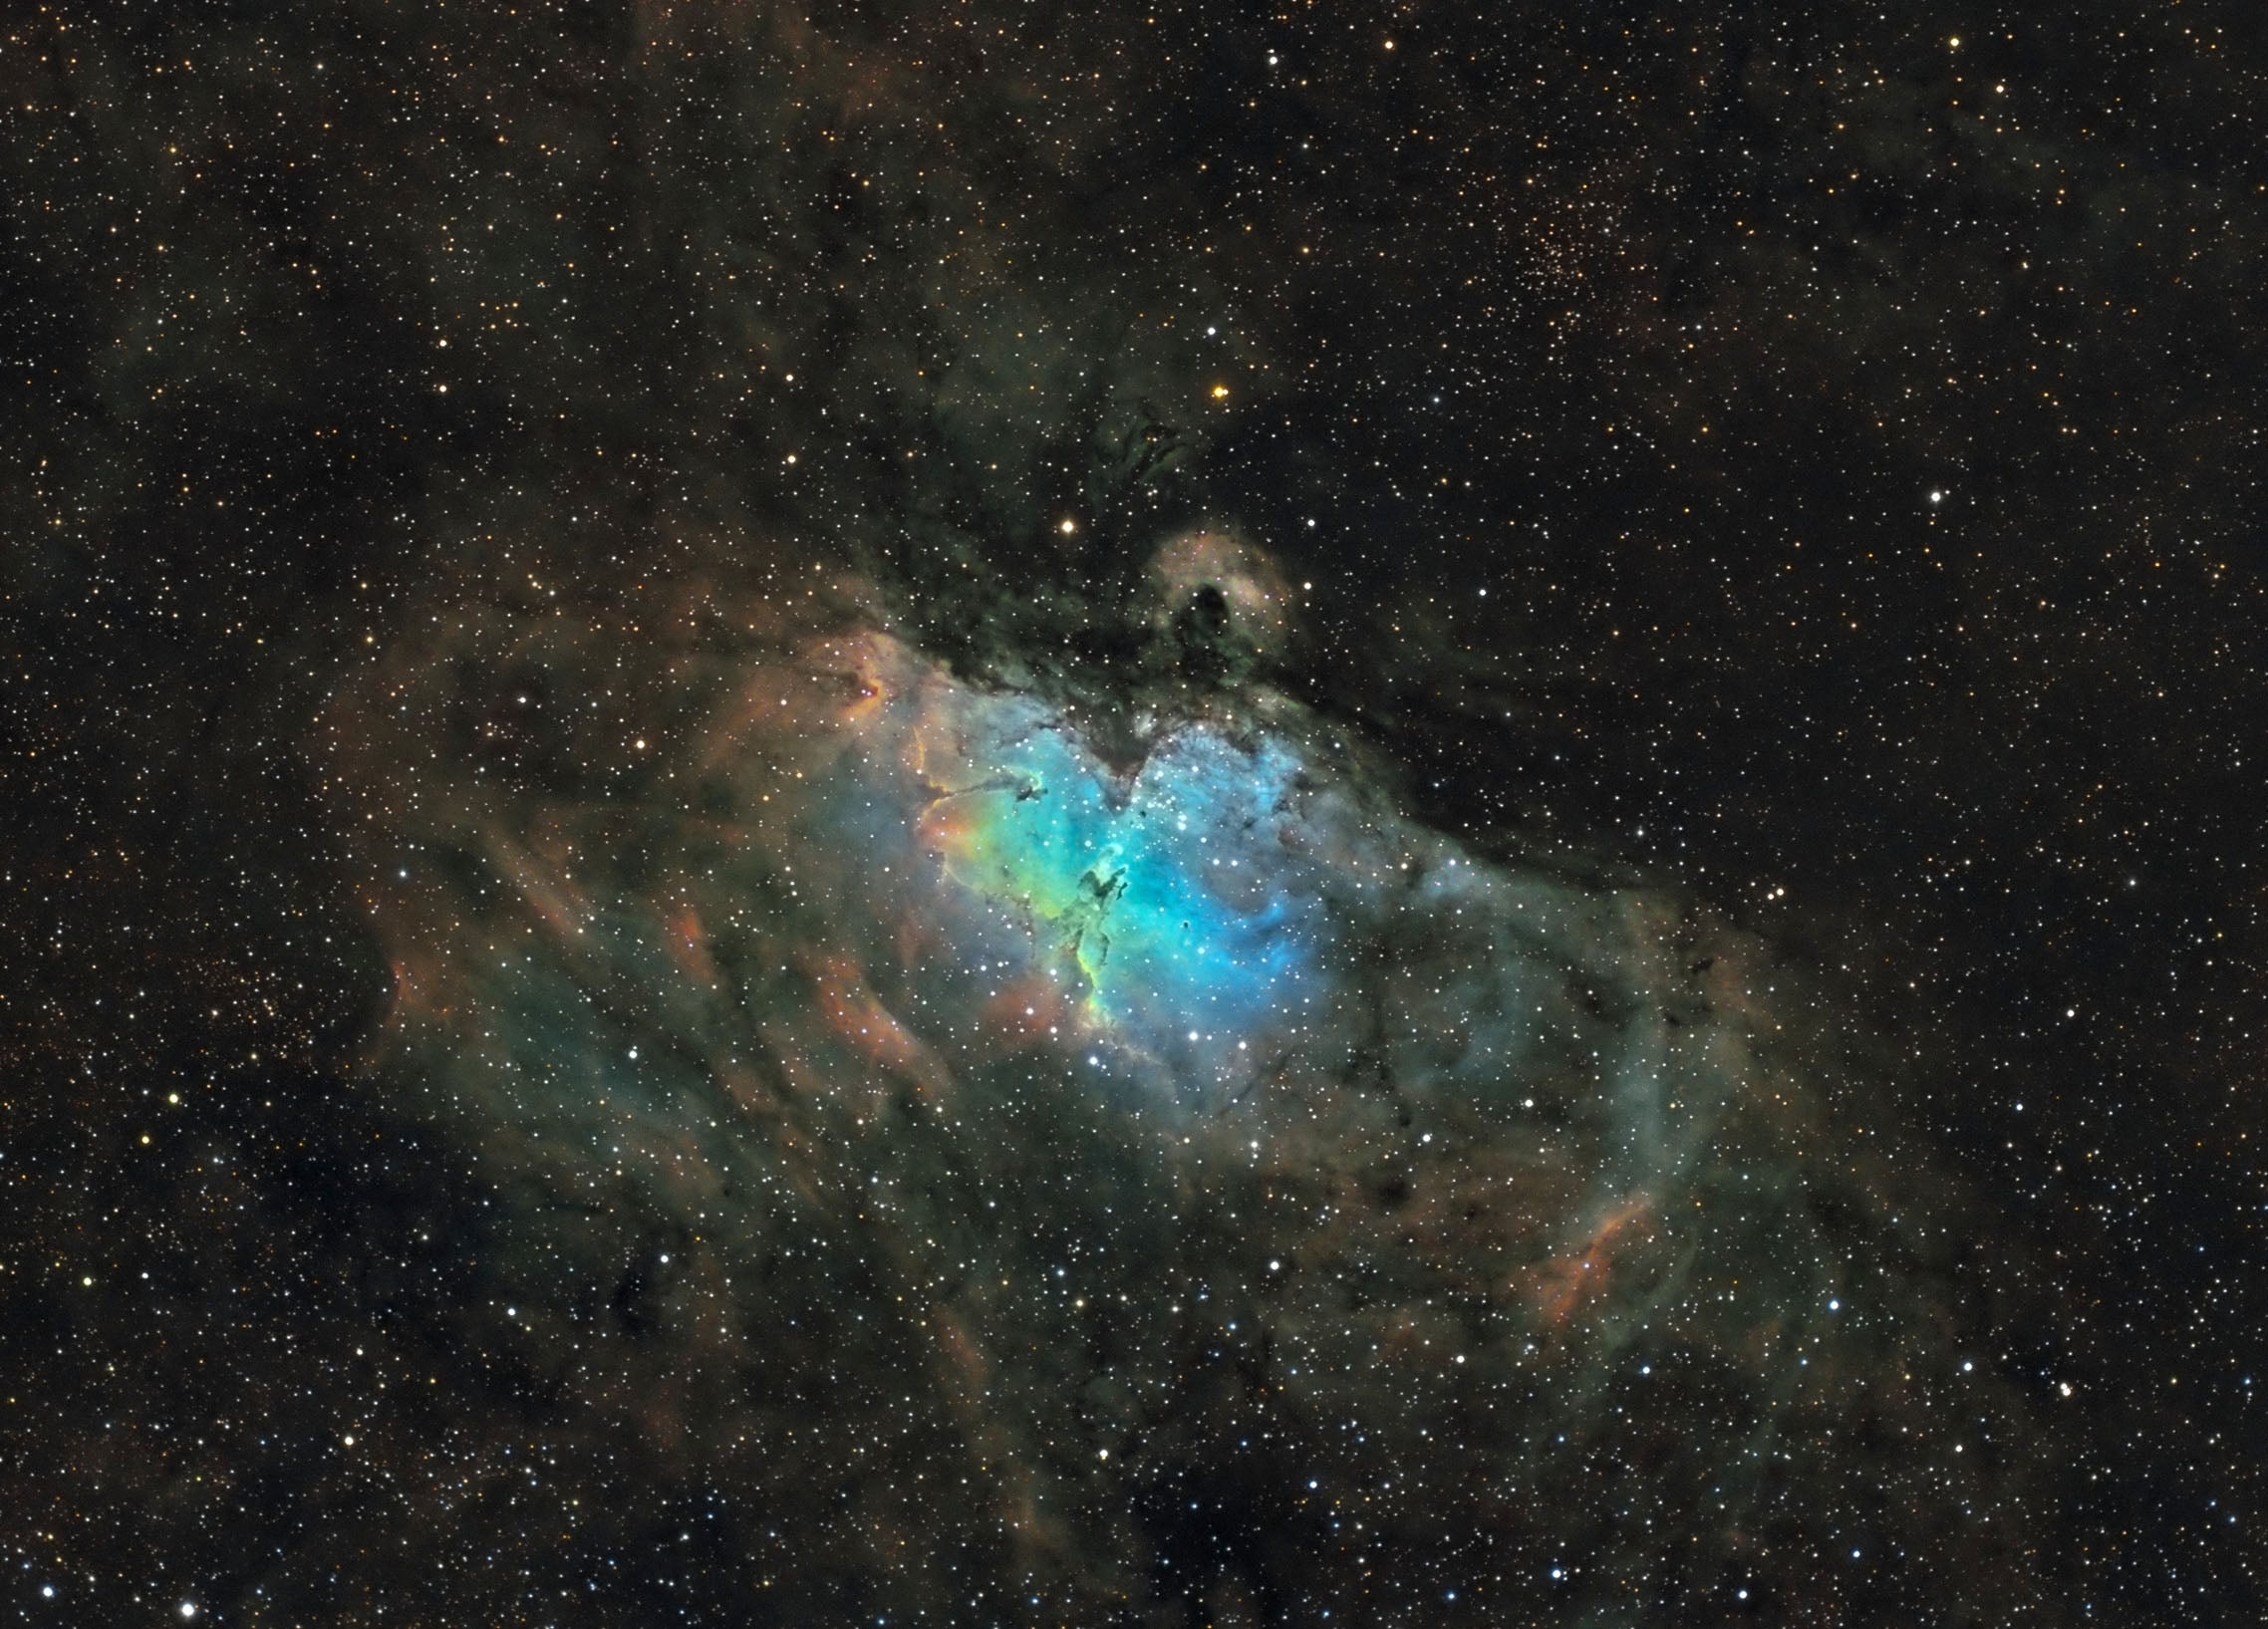
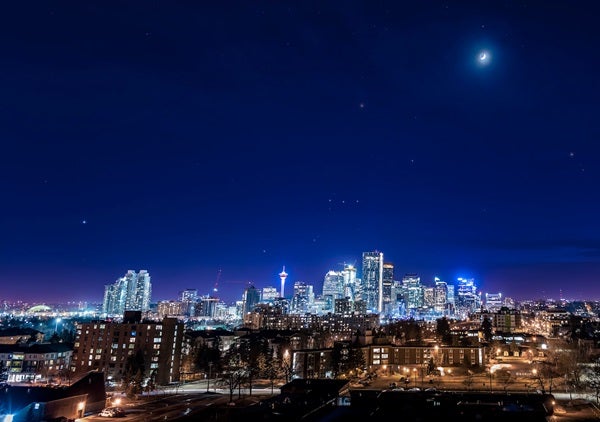
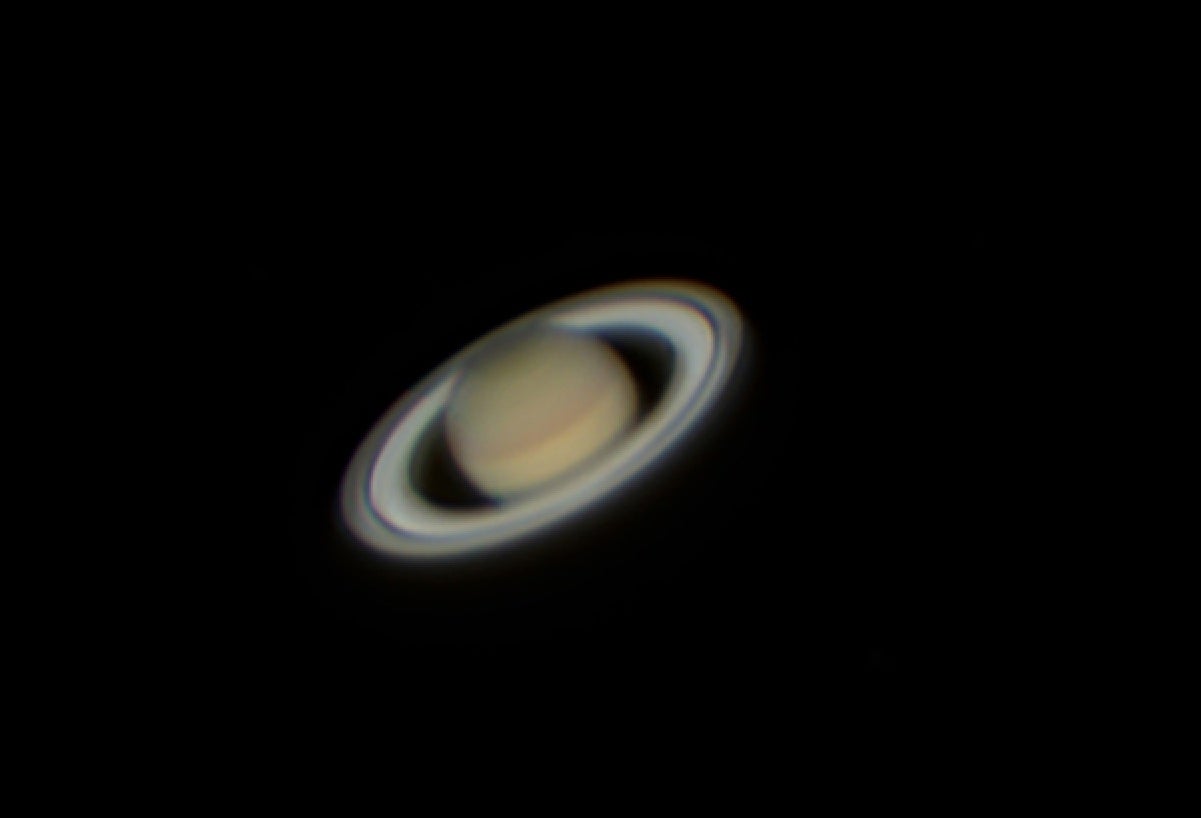
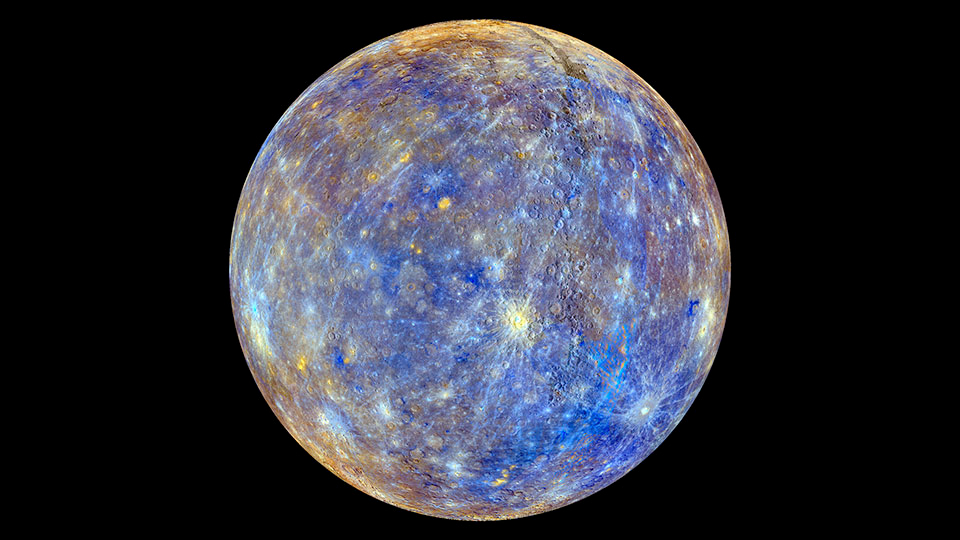
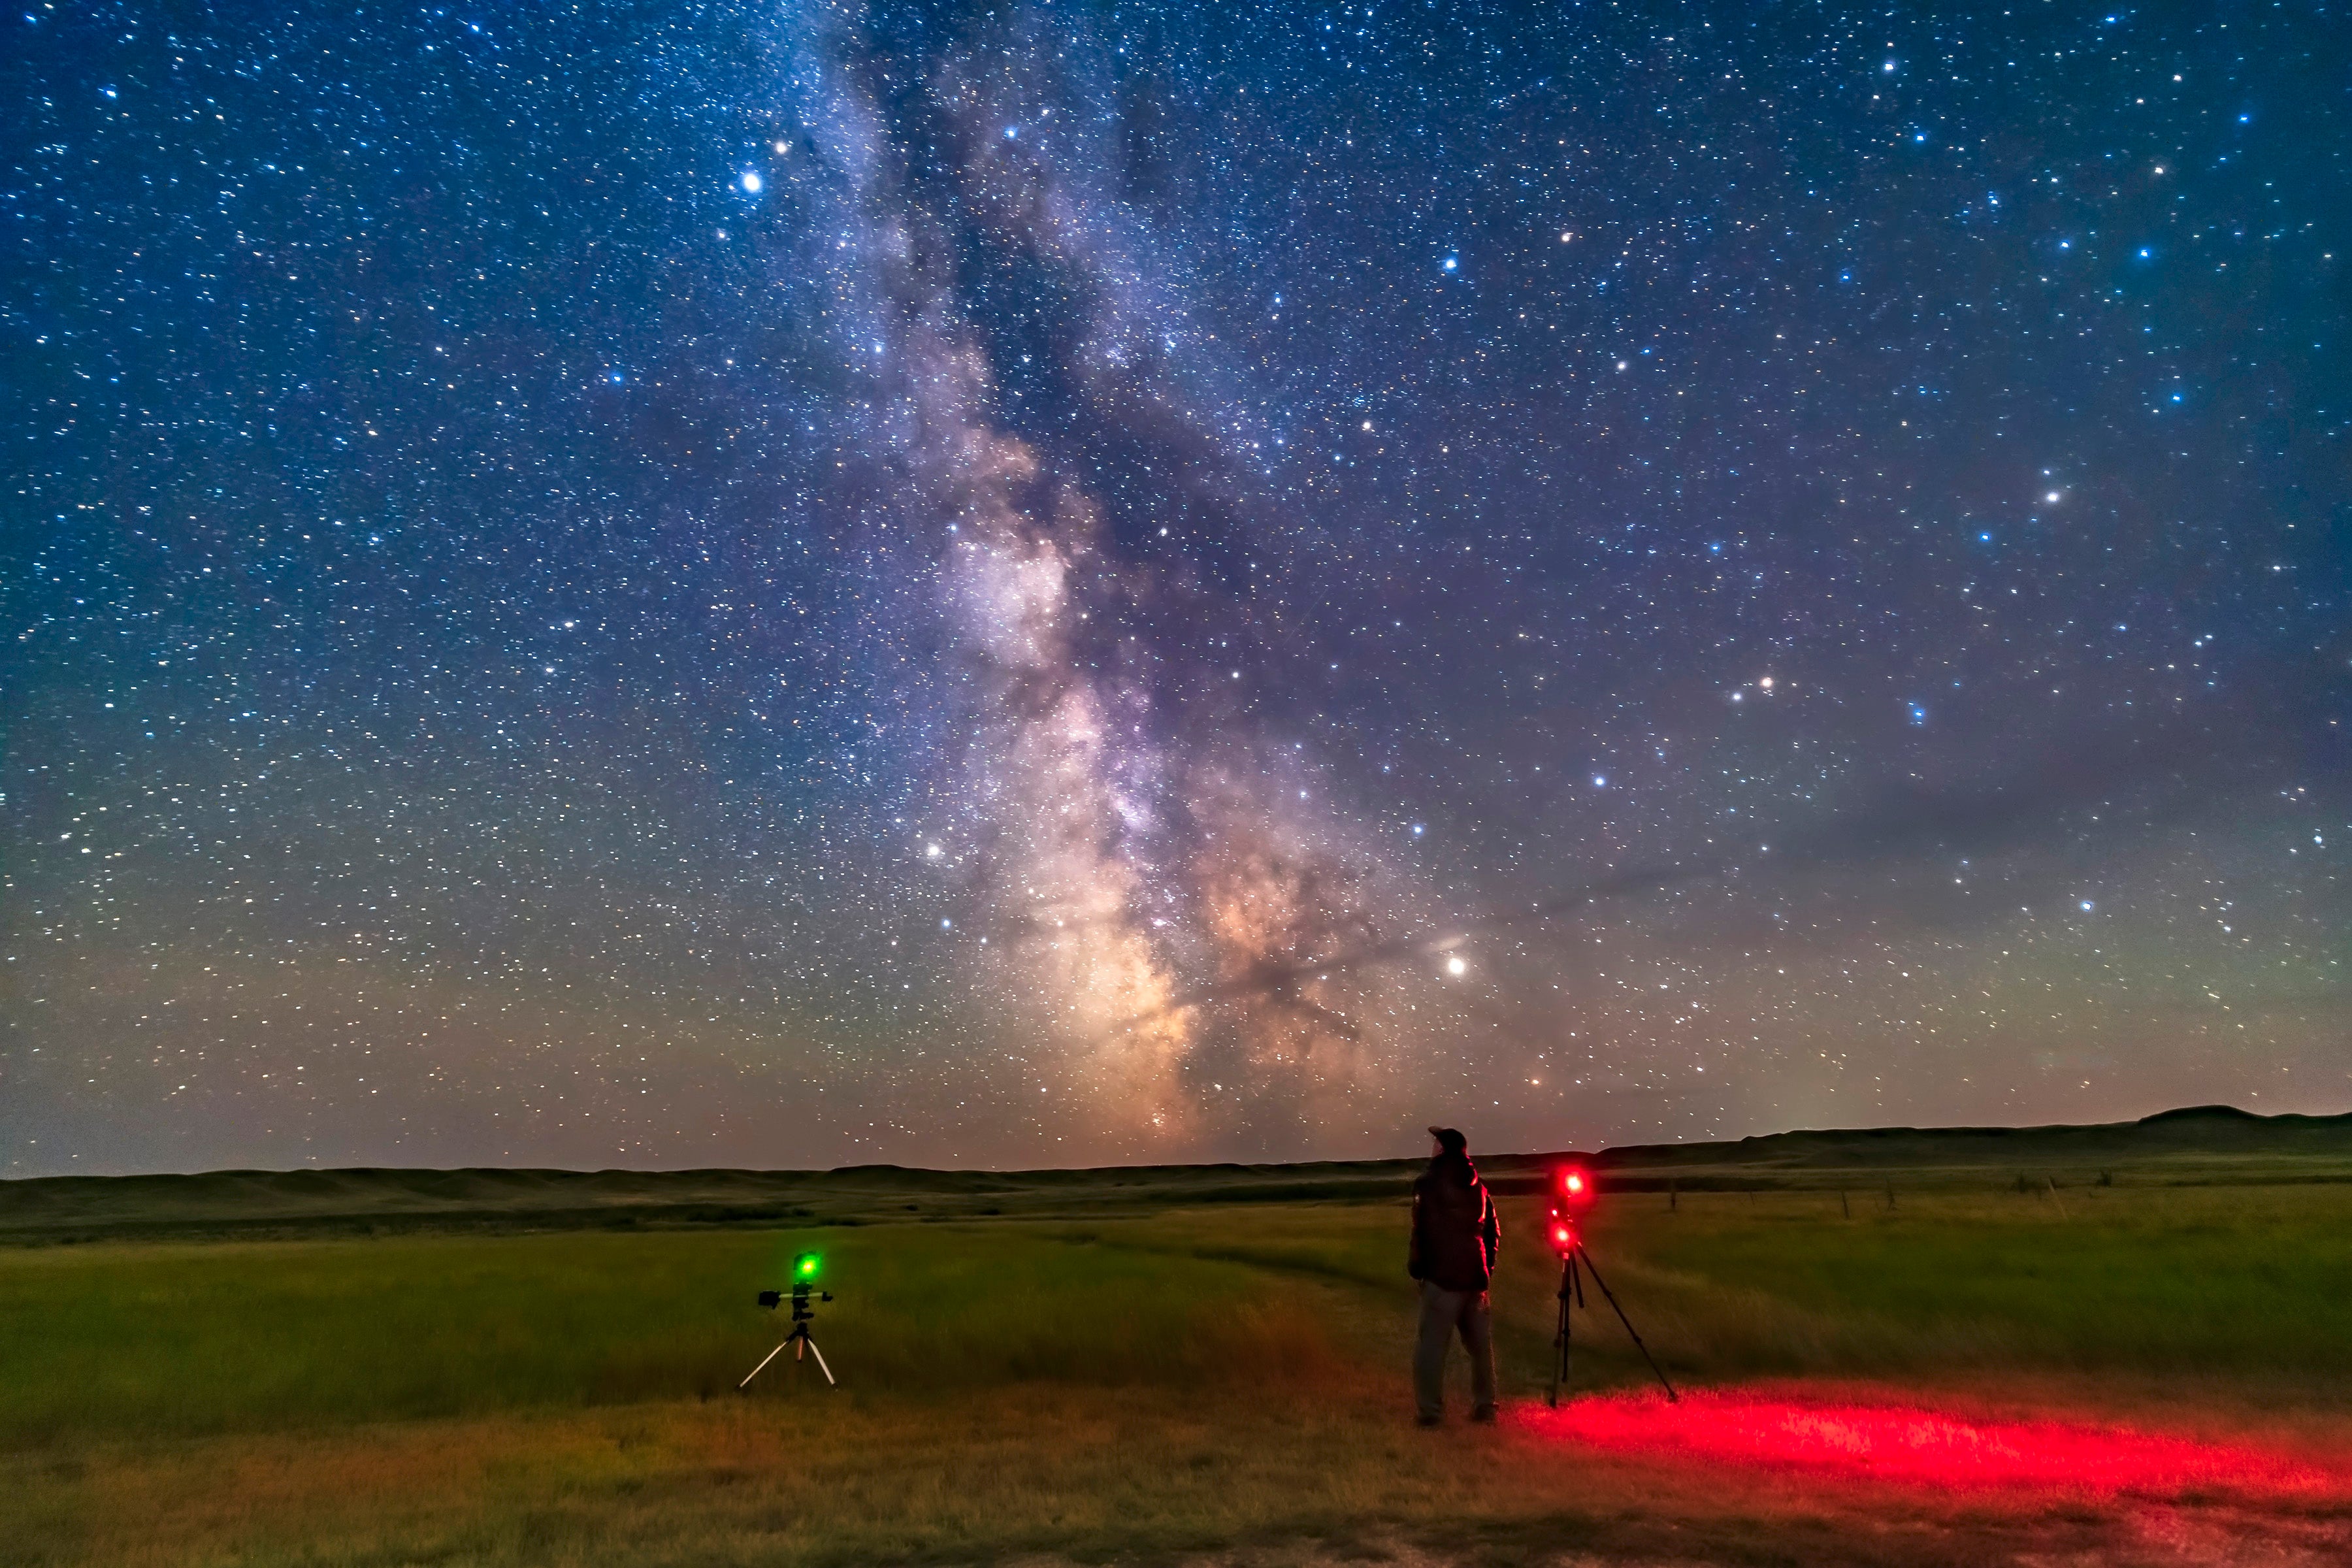
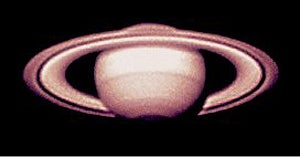
A simple tripod with a camera fixed on top or a plain 35mm camera sitting atop a telescope makes it possible to capture numerous kinds of sky objects, including star trails, meteors, the moon, constellations, the Milky Way, occultations, gatherings of the planets, eclipses, comets, and landscapes with a celestial element. You can even produce your own photographic star atlas. Color portraits of star clusters, nebulae, and galaxies are possible with the more sophisticated guided, through-the-telescope photography.
The key for beginners is not to feel frustrated if first results aren’t “stellar.” Astrophotography will seem counterintuitive at the outset even to experienced amateur photographers: It’s dark, but you can’t use a flash, and you’re taking long exposures of subjects that are moving. These conditions do weird things to your favorite camera, to the roll of film that you bought at the supermarket, and to your mind, which will experience the 50-point drop in I.Q. that always results from going outside at night and trying to take pictures of the sky. This leads us to Healy’s three principles of astrophotography: (1.) keep at it, (2.) keep good records, and (3.) take lots of pictures and throw most of them away.
Selecting a camera is, surprisingly, a nontrivial subject. It turns out that today’s gadget-laden electronic wonders, though they take wonderful snapshots, would rather die (or at least exhaust their batteries) than take a half-hour exposure. As far as films are concerned, I have conducted controlled real-world astrophoto tests of ten 35mm films and found at least one surprising winner as well as several losers.
However wonderful they might be for eliminating human error in snapshots, the auto-focusing, auto- exposing, multimetered, coffee-making, 21st-century 35mm cameras that now dominate new-camera sales are poor matches for astrophotography. Composing an astronomical photograph in the viewfinder of a typical 35mm camera is difficult because the viewfinder is designed for the light levels found in your backyard in mid-afternoon and not in the middle of the night. Simply put, even if you can find it in the sky, you probably still can’t find it in the finder.
Lots of beautiful astronomical photography has been done with medium to large format cameras. From my point of view, however, the best astronomical camera is a simple, fully mechanical 35mm camera body that will accept interchangeable lenses and whose shutter can be held open with a locking cable release. It should also have a bright viewfinder and be equipped, if at all possible, with an accessory right-angle attachment for the finder. The first time that you can’t see your target in your camera’s finder because your head, not being three inches wide, won’t fit between the telescope and its mounting, will make you appreciate the right-angle attachment.
New, fully manual 35mm cameras are scarce and expensive; fortunately an active used-camera market exists. Two places to start your search are your local camera shop and the mail-order camera-store ads in the back of such magazines as Popular Photography. What brand and model used camera should you purchase? As you move from fixed-camera and piggyback photography to through-the-telescope photography, having a bright view-finder becomes increasingly important. With the former two methods, focusing consists of turning the focusing ring on your lens to infinity. With through-the-telescope photography, however, focusing is critical, and focusing on a star becomes difficult- to-impossible with a dim viewfinder that was designed for snapshot photography. The answer to this problem is to select a used camera model that has interchangeable focusing screens and acquire a focusing screen that was designed for low-light levels.
Orion Telescopes and Binoculars offers “ultrabright” focusing screens, and I would suggest concentrating your camera-body search on the following camera models, for which Orion offers focusing screens: Olympus 1-4, Nikon FE/FE2/FA/FM2, Nikon F3, Nikon f/F2, and Pentax LX.
Astrophotographers are faced with a bewildering array of film choices: color or black-and-white, slide or print, Kodak or Fuji, ISO 100 or ISO 1600, supermarket or mail-order, standard or hypersensitized, PJ 400 or Portra 400 VC, to name just a few. Which is best? The answer, unfortunately, varies.
When films record faint light over time, they suffer from an affliction called reciprocity failure. In ordinary snapshot photography reciprocity rules: A photograph, if properly exposed at a shutter speed of 1/500 of a second and a focal ratio of f/8, will also be properly exposed at 1/250 and f/11 and at 1/1000 and f/5.6. In other words, doubling the area of the lens opening and cutting the exposure time in half results in a properly exposed picture, as does cutting the lens opening in half and doubling the exposure time. This reciprocity rule begins to break down with many films in time exposures of more than 30 seconds. A film with an ISO rating of 400 used for snapshots might well have an effective rating of 25 or even zero if used for a one-hour exposure of the Helix Nebula at f/10. An even more insidious effect is that the three layers in a color film may lose reciprocity at different rates, dramatically changing the photo’s color balance.
Yes, the natural skyglow of even dark rural skies is greenish, but you don’t have to use films whose reciprocity characteristics exaggerate the greenish skyglow. At the risk of oversimplification, it’s okay to use your favorite print or slide film from the bin at Walmart (i.e, Kodak Gold or Fuji Superia or Sensia) if you are taking short exposures of bright objects. An example would be a 5-second exposure of the crescent moon and Venus setting over the mountains at twilight, or a 1-second photo of a lunar eclipse.
Longer exposures require somewhat more exotic films that you probably won’t find at the supermarket. The photographic mail-order houses that advertise in the back of such magazines as Popular Photography offer a wide assortment of films. One retailer that particularly caters to amateur astronomers is Adorama. And Lumicon is perhaps the best source of astronomical film and related supplies and equipment for skyshooters.
Lumicon offers, by mail order, many of the best films for astrophotography and was the source of the hypersensitized films that we used in our film tests. Hypersensitizing consists of baking a roll of film in a mixture of gases containing hydrogen for up to several days. The advantage of hypersensitizing is that the treated film increases or at least maintains its rated speed or sensitivity under the low-light, long-exposure conditions typical in astrophotography. The disadvantage of hypered films is that the effect of hypering wears off sooner or later (freezer storage retards this degrading process); it needs to be exposed and processed promptly. Lumicon offers kits for hypering your own film, which is preferable if you expect to use hypered film frequently.
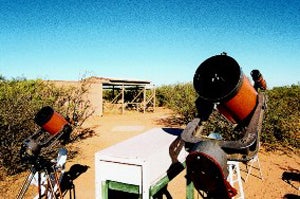
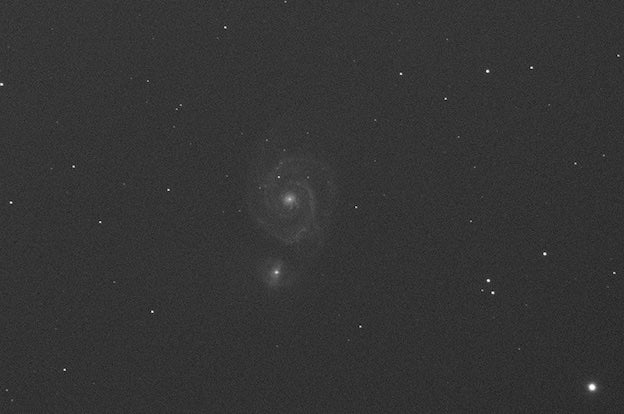
I acquired samples of ten different types of film, both hypered and unhypered, from Lumicon and Adorama. All the selections had at least some promise as films that might behave well when used for long exposures of faint objects. I ran all ten through identical tests. Using a 300mm telephoto lens “piggybacked” for tracking on an equatorially mounted telescope, I took exposures of the Andromeda Galaxy (M31) and the Orion Nebula (M42) at lengths ranging from 5 minutes to 40 minutes and at focal ratios ranging from 4 to 8. All the tests were done on clear moonless nights from my dark-sky site in southeast Arizona. Although the exposures were taken over a period of about two weeks, sky conditions were similar, if not identical, for all the tests. With the exception of the Technical Pan 2415 film, which I developed myself, all the film was processed at the same laboratory.
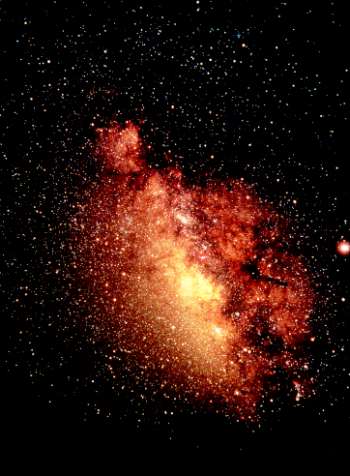
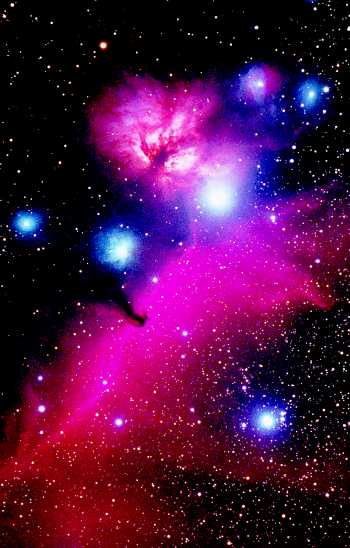
I selected M31 and M42 as targets for the test not only because they are well-known objects commonly shot by astrophotographers, but also because the objects offer wide variations in both brightness and color. M31’s spiral arms grow increasingly fainter the farther one goes from the nucleus of the galaxy, finally blending with the sky background, and M42 is adjacent to the reflection nebula NGC 1973-5-7.
Kodak PPF 400 color print film has been the gold standard among astrophotographers for many years; inevitably, Kodak has discontinued it, recommending instead the use of Portra 400VC. Lumicon still has supplies of PPF 400 at this writing, but I’d recommend PJ 400 color negative film instead of Portra 400VC if PPF 400 is not available (or even if it is). Fuji’s strong entries in color astronomical films are G800 for prints and RD 100 for slides. Kodak’s high-speed Ekta-chrome P1600 slide film has both the virtues and vices you might expect. I tested Kodak’s fast TMY 400 black-and-white film as a possible alternative to hypersensitized Technical Pan 2415, the best black-and-white film for astronomy. TMY 400 failed; use TP 2415 for black-and-white photography – it’s well worth the trouble of developing it yourself. The table shows my test ratings of the films on three criteria: speed or sensitivity, color fidelity, and resolution (i.e. graininess or sharpness).
A few points that stood out: Kodak’s new PJ 400 color print film, even though it wasn’t hypersensitized, was as fast as the discontinued PPF 400 and was less grainy. It may well become the astrophotographers’ new gold standard. Fuji’s G800 color print film, at least when hypersensitized, is an all-around fine choice. Fuji’s RD 100 color slide film yielded the finest detail and resolution of all the films tested; perhaps the finest I have ever seen. It also produced a sky background of a deep forest green and took long exposure times to record the detail properly, even when hypersensitized.
Another table presents recommended exposure times for the tested films for M42 and M31, converted to a standard focal ratio of 5.6 . Bracket your exposures, at least on the low side. These exposure times are long enough to reach the sky fog limit at a dark site: longer exposures would merely record the sky background with more density without increasing detail. The more light-polluted the site, the shorter the exposure.
Get yourself a camera body and roll of one of these films and go out and shoot. And keep shooting. Wait until a night when the sky is dark and transparent (unless you’re shooting the moon). The only way to get good at astrophotography is to go outside and do lots of it. You’ll shoot a good many rolls before you begin to feel comfortable with all the variables involved. The sooner you start, the sooner you’ll be collecting your own portraits of the ever-changing universe.