When you’re starting out in astrophotography, the myriad technical terms can be daunting. Gain? Offset? Flat darks — or is it dark flats? Let’s clear up some common areas of confusion.
We’ll start with gain. Setting the gain value affects a camera’s electronic gain, which is reported in electrons per analog-to-digital unit, or e–/ADU. A common belief is that adjusting the gain changes the sensitivity of the camera. However, it’s more accurate to say that it changes the way the camera quantizes light as it converts photons into a digital signal.
A camera sensor converts photons to electrons, which are then collected and read out at the end of the exposure. The amount of charge is converted to digital units of pixel brightness, from black to white. The scale depends on the camera’s bit depth: A 12-bit sensor has a range of 0 to 4,095 ADU, while a 16-bit sensor has a range of 0 to 65,535 ADU. Shooting at unity gain means 1 electron = 1 ADU. At low gain, it will take multiple electrons to add 1 ADU to a pixel’s total count. At high gain, each electron adds multiple ADU to that pixel.
A higher gain reduces the well depth, or how many electrons it takes to saturate the pixel. This gives the appearance of higher sensitivity and allows for shorter exposures at the expense of dynamic range — the range of brightness values the camera can record in a single shot. Lower gain allows you to use the full well depth of the pixel, making smaller gradations between brightness values and thus increasing contrast and dynamic range; however, you lose signal when not enough electrons accumulate to step one whole ADU. If you’re not sure where to start, unity gain is a good compromise.
Offset is the amount of charge that is preloaded into the pixels to prevent them from reporting zero. This avoids losing any small amount of signal. There is not necessarily an optimum offset, but you do need to determine how large an offset is sufficient. At your camera’s shortest exposure setting and while covered, adjust the offset until the histogram curve separates from the left edge of the histogram, indicating that no pixels are reporting zero.
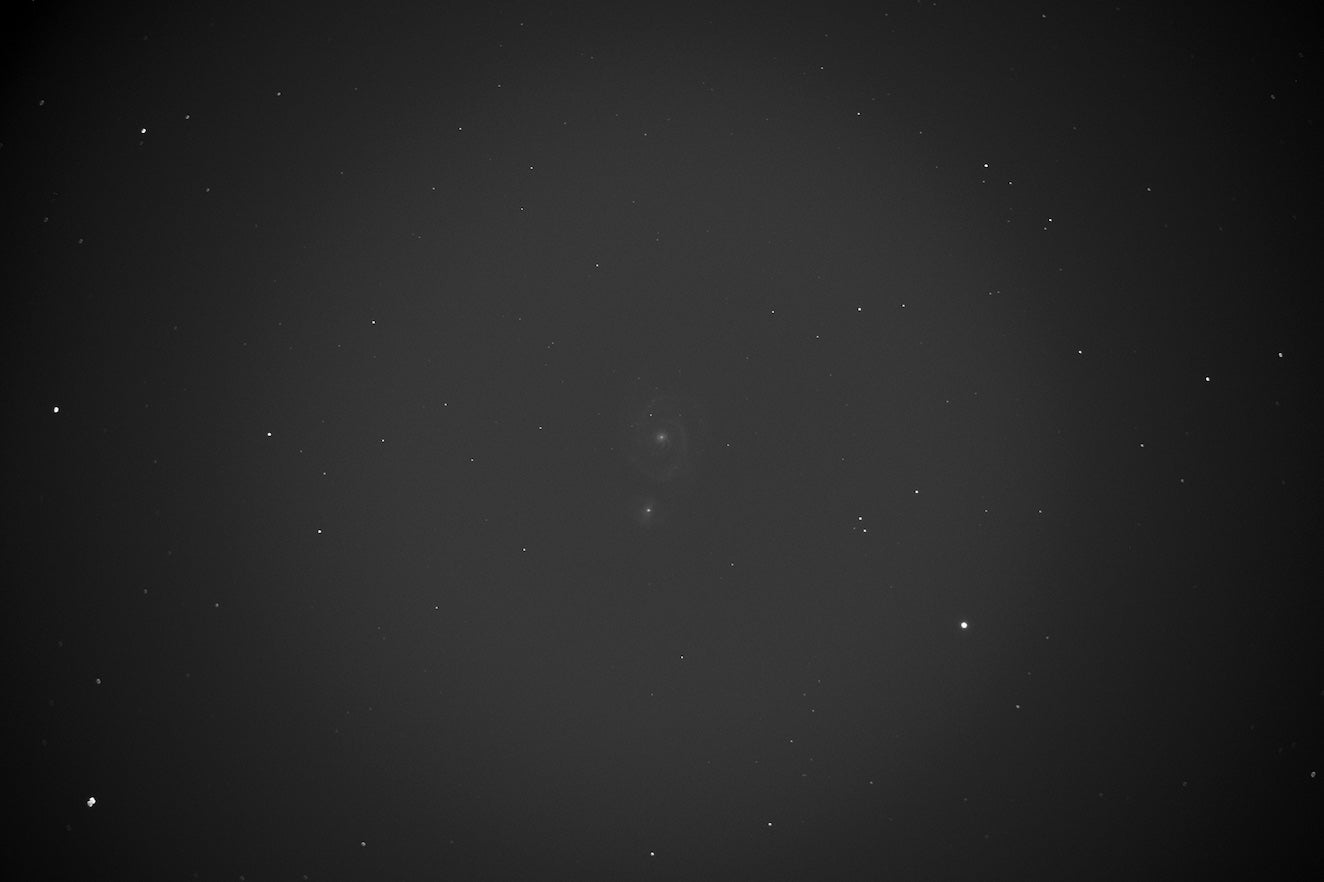
Dark calibration images help reduce the noise that accumulates from heat and electronics during a long exposure. This can’t remove the random shot noise — the statistical noise inherent to capturing low numbers of photons. But it can reduce fixed-pattern noise (caused by variations in pixel response, leading some pixels to consistently read brighter or dimmer) and hot pixels (defective pixels that read much too bright).
To create a master dark, cover the camera and take at least 10 shots with the same exposure time, camera temperature, gain, and offset as your light frames. The camera does not need to be on the telescope. I usually take 50 to 100 darks for better statistics, as you will be averaging (stacking) the frames to create a master dark. I keep a darks library for different temperatures and settings. (Bias frames are no longer necessary for today’s modern CMOS cameras, and can actually cause problems instead.)
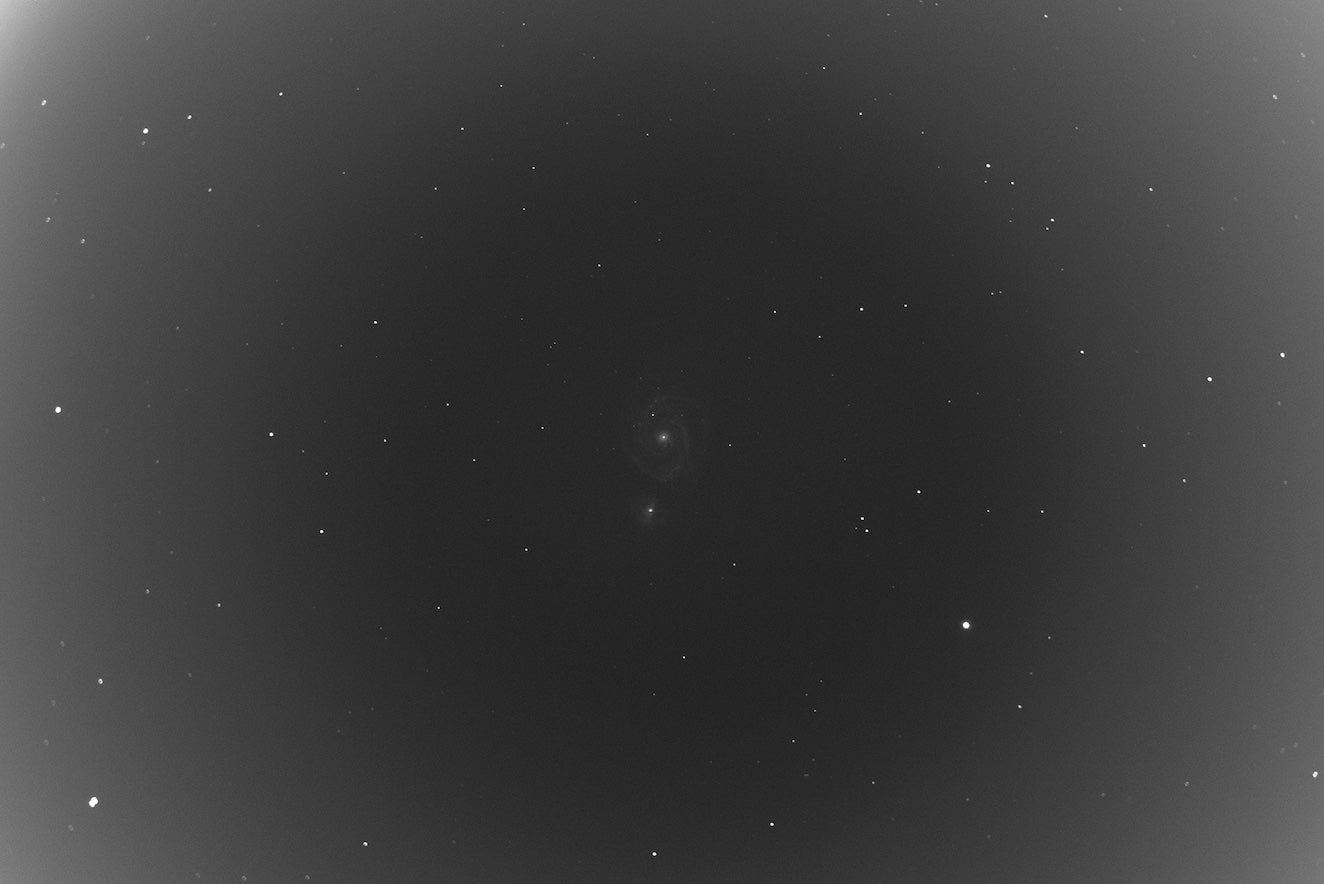
Flat frames correct for vignetting (darkening of the corners) and dust spots. These don’t need to be taken at the same temperature nor exposure time as your light frames, but they do need to be at the same gain and offset, and the camera must be on the telescope in the same orientation and focus. A properly exposed flat image should have the histogram peak roughly centered. For color cameras, it can be difficult to get all three red, green, and blue peaks in the center; just make sure they are not falling off the left or right sides of the graph. Adjust the exposure time to change the histogram peak location.
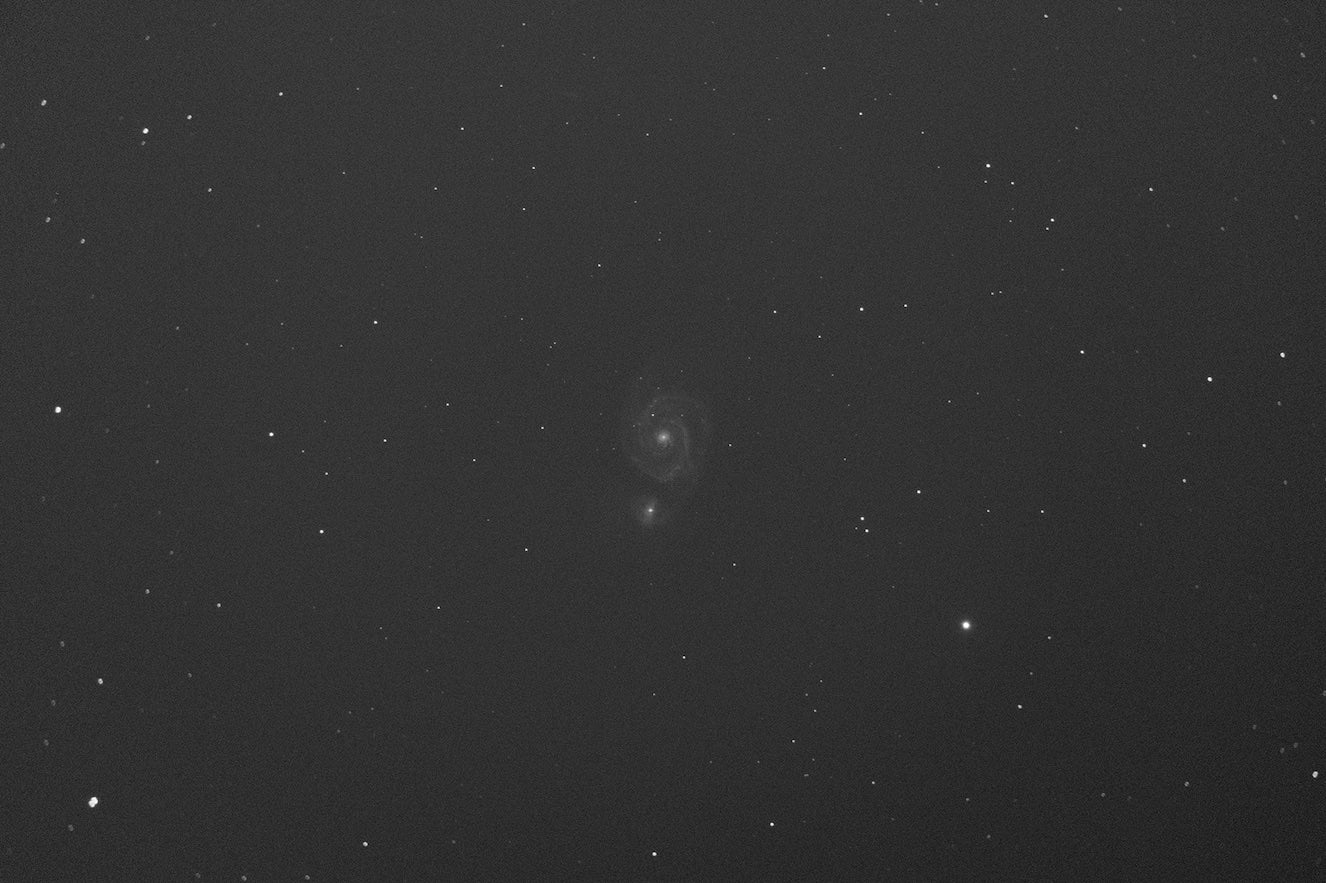
Flat darks are dark frames for your flats — just like you use a master dark to calibrate your lights. These are not always necessary, but if you experience problems with flats appearing to overcorrect your lights, try calibrating your flats with flat darks. These, like dark frames, can be taken off the telescope if necessary, and should be around the same temperature and have the same exposure time as the flats.
Now that you are armed with knowledge of common astrophotography camera terms, you are ready to take great astrophotos. Bring on the photons!