Astroimaging involves a profound irony. While the goal of photography is to capture light, the majority of what astrophotographers capture in their images is utter darkness. Oh sure, the intended subject will be a star cluster, nebula, or galaxy. But that doesn’t change the fact that most of a typical image will consist of dark background sky. Ultimately, astrophotographers produce beautiful images of … well, mostly nothing.
However, the sky offers ample opportunities to capture beautiful images of regions of darkness that actually are something: dark nebulae. This class of celestial object receives scant attention from astroimagers, who predominantly target objects that emit or reflect light.
That is regrettable, because dark nebulae are some of the most important structures in the universe and, therefore, worthy imaging subjects for amateur astronomers. If we take a little time to learn about them, you’ll soon see why.
The importance of dark nebulae
Astronomers study molecular clouds because they are star-forming regions. New stars are born within them when condensing regions of H2 reach sufficient density to trigger nuclear fusion. But this process of condensation only begins at extremely low temperatures, generally 10 kelvins or less. (Remember that 0 kelvin is absolute zero.) Condensing gas always heats up, however, and if the temperature rises above 4 kelvins, it will begin to expand, halting star formation. Fortunately, dust particles are efficient radiators of heat, so they keep the temperature low and allow condensation to continue.
Ultraviolet light (UV) from newborn stars stimulates the remaining hydrogen in the cloud to emit light at the hydrogen-alpha (Hα) wavelength of 656.28 nanometers, creating a glowing emission nebula. UV also provides the energy needed to change carbon monoxide and nitrogen on the surface of dust particles into a smorgasbord of more complex organic molecules, including formaldehyde, glycine, and polycyclic aromatic molecules. Once formed, the complex organic molecules circulate within the dust cloud. Indeed, radio observations find dark nebulae harbor about 70 different organic compounds, some of which may be the building blocks of life. Knowing this, who wouldn’t want to image dark nebulae?

Finding dark nebulae to image
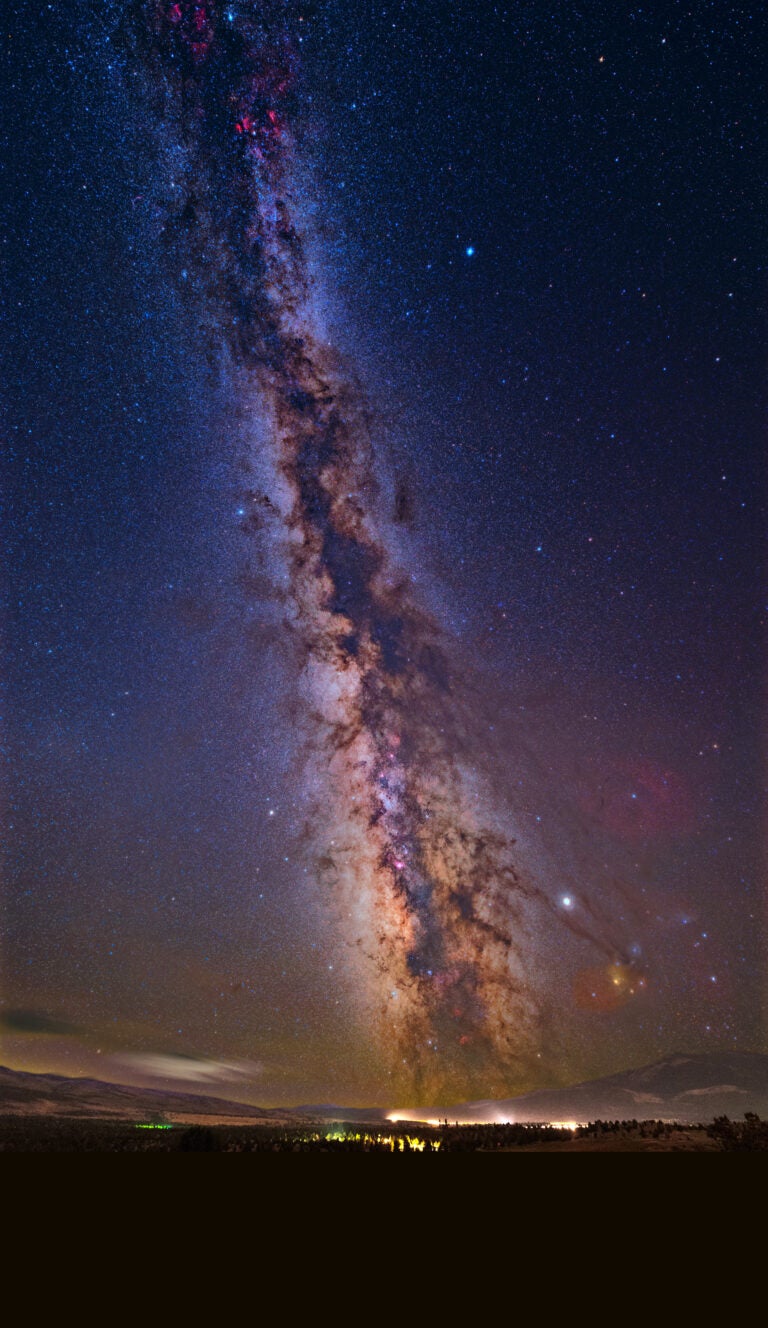
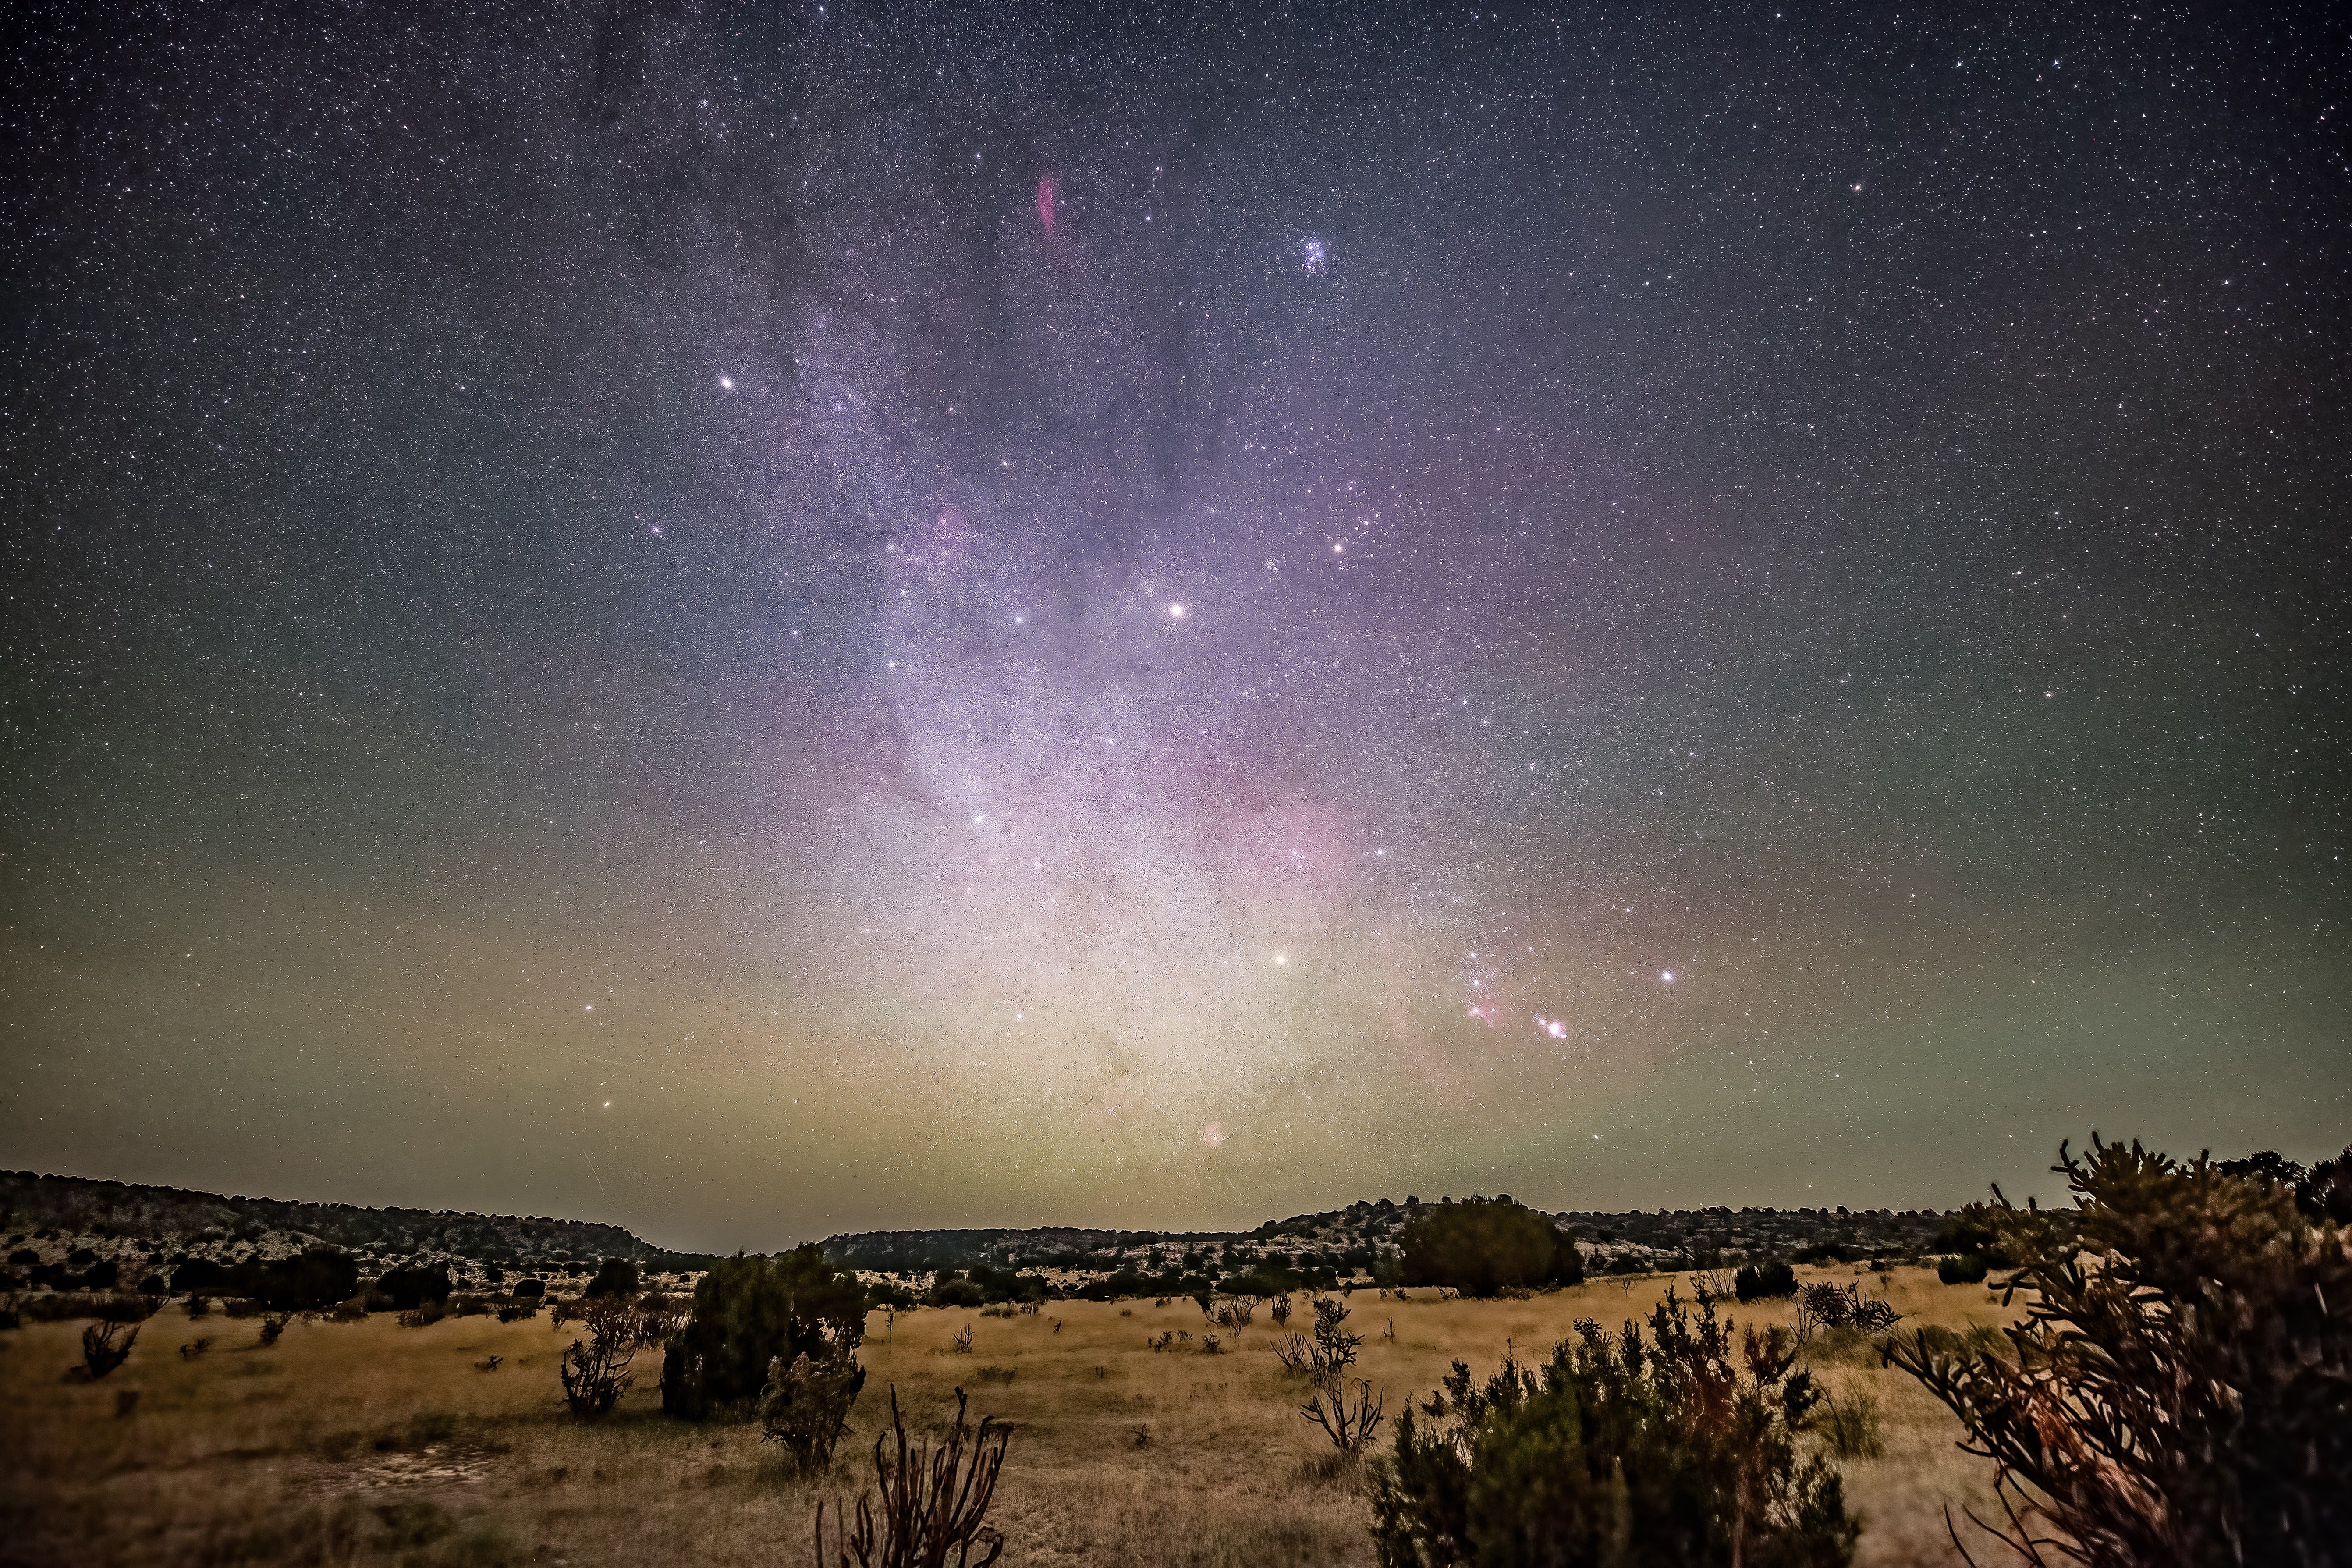
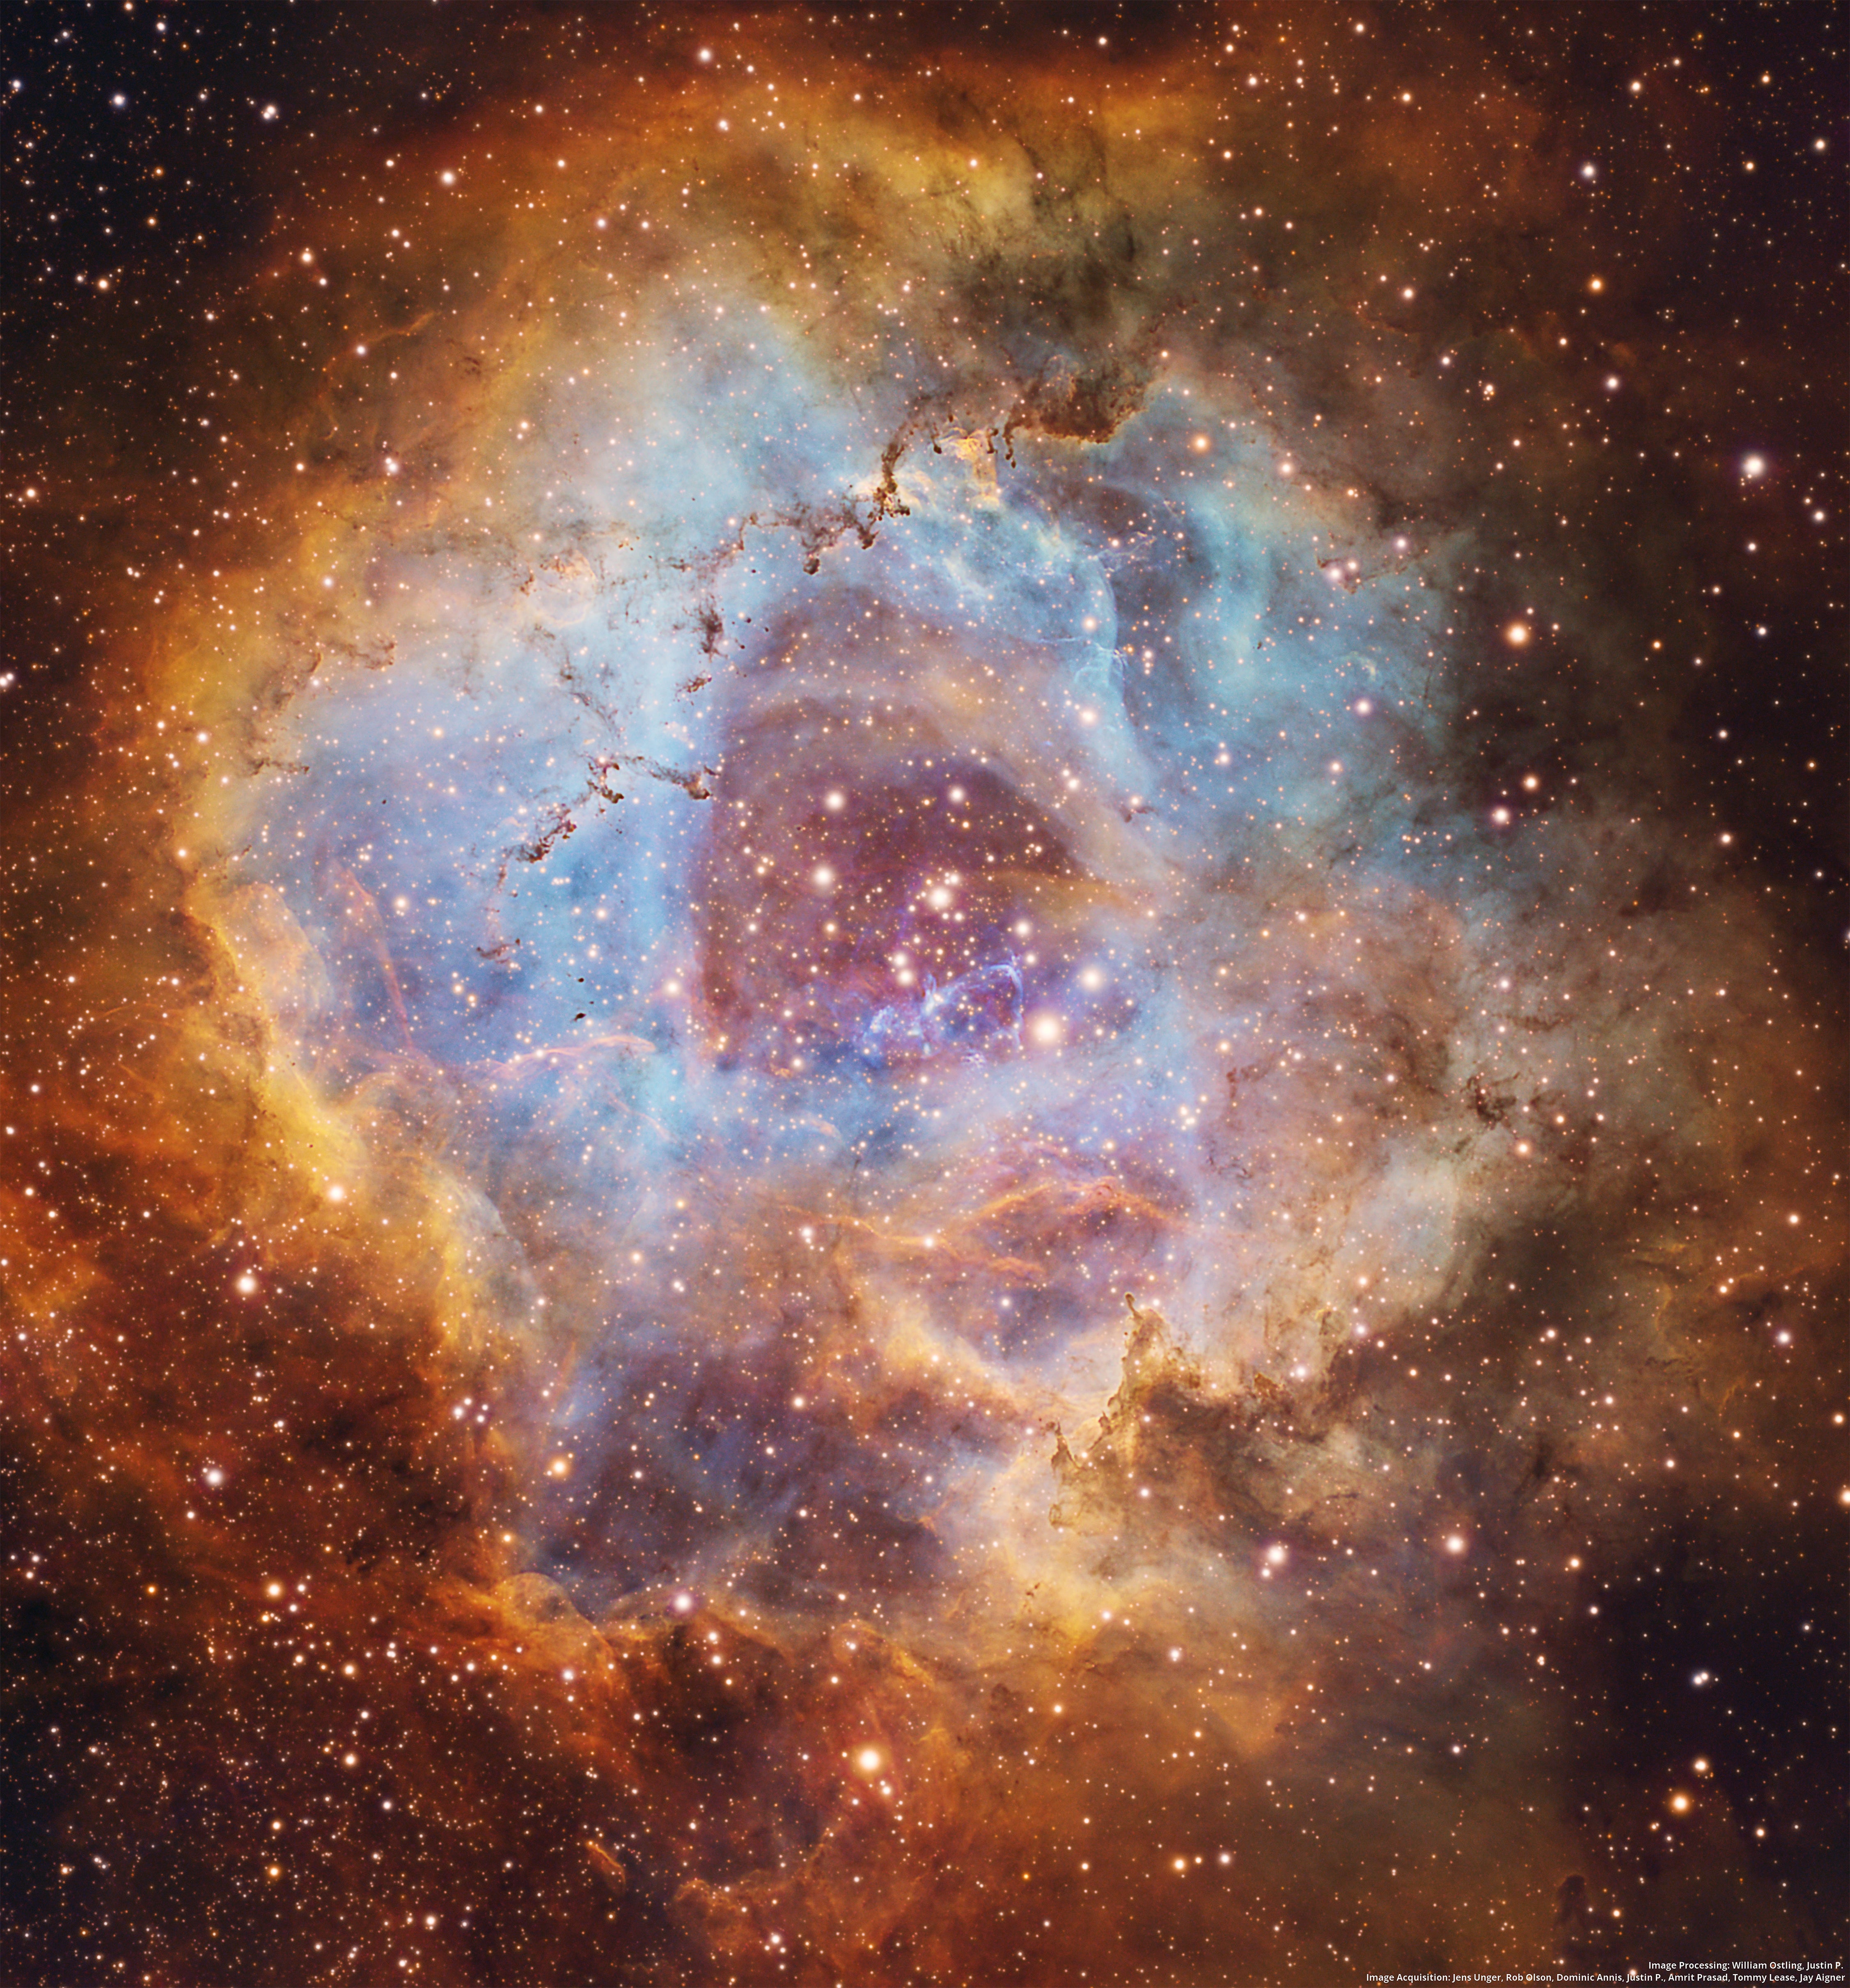
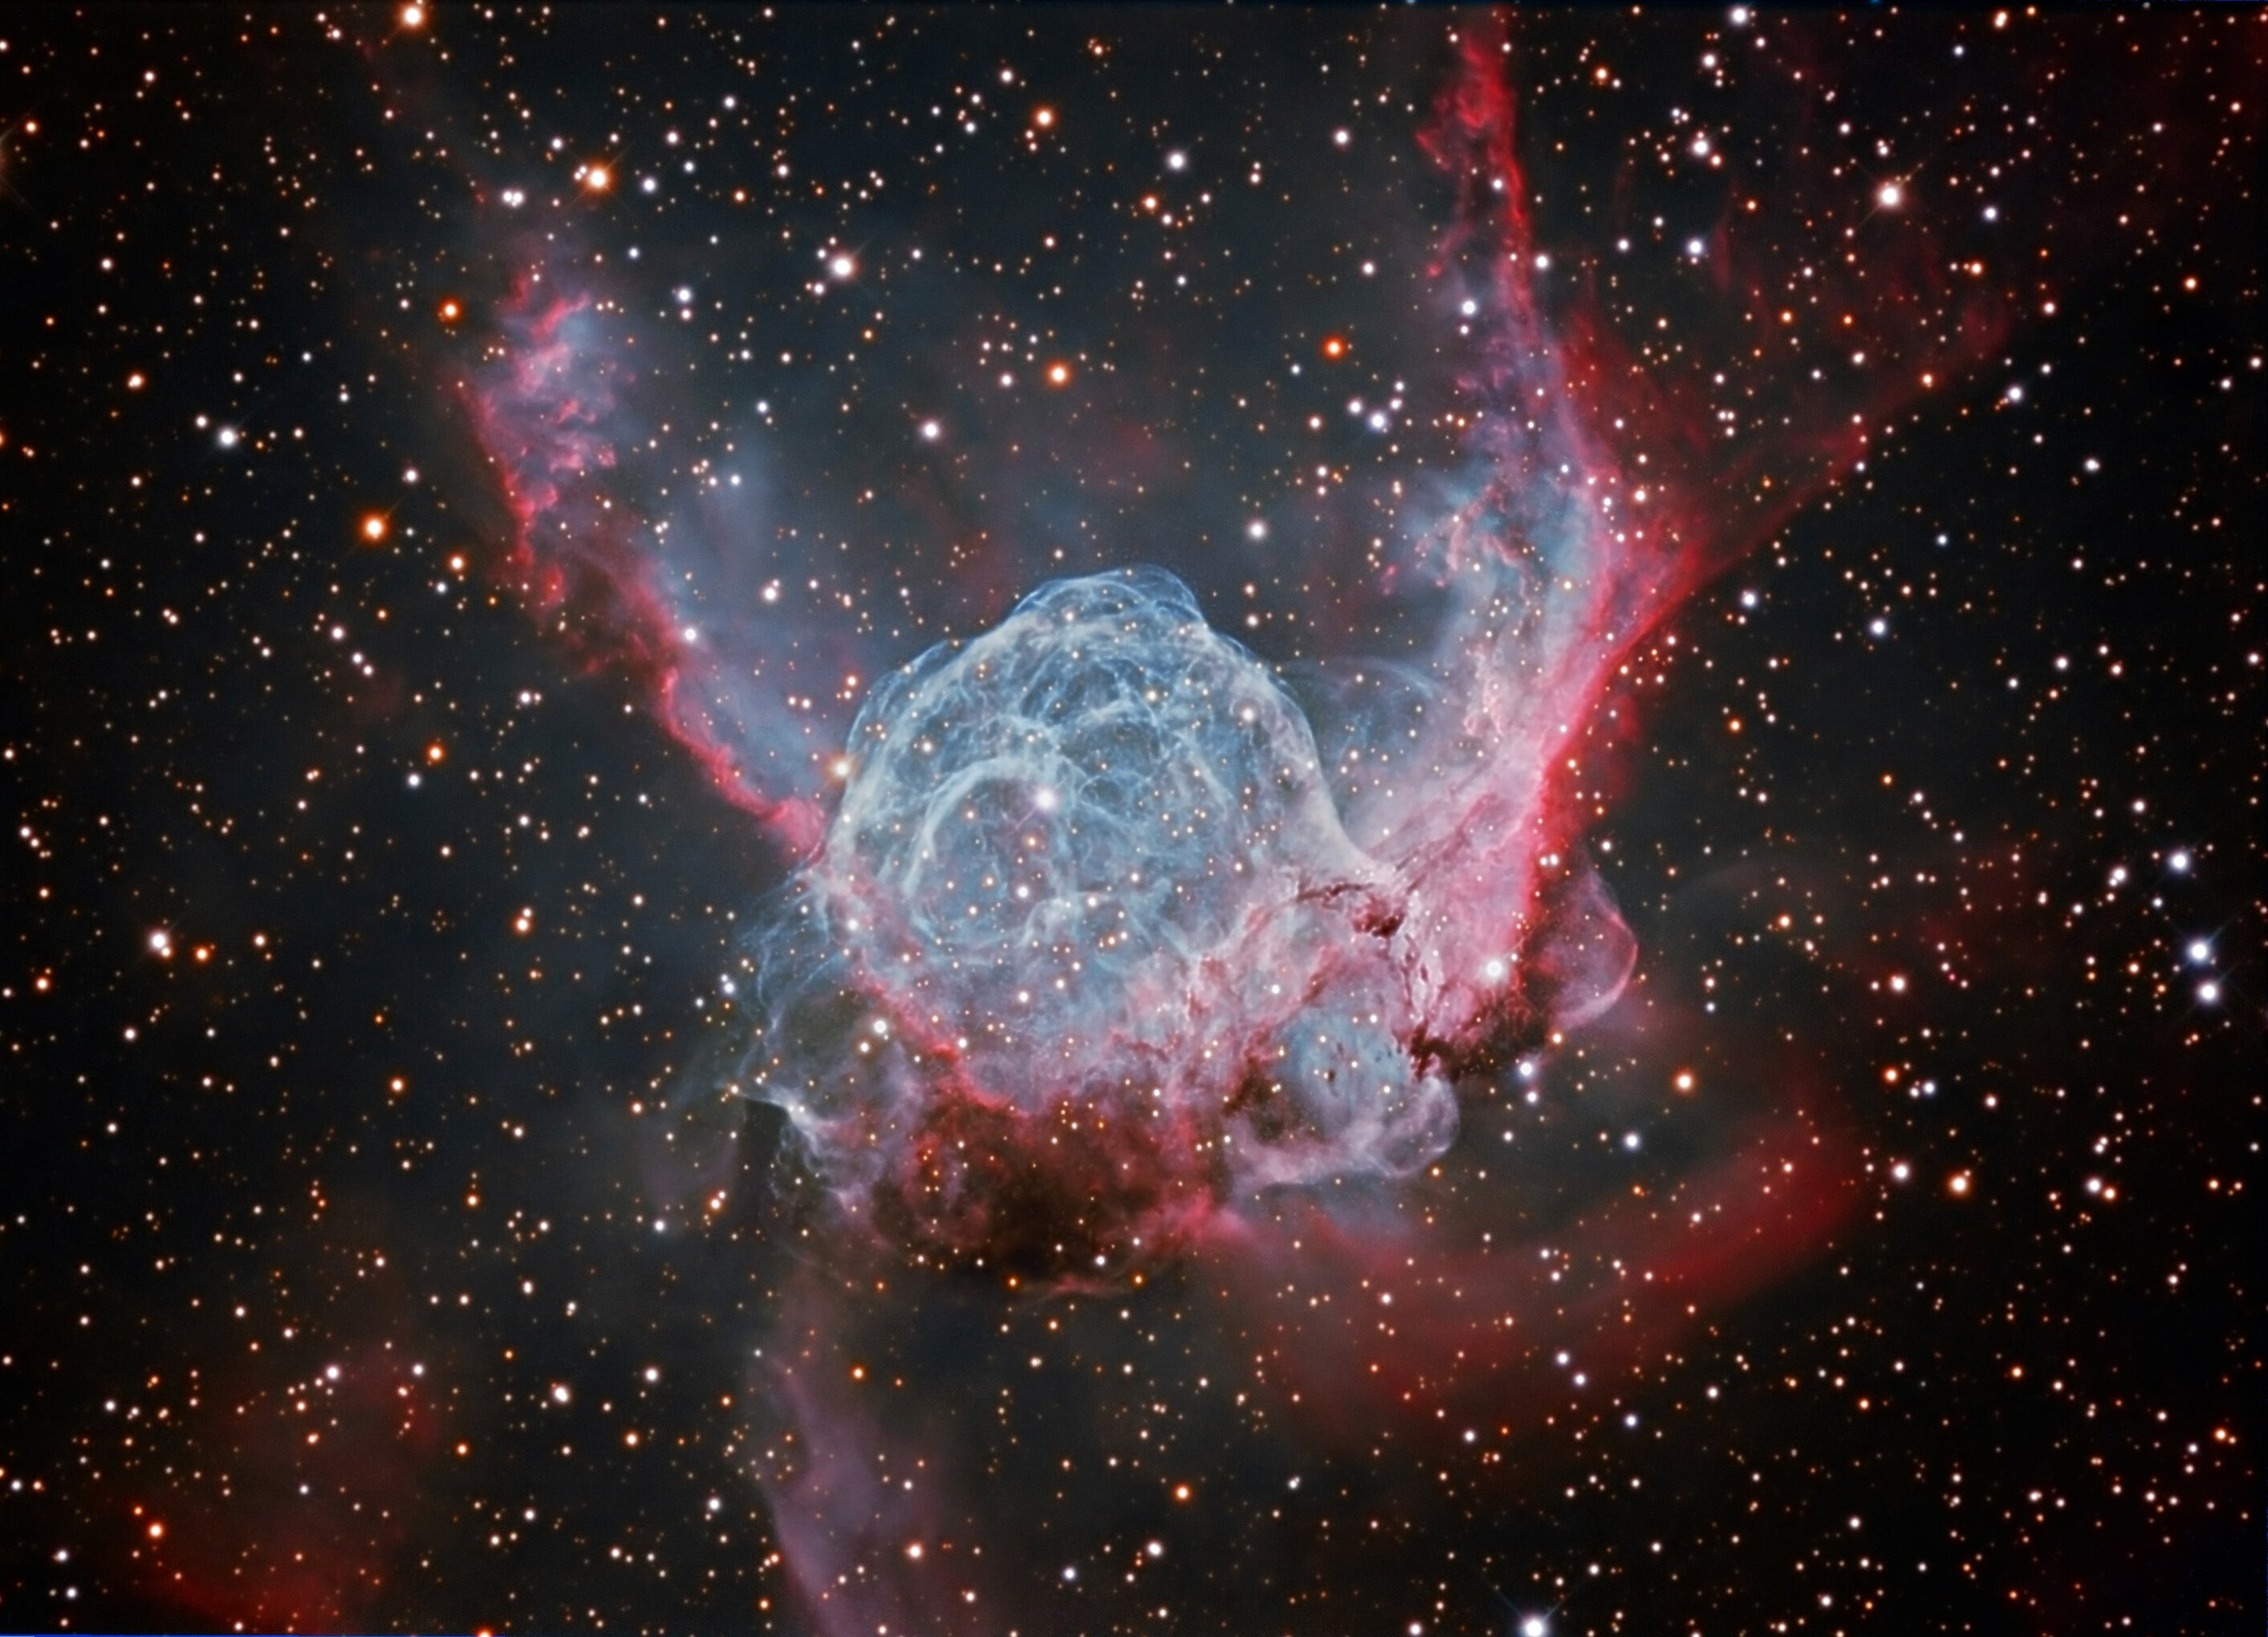
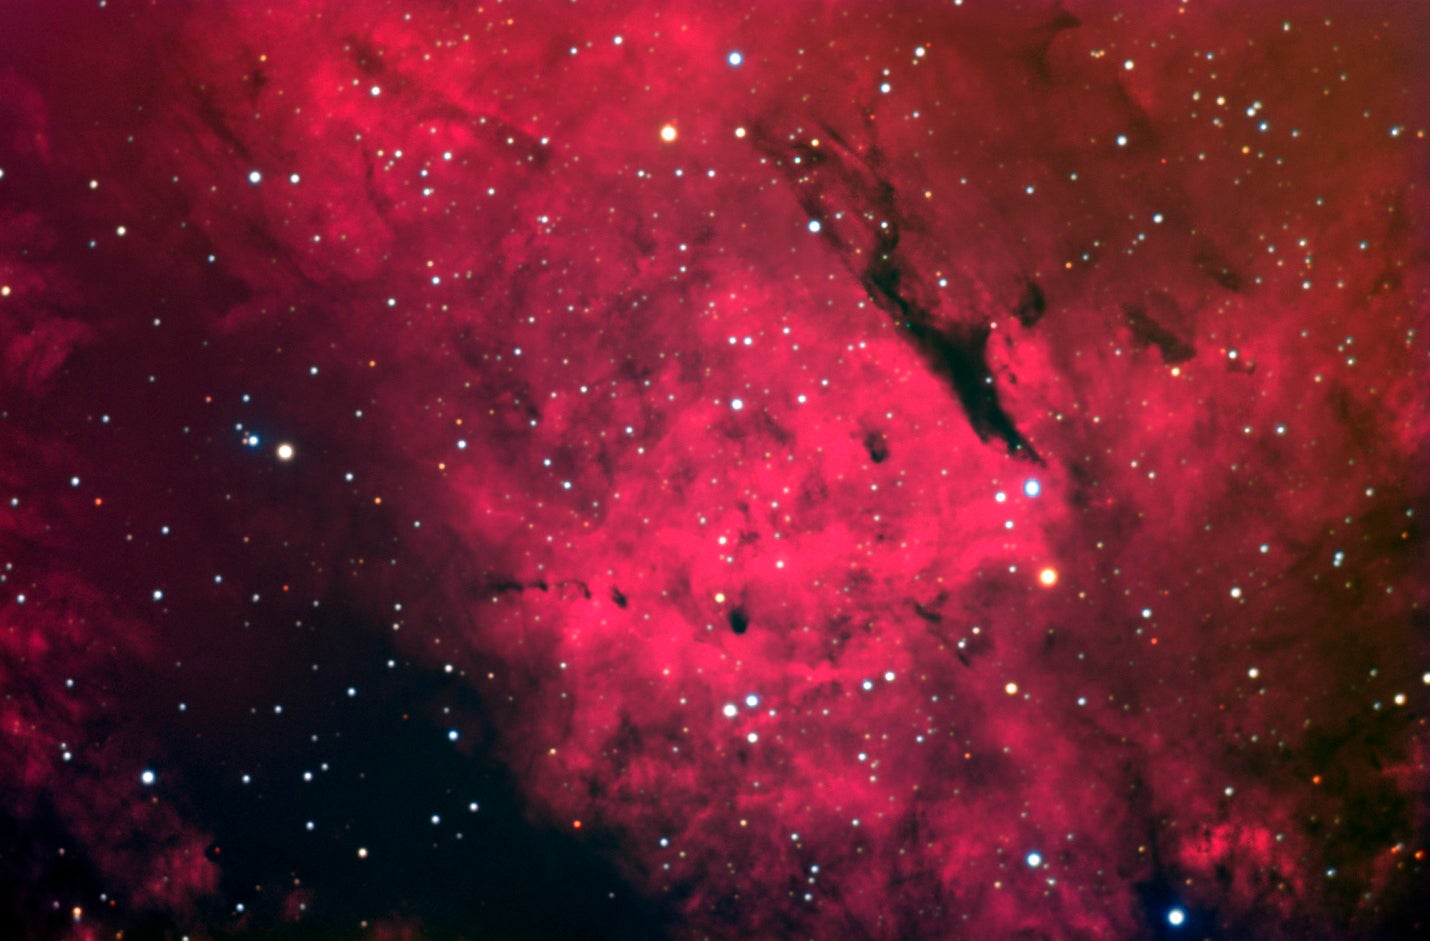
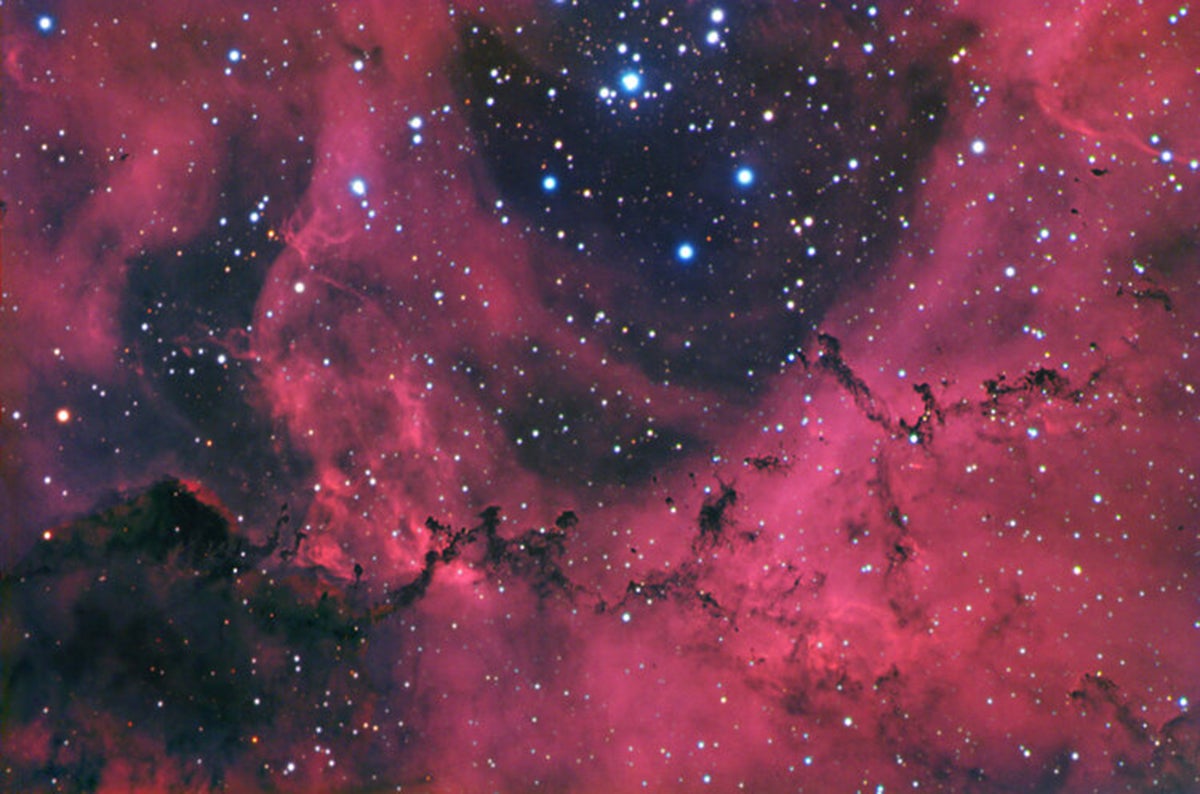
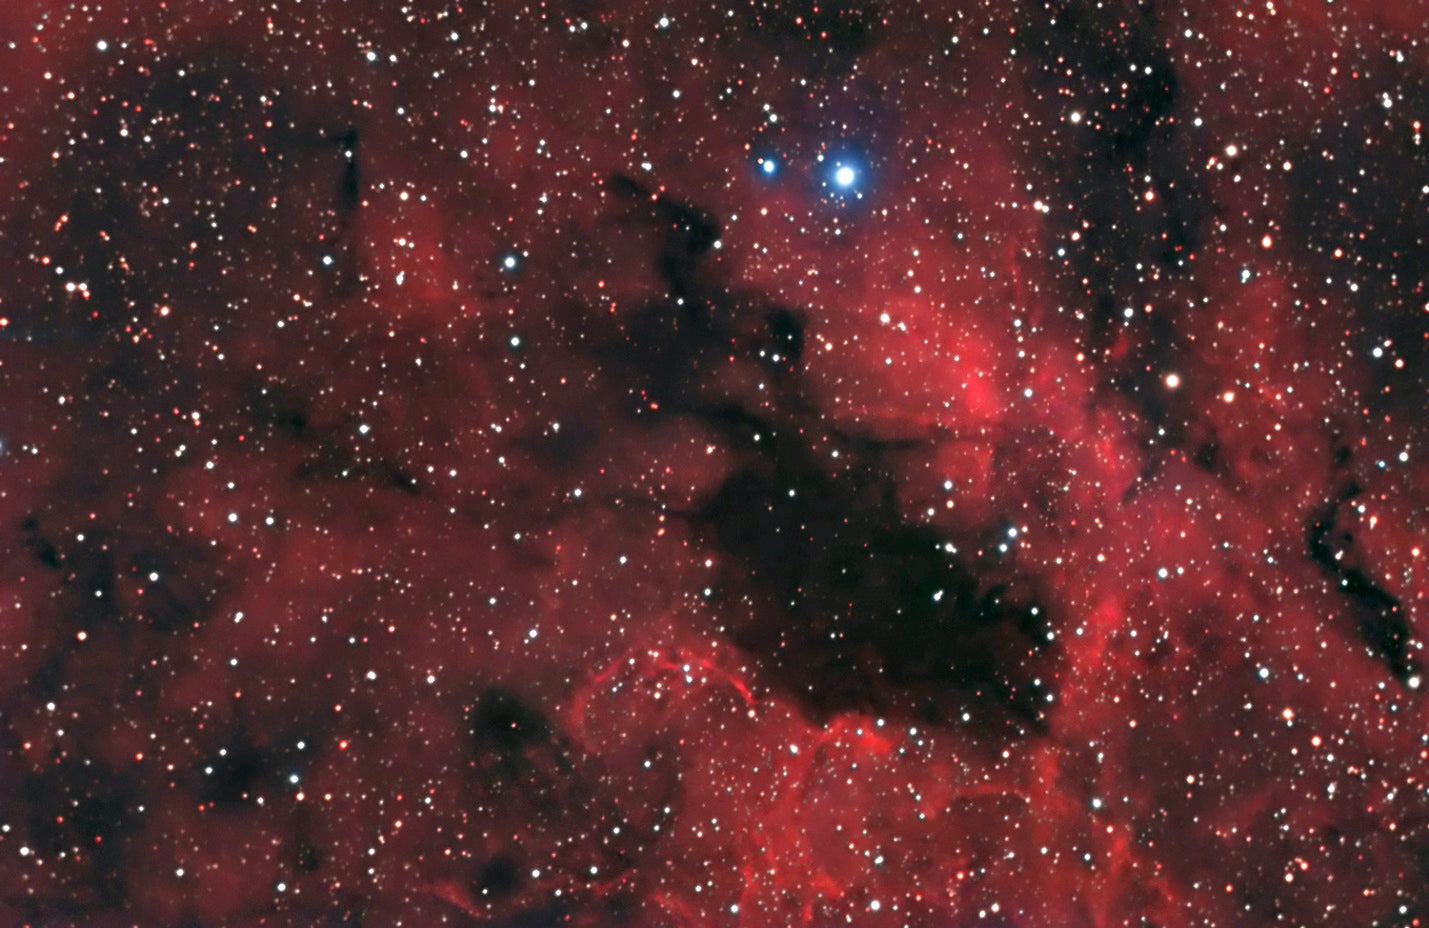
Dark nebulae abound in the sky, but to be visible to us, they must be silhouetted against backgrounds of either dense star fields or glowing nebulae. Accordingly, we find them along the bright band of the Milky Way, which betrays their otherwise hidden locations.
Astronomers have cataloged thousands of dark nebulae. Some even have nicknames. Pioneer astrophotographer Edward Emerson Barnard made a catalog of 369 dark nebulae found within his wide-field Milky Way images; probably the most famous is Barnard 33 (B33), the Horsehead Nebula in Orion. Astronomer Beverly T. Lynds made an extensive catalog of 1,802 dark nebulae between declinations 90º and –33º. Lynds Dark Nebula 881 (LDN 881), in Cygnus, which I nicknamed the Dementor Nebula in the August 2019 issue, is a beautiful example. Both catalogs are available in books and online. Adventurous imagers can also peruse images from the Sloan Digital Sky Survey, available online within the Aladin Sky Atlas (http://aladin.cds.unistra.fr/), and hunt for uncataloged dark nebulae.
You can image dark nebulae with equipment ranging from a DSLR and 50mm lens for wide-field views of the Great Rift in the summer Milky Way to a cooled CCD or CMOS camera attached to a telescope to capture high-resolution images of intricate wisps of dust silhouetted against emission nebulae. When imaging, I divide targets into two categories based on their background: starry fields or Hα emission nebulosity. I acquire and process images within each category differently.

Processing starry field backgrounds
For this category, I stretch and process the image as I would for any deep-sky object, but avoid using gradient-removal tools. They can mistake dark nebulae for gradients and remove them from the image. Next, I locate the dust clouds. While their positions may be obvious in wide-field shots of the Milky Way, they are often subtle in my images. Areas where background stars are noticeably fewer or absent are clues to their locations. If I scroll the information tool of my image-processing software over suspected dark cloud regions, I can see they have different brightness values than areas I know are true background sky. The key to making a striking image is to accentuate those subtle differences so the dust clouds don’t appear to be just another region of background sky.
An effective way to accomplish that is to use the High Pass Filter in Photoshop. Duplicate the image in the Layers palette as a new layer on top. With the top layer highlighted, open the High Pass Filter (Filter > Other > High Pass). The top image will then appear gray. As you slide the filter’s radius selector from left to right, progressively larger-scale structures within the gray High Pass Filter image will become accentuated, including subtle dust clouds. Smaller dust clouds will be accentuated with smaller radii, while larger dust clouds are more apparent with larger radii. Select the scale for the dust clouds that you wish to start with in your image, then click OK.
We want this image to be starless for subsequent steps. Go to Select > Color Range, select Highlights in the drop-down menu, then click OK to select the brighter stars. Expand the selection with Select > Modify > Expand and enter a value of 6 to 8 pixels, or whatever is needed to include stars’ halos. Then go to Edit > Cut to remove those stars.
Change the blending mode in the Layers Palette to Overlay and the dust clouds associated with the scale you selected will magically become more apparent in the underlying original image. This action may make other features look worse, so be selective about which accentuated features within the High Pass Filter image you apply to the image. Add a Hide All mask to the High Pass Filter layer, select the Brush Tool, set it to white, and paint over the dust clouds you wish to accentuate. When done painting, blur the edges of the mask with a
Gaussian Blur (Filter > Blur > Gaussian Blur) of several pixels, then flatten the image.
Multiple iterations of this process with the High Pass Filter set to different radii that accentuate dark structures of different scales can bring out a wealth of detail in dust clouds. Some clouds may be slightly darker than background sky and others may be slightly brighter, but it is those differences that reveal their presence as obscuring dark nebulae.
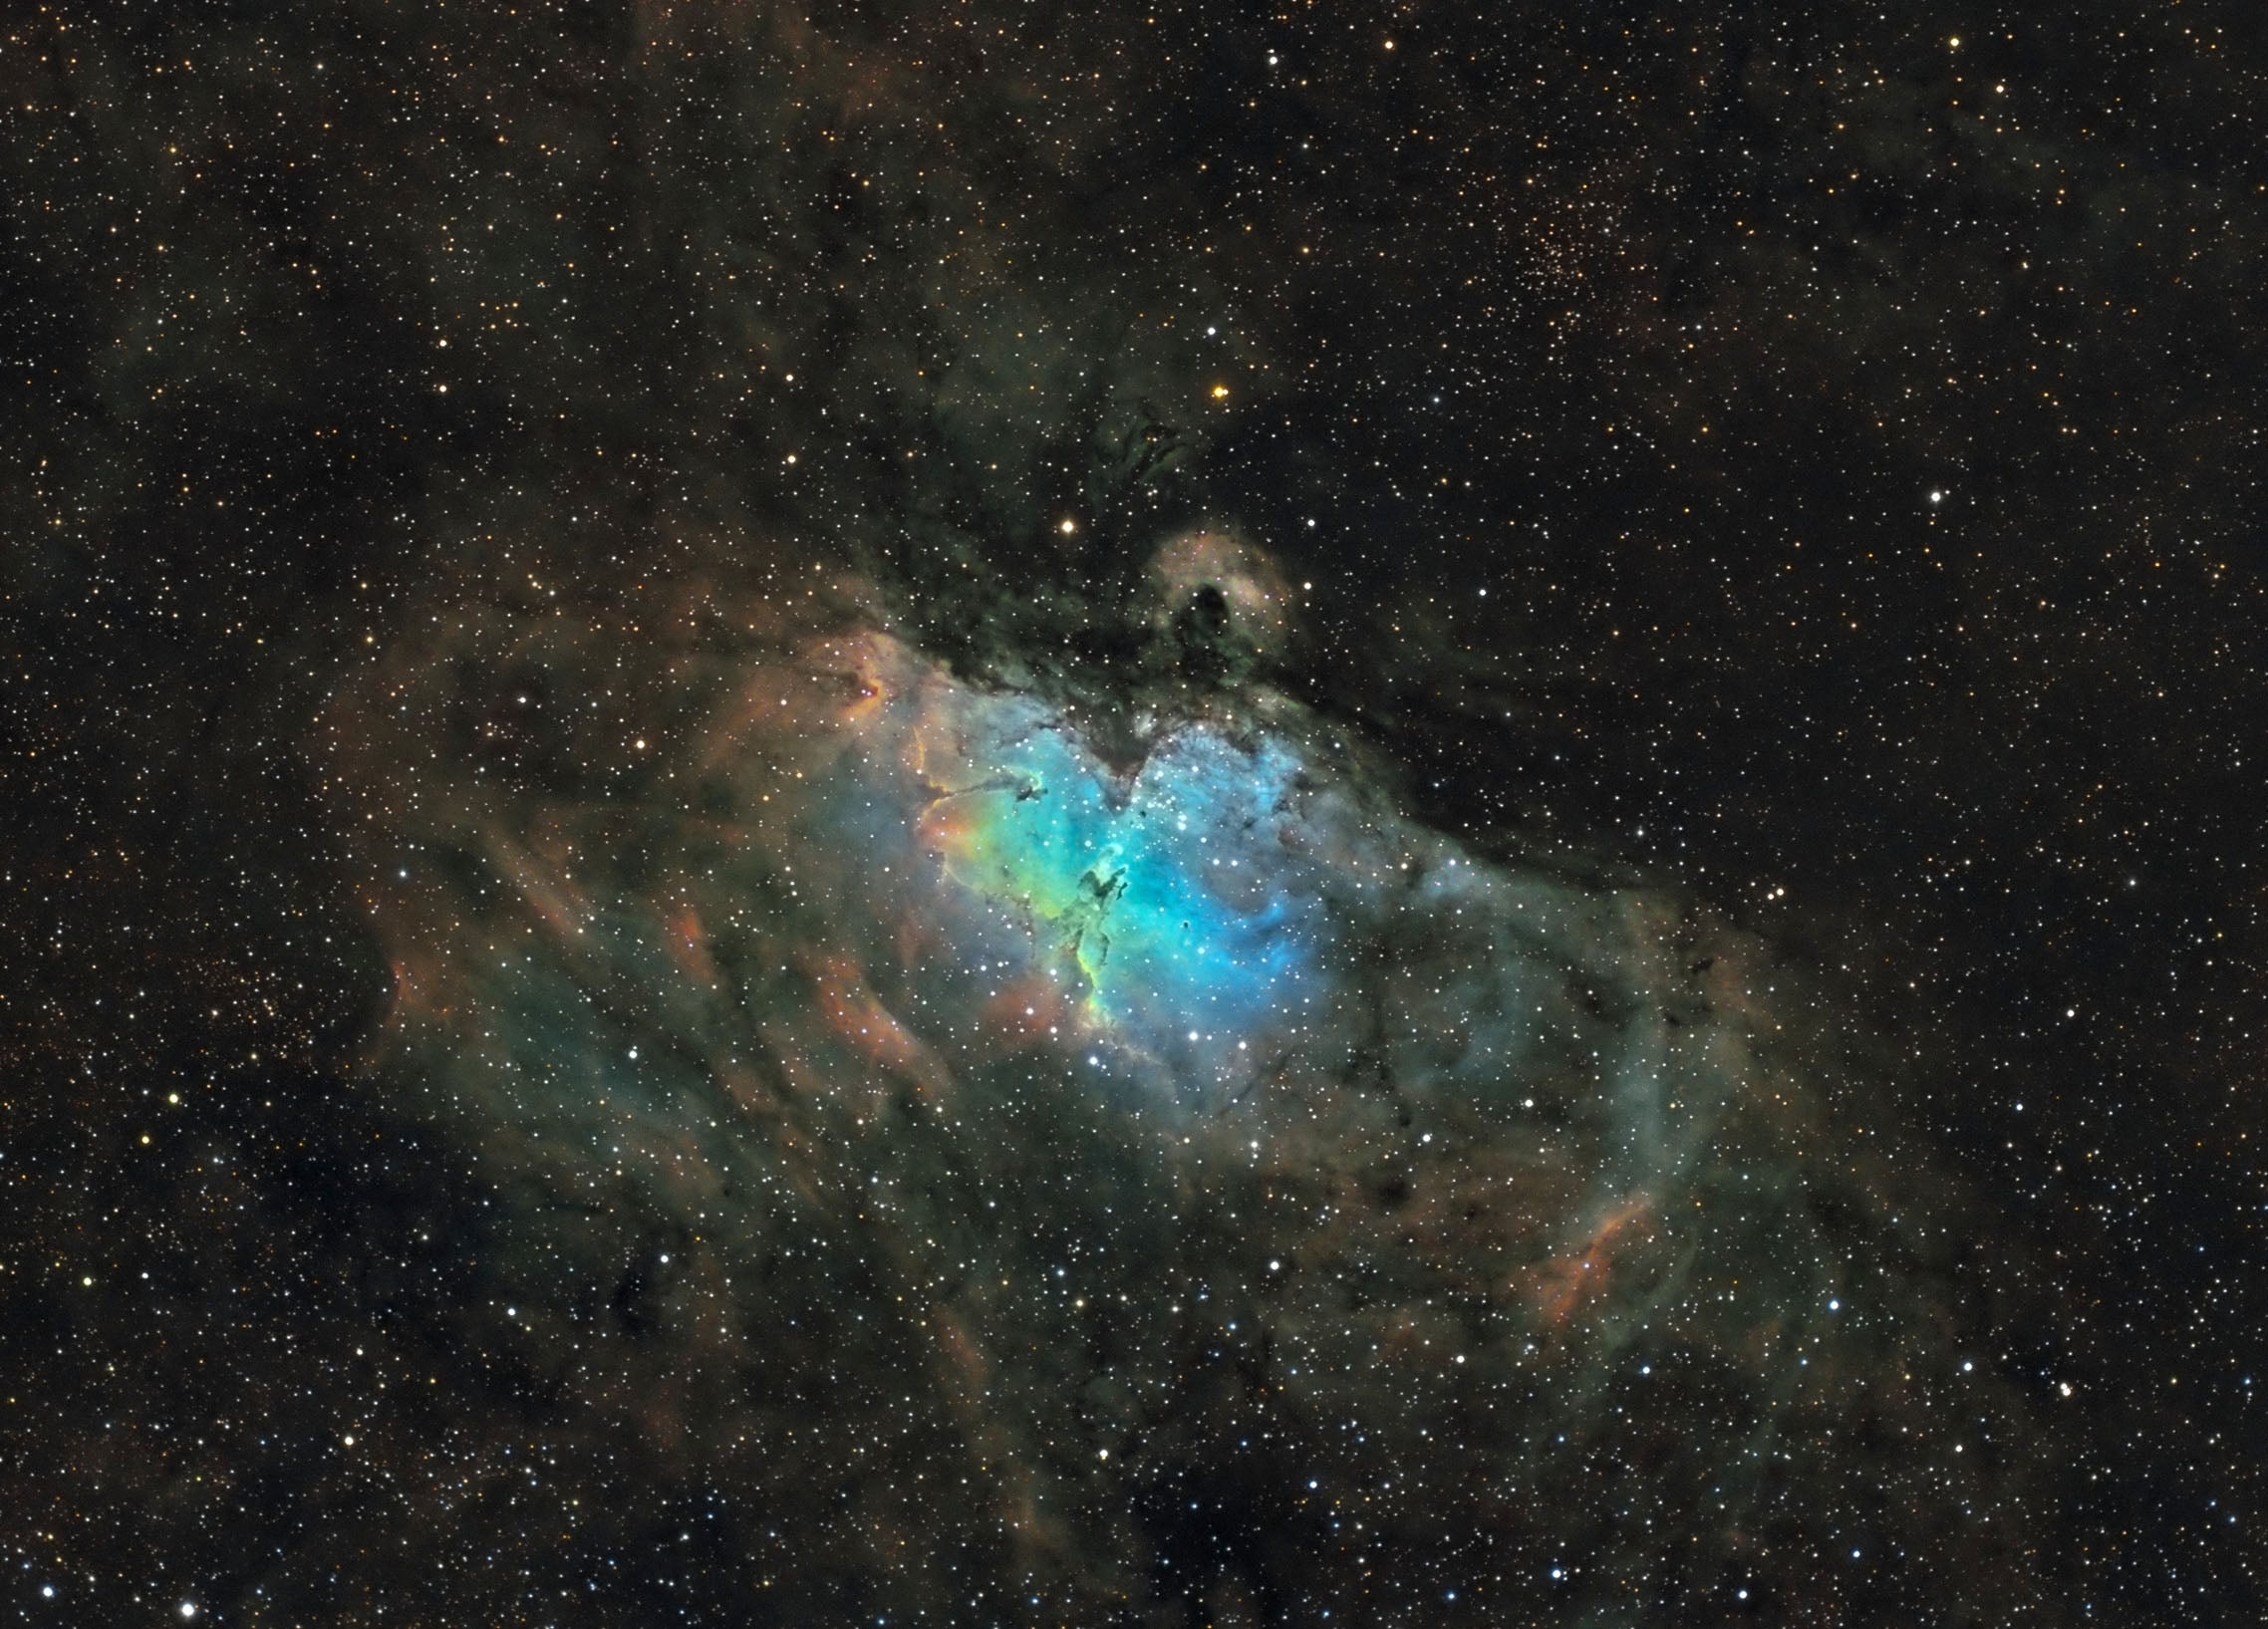
Processing nebulous backgrounds
For this category, I acquire Hα, red (R), green (G), and blue (B) exposures to construct an HαRGB image in which I colorize the Hα data to be red. While there are many — often complicated — ways to combine Hα and RGB data, the following technique is simple, fast, and gives good results.
Combine the exposures into separate Hα and RGB images. Stretch the RGB image as you would for any deep-sky object. However, only gently stretch the Hα image. While it is tempting to make it bright to show all the nebulosity and dust you captured, doing so will only give it a displeasing salmon color. Keeping the Hα image dim will give it deep red hues in the final result. Align the Hα and RGB images.
Copy the Hα image and paste it as a new layer atop the RGB image. This will automatically convert the grayscale Hα image to RGB mode and allow you to colorize it later. In the Layers palette, label this layer as “Hα luminance” and the layer beneath as “RGB.” Then remove stars from the Hα layer using the steps described above. Because stars in the Hα image are smaller than RGB stars, the former will have a “raccoon eyes” look in the final image if left in.
Next, we need to provide red color support for the gray Hα luminance image. Duplicate the Hα luminance layer as a new layer beneath the original and label it “Hα red.” Highlight it in the Layers Palette, then go to Image > Adjustments > Hue/Saturation. In the window that opens, check the colorize box. Slide the hue selector to 0 or 360 (either signifies pure red), set saturation to 100, and change lightness to –50. You now have a deep red version of your Hα data. Add a Levels adjustment to this layer and move the black point slider to the right until it is just under the left edge of the histogram. That will clip the red hue out of any background sky and dark nebulae while also enriching the red color in the nebulosity. Highlight the Hα luminance layer in the Layers palette and change the blending mode to Luminosity to put the red color into your Hα nebulosity data.
Now the magic can begin. Highlight the Hα red layer in the Layers palette and change the blending mode to Lighten. This compares the brightness values of every pixel between two layers and selects the brighter of the two to display in the final image. This action also blends your brightest red Hα nebulosity data with your brightest RGB data, giving you the best of both images. Next, fine-tune the result. Highlight the Hα luminance layer in the Layers palette again. By moving the opacity slider, you can control how much of the final image comes from red Hα data and how much comes from RGB data. Somewhere around 50 percent usually gives a great look, but adjust it to your taste. When you’re satisfied, flatten the image.
It’s fine to keep your Hα nebulosity pure red, but if you want to add some blue that represents Hydrogen-beta (Hβ) emission at 486.1 nanometers, go to Image > Adjust > Selective Color and select Reds in the drop-down menu. Reducing yellow by moving its slider to the left is equivalent to adding blue. Adjust until you get the customary “bubblegum” color of Hα plus Hβ emission nebulosity.
Move away from the light
Dark nebulae provide dramatic contrast between light and dark features. They often reveal the finest detail discernible in their wispy contours, while providing depth of field because they are clearly in front of background objects. Layers or billowing clouds of dark dust can even add a three-dimensional texture to the image.
So, I encourage you to acquire and process images of dark nebulae and add them to your portfolio. But be careful. When over to the dark side of astrophotography you have crossed, difficult to go back it may be. The results are sure to be fantastic images that will captivate you and your friends.