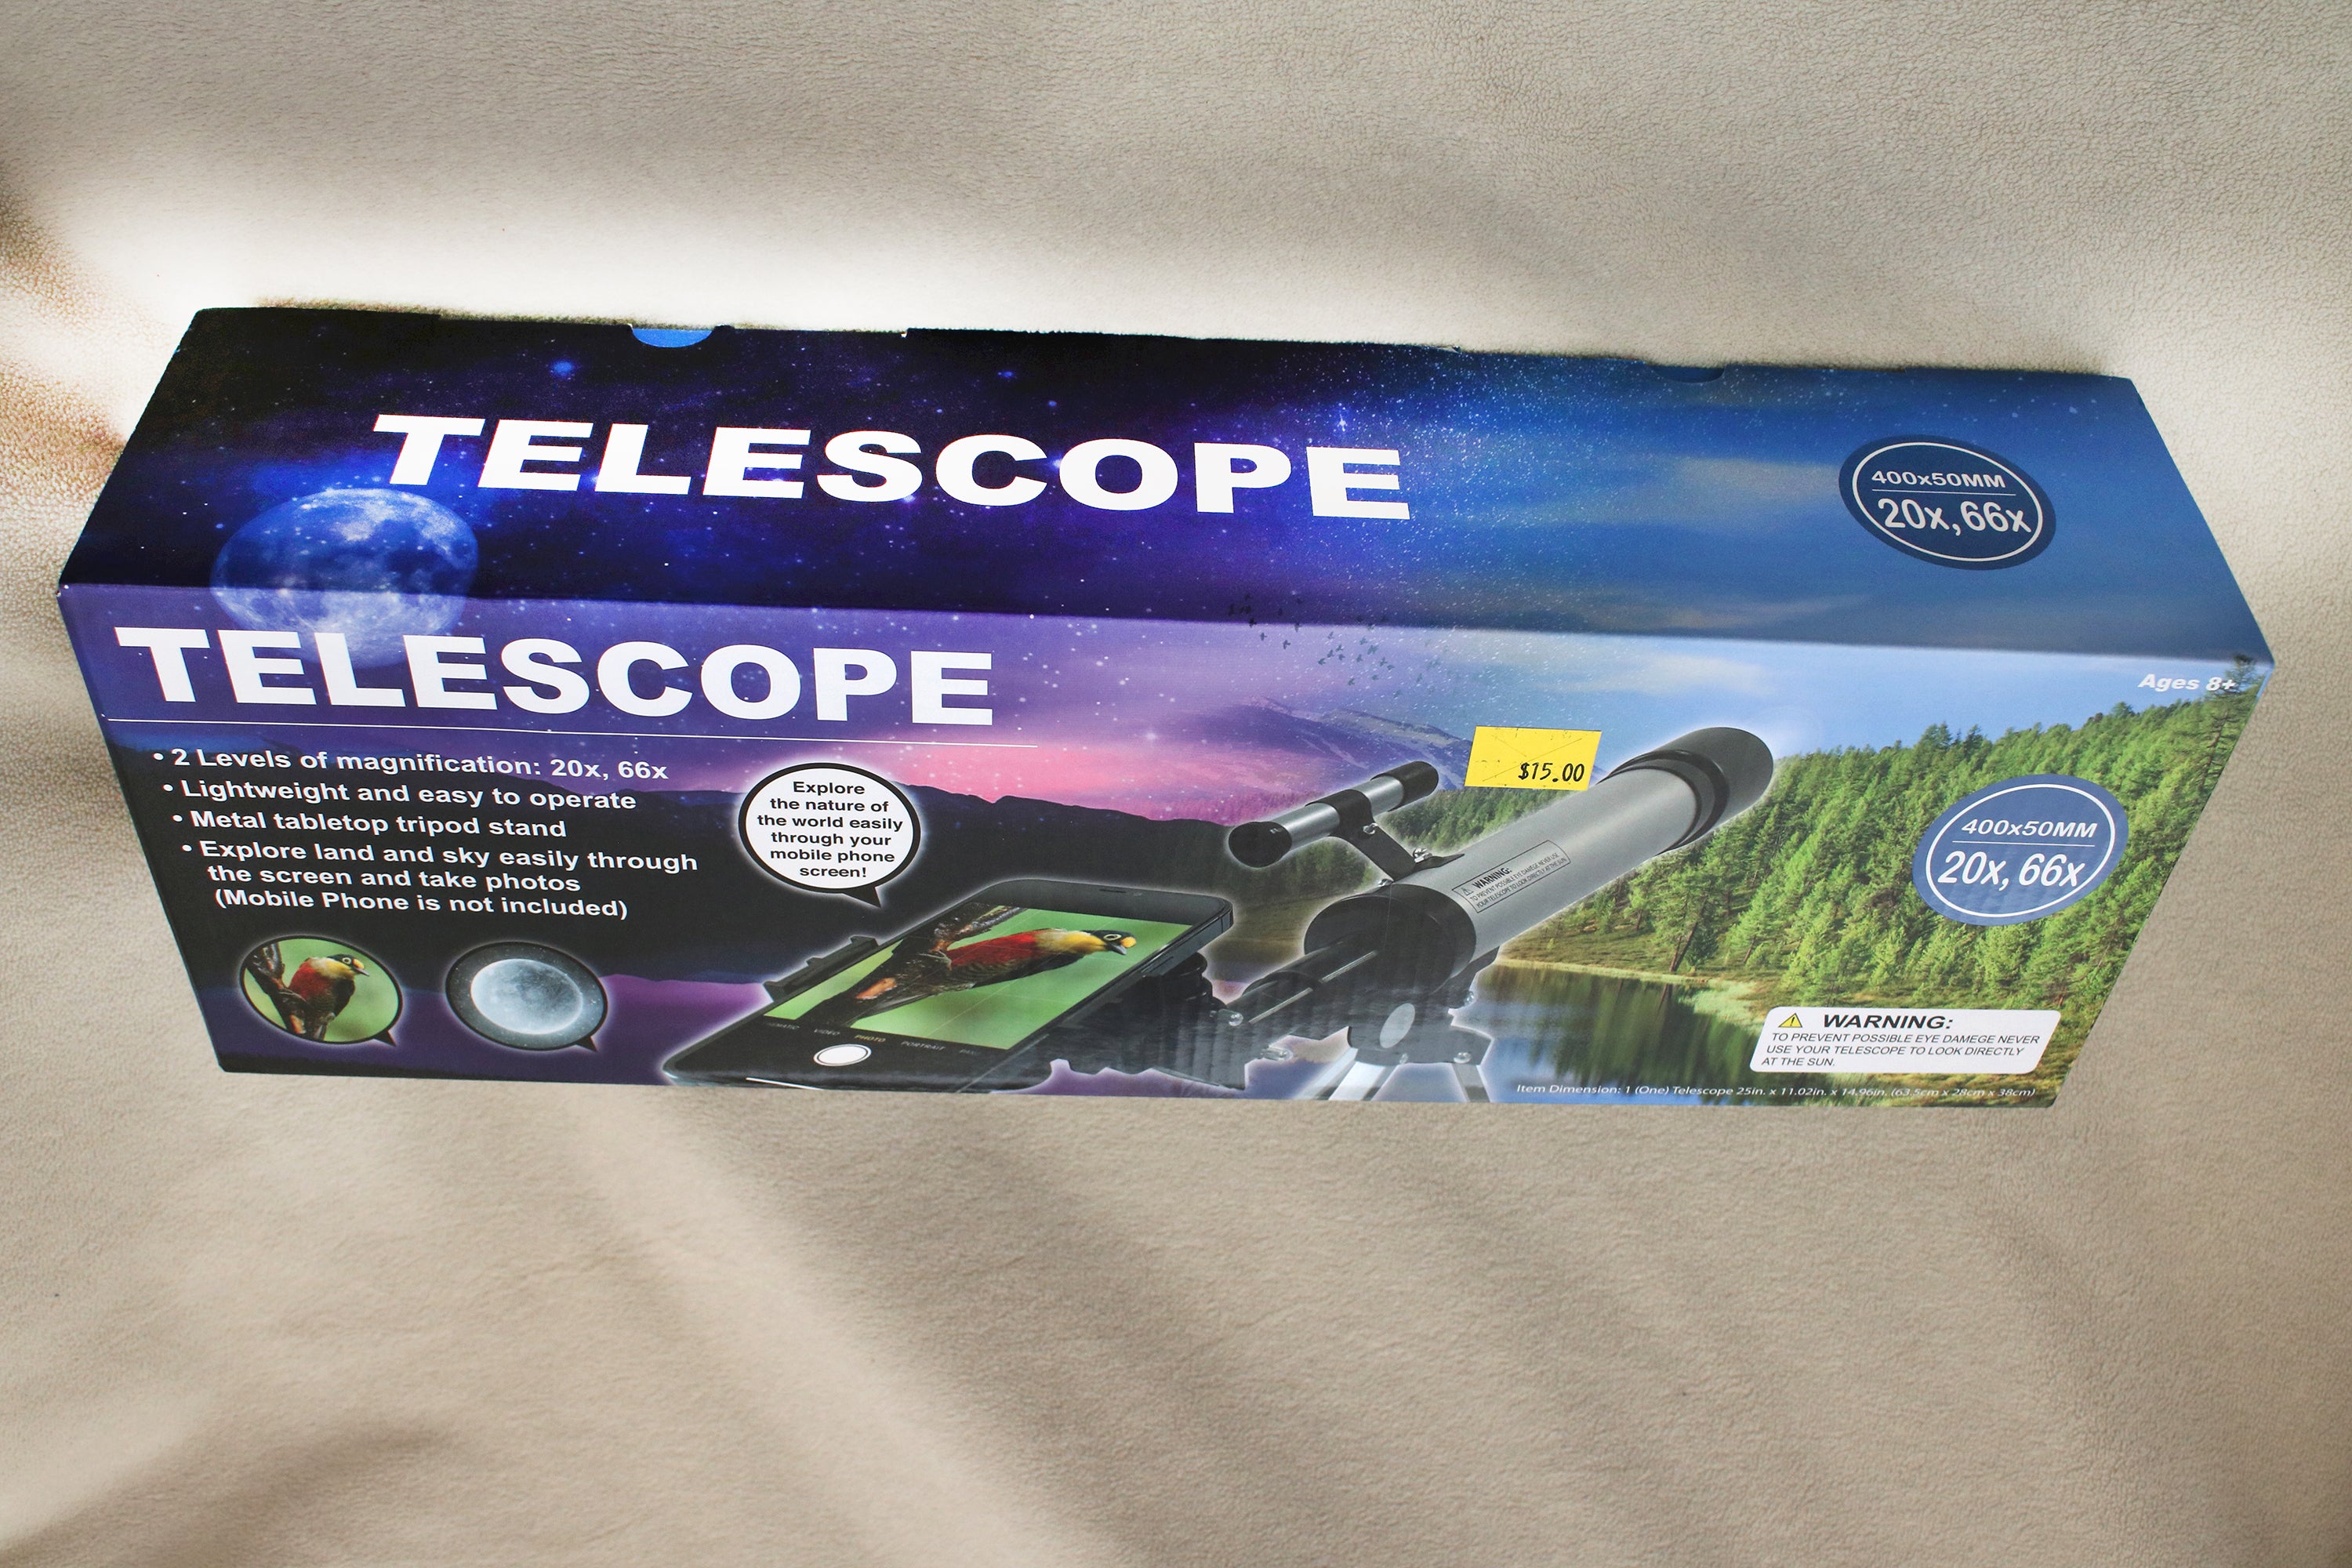
The box said “Telescope.” The price tag said “$15.” There was a whole pallet of them neatly stacked at the back of my local Five Below store. “Must be a toy,” I thought. Except the box said “This is not a toy.” Oddly, the package sported no brand name, not even a pseudo-brand like Big Bang Hubble, Jr. Just “Telescope.”
“Ah,” I thought. “Must be another one of those terrible telescopes that kills someone’s interest in the hobby and winds up gathering dust in a closet.” My next thought was, “How bad could it really be?” I bought one to find out.
The specs on the packaging were promising. There was no high-power hype. Just 20x and 66x. The diameter (50mm) and focal length (400mm) were clearly labeled. The box photo of the scope showed a finder scope, star diagonal, and cellphone holder. There was even a prominent label warning against looking at the Sun through the telescope.
Another good sign was a lack of the usual color images of galaxies and nebulae implying vistas as good as the Hubble. Instead, there were just a couple of Moon images and a bird photo. There were also three line drawings: the Big Dipper, Saturn over a mountain, and a cow flying past the Moon!
Cheap telescopes, unpacked
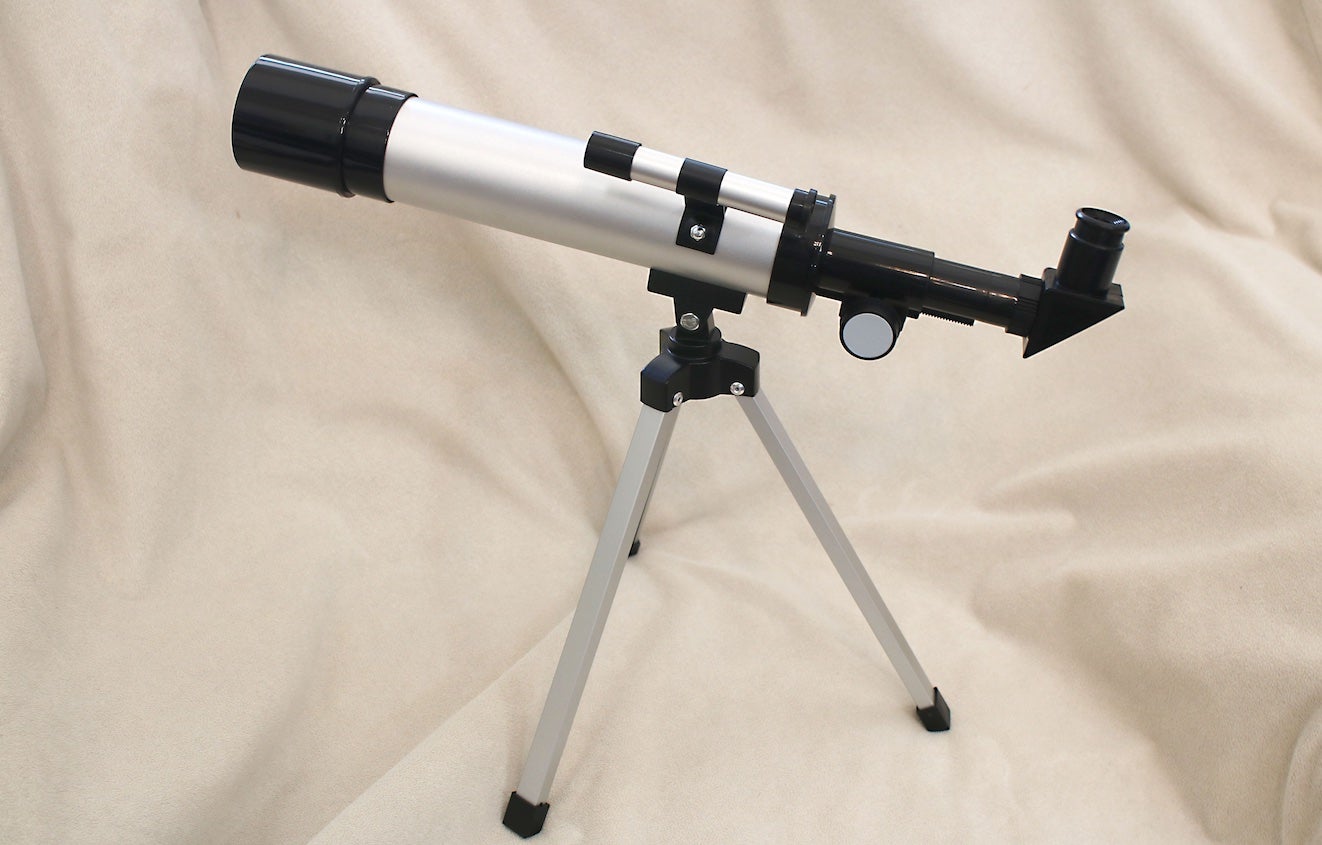
Inside the box, I found a well-packed tube assembly, a tabletop tripod, instructions, and a plastic bag of parts that included the finder scope and two eyepieces enclosed in protective plastic capsules. Both eyepieces have nonstandard, 0.93-inch (23.6 millimeters) diameters and are made of plastic. The eyepieces are ancient Huygenian designs with inherent narrow fields and chromatic aberration, an optical problem where red light and blue light don’t focus at the same place.
Assembly was quick and straightforward, but it immediately revealed a fatal flaw. Even a novice stargazer (and certainly a telescope designer) knows that a telescope mount needs to move in two perpendicular directions to aim at celestial objects. Simple telescope mountings move the tube up and down (in altitude) and back and forth parallel to the horizon (in azimuth). This scope has only the altitude motion!
The tube attaches to the tripod via a plastic pivot hinge. A metal bolt passes through holes in the hinge and a hex nut secures the tube to the tripod. The bolt and nut provide adjustable friction for the altitude motion. Unfortunately, the only way to adjust the friction is with an included metal wrench. It would have been better to use a wing nut or a threaded clamping knob.
Cumbersome as the altitude adjustment is, the lack of azimuth adjustment is a deal-killer. The only way to aim the telescope in azimuth is to skitter the whole tripod around on the surface it sits on. This flaw makes the telescope almost impossible to aim at an object, much less track it. This also restricts the altitude range when the tube is attached in one of two possible configurations. One position places the tube directly over one of the tripod legs, which limits tilt — the tube can only reach about 45° in altitude before it hits the leg. Should you attach the tube 180° around to clear the leg, you’ll find that you can’t use the cellphone attachment. If you do so, the mount balance shifts so much that the tripod topples over!
Related: Some of the best telescopes for beginners
Another huge flaw is the finder scope. A finder is supposed to have a wide field of view (between 5° and 8°) to help aim the main scope. Finders also usually have crosshairs in them to let the observer center on the target object. This finder has no crosshairs. Furthermore, its field of view is only about 2°, and its 13 mm objective (good finders have 50 mm objectives) gathers very little light. Worst of all, this finder has no way to adjust its alignment with the main telescope. That makes it all but useless.
Under the sky
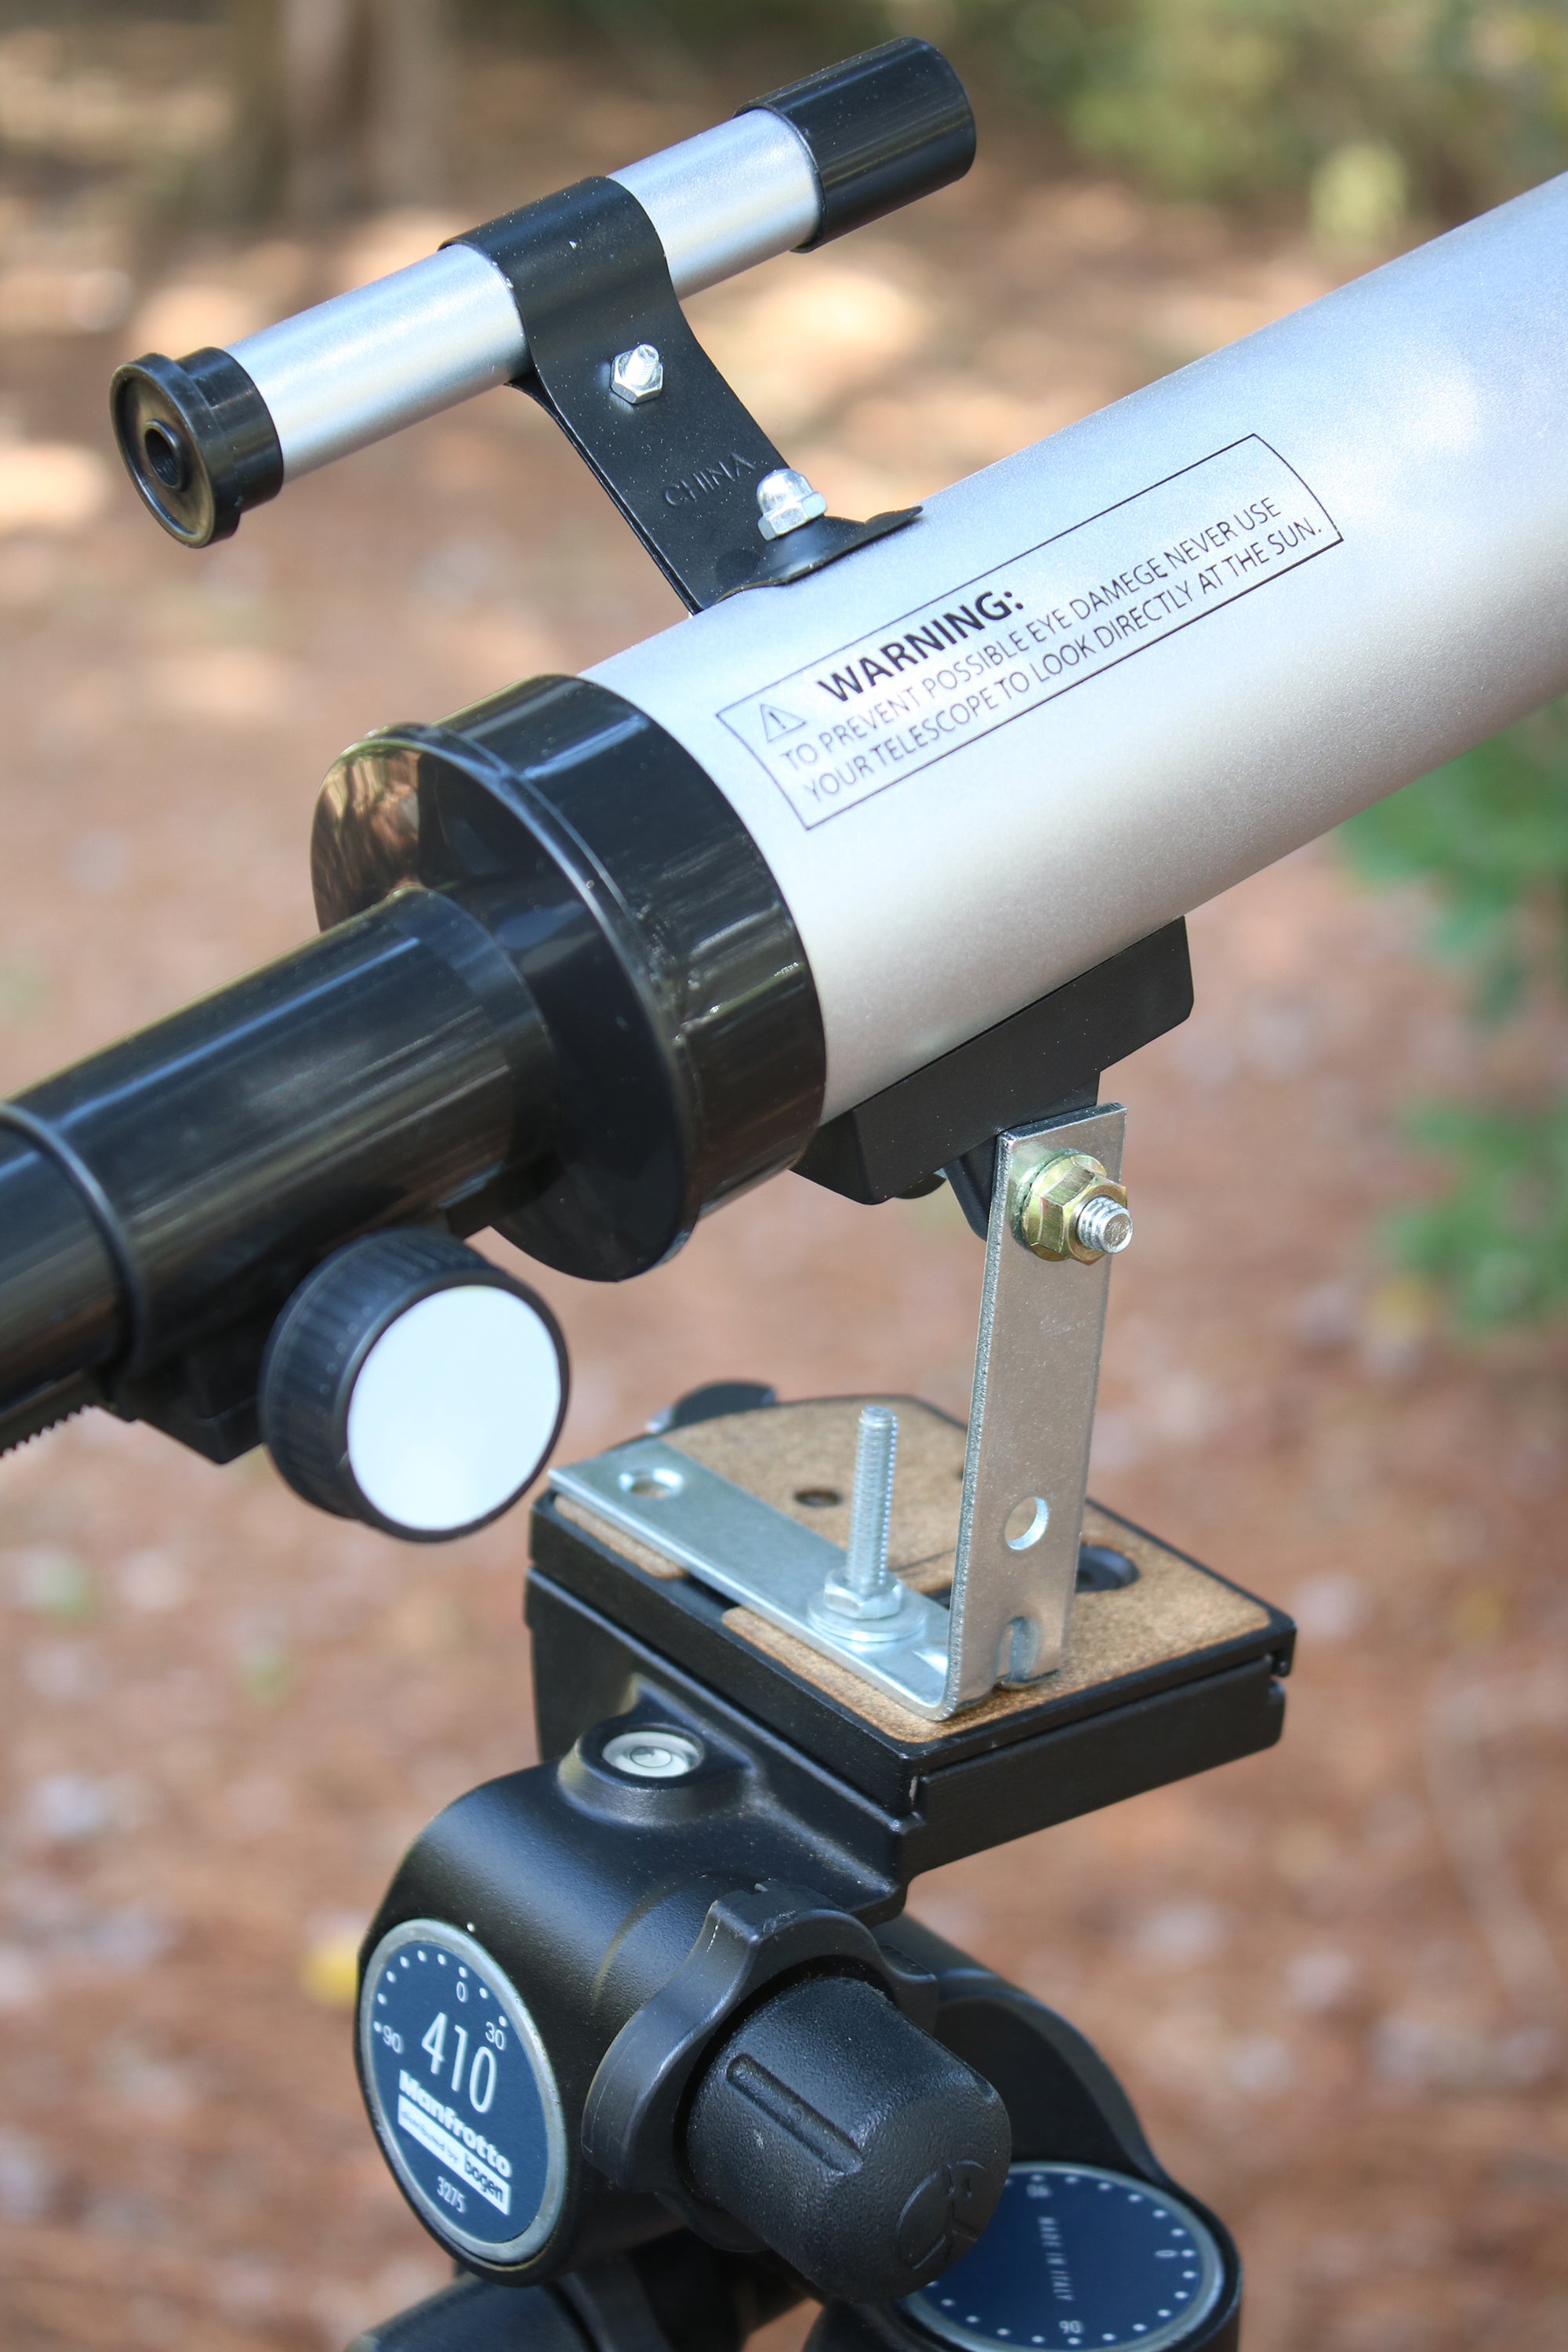
Without a usable finder or a proper mount, testing the telescope optics proved a real challenge. I wound up making a bracket to attach just the tube to a camera tripod that had both altitude and azimuth controls so I could aim it. Sighting along the main tube and using the lowest-power (20x) eyepiece, I was eventually able to view a few bright celestial objects.
My first target was the Moon. I wasn’t surprised to see that it had pronounced colors along its edges — a telltale sign of chromatic aberration, the bane of cheap refractors. Nonetheless, it was fairly easy to find the Moon. Although the power was low, the broad lunar features were visible. I could even see a few of the larger craters. Unfortunately, I noticed a lot of glare. Closer inspection of the interior of the telescope and eyepiece tubes revealed that both had shiny, metallic interiors! A few cents’ worth of flat black paint would have gone a long way to killing the internal reflections.
Next, I aimed at Jupiter. I could see the four largest moons but no detail on the planet’s disk. My next target, Saturn, was disappointing. Neither eyepiece resolved its rings. All I could make out was a football-shaped blob.
I could plainly see the Orion Nebula (M42) but any detail was washed out by the scattered light. The Pleiades (M45) fit nicely in the 20x eyepiece’s field, but each star was a miniature rainbow instead of a pinpoint.
Lastly, I tried out the cellphone adapter. It fits over the eyepiece holder and allows you to take pictures through the telescope. Aligning it to the eyepiece took some fiddling. Eventually I was able to snap pictures of the Moon and the two planets. It wasn’t easy because the adapter ring uses friction to secure it on the eyepiece holder, and that wasn’t always enough to keep my phone in place as I aimed the telescope.
Alas, like so many cheap telescopes, this one cannot be recommended. The plastic optics are poor, and the mount and finder scope are useless. On second thought, I can think of one use for this telescope. If you teach a “how to buy a telescope” class, this toy is an excellent example of what not to buy and why.

