Many cameras on the market are capable of making nice star-trail photos. The newer and pricier professional cameras with power-saving, time-exposure modes offer advanced flash functions and
incorporate features useful for regular daytime photography. However, if you opt instead for a mechanical camera, you will get a bargain that is also lighter and smaller. But any sturdy mechanical SLR (single-lens reflex) body with a B, or bulb, setting that can accept a cable release will work. The camera shouldn’t require battery power to keep the shutter open. In cold weather lithium batteries can die during a single exposure.

A sturdy tripod is a must, but even the strongest tripod should be weighted down substantially in windy conditions by hanging something heavy from the center post. Set your tripod low with its feet spread wide to ensure a sharp, vibration-free image.
The film you choose merits careful consideration. Different effects can be achieved with small changes in film speed and formulation. Don’t cut corners on the least expensive and most important part of the process; ten dollars a roll for the finest professional slide film is a bargain. Each exposure costs about fifty cents, including processing at the best lab. Generally you will only be able to shoot one exposure per camera per night.
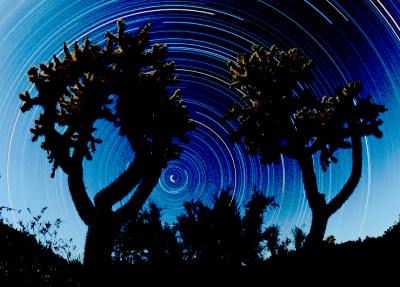
Photos taken in urban areas will always come at the cost of the number of visible stars and the depth of black in the background sky, so pick a location far from high populations. In addition, find a place with low humidity. The dry air of a desert allows subtle star colors to record on film. Some of the best locations for astrophotography are mountaintops surrounded by a desert, far from civilization. The state and national parks of the four-corners states — Arizona, Colorado, New Mexico, and Utah — are ideal.
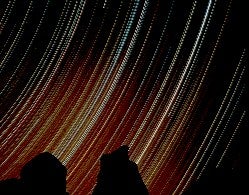
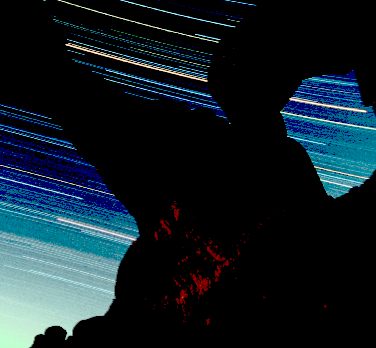
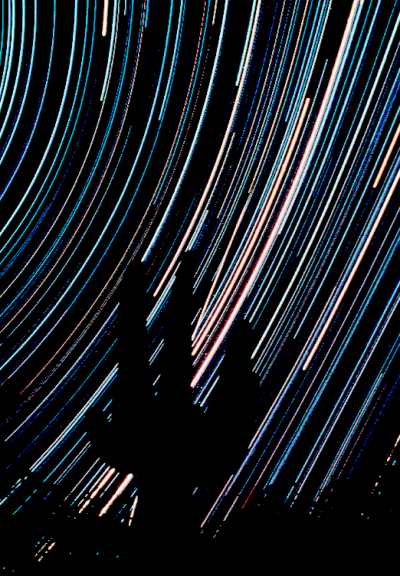
The natural attractions in America’s parks make fascinating foregrounds by interrupting the star trails and creating silhouettes. This can add missing perspective to these nighttime photos. Access to some of the desirable locations in parks may require special consideration; some of the roads and trails are closed from dusk to dawn. The better you learn the terrain during the day, the easier and safer it will be to maneuver and compose the best shots at night.
The arc length of your star trails depends on how much Earth turns while the shutter is open. The best results come from opening the shutter about two hours after dusk and closing it at least one hour before dawn. But this long of an exposure requires extremely dark skies. Six hours is one-fourth of a day, which equals ninety degrees worth of arc. The best shots seem to be closer to one hundred and twenty degrees, or about eight hours. Therefore, winter is the ideal season for star-trail photography because the nights are longest. Just before and after the new moons of winter you might be able to expose for over ten hours. This time of year also means fewer tourists in the parks to spoil your shots, and the cold, crisp air will let you record the subtle hues of dim stars.
After experimenting with basic photos, you may wish to add some light of your own for a more creative image. Using different color filters on different parts of the foreground with a little bit of moonlight before closing the shutter can bring various moods to your images.
If you can remember all these tips and add your own creative genius to them, you will be taking fantastic star-trail photos your first time out.