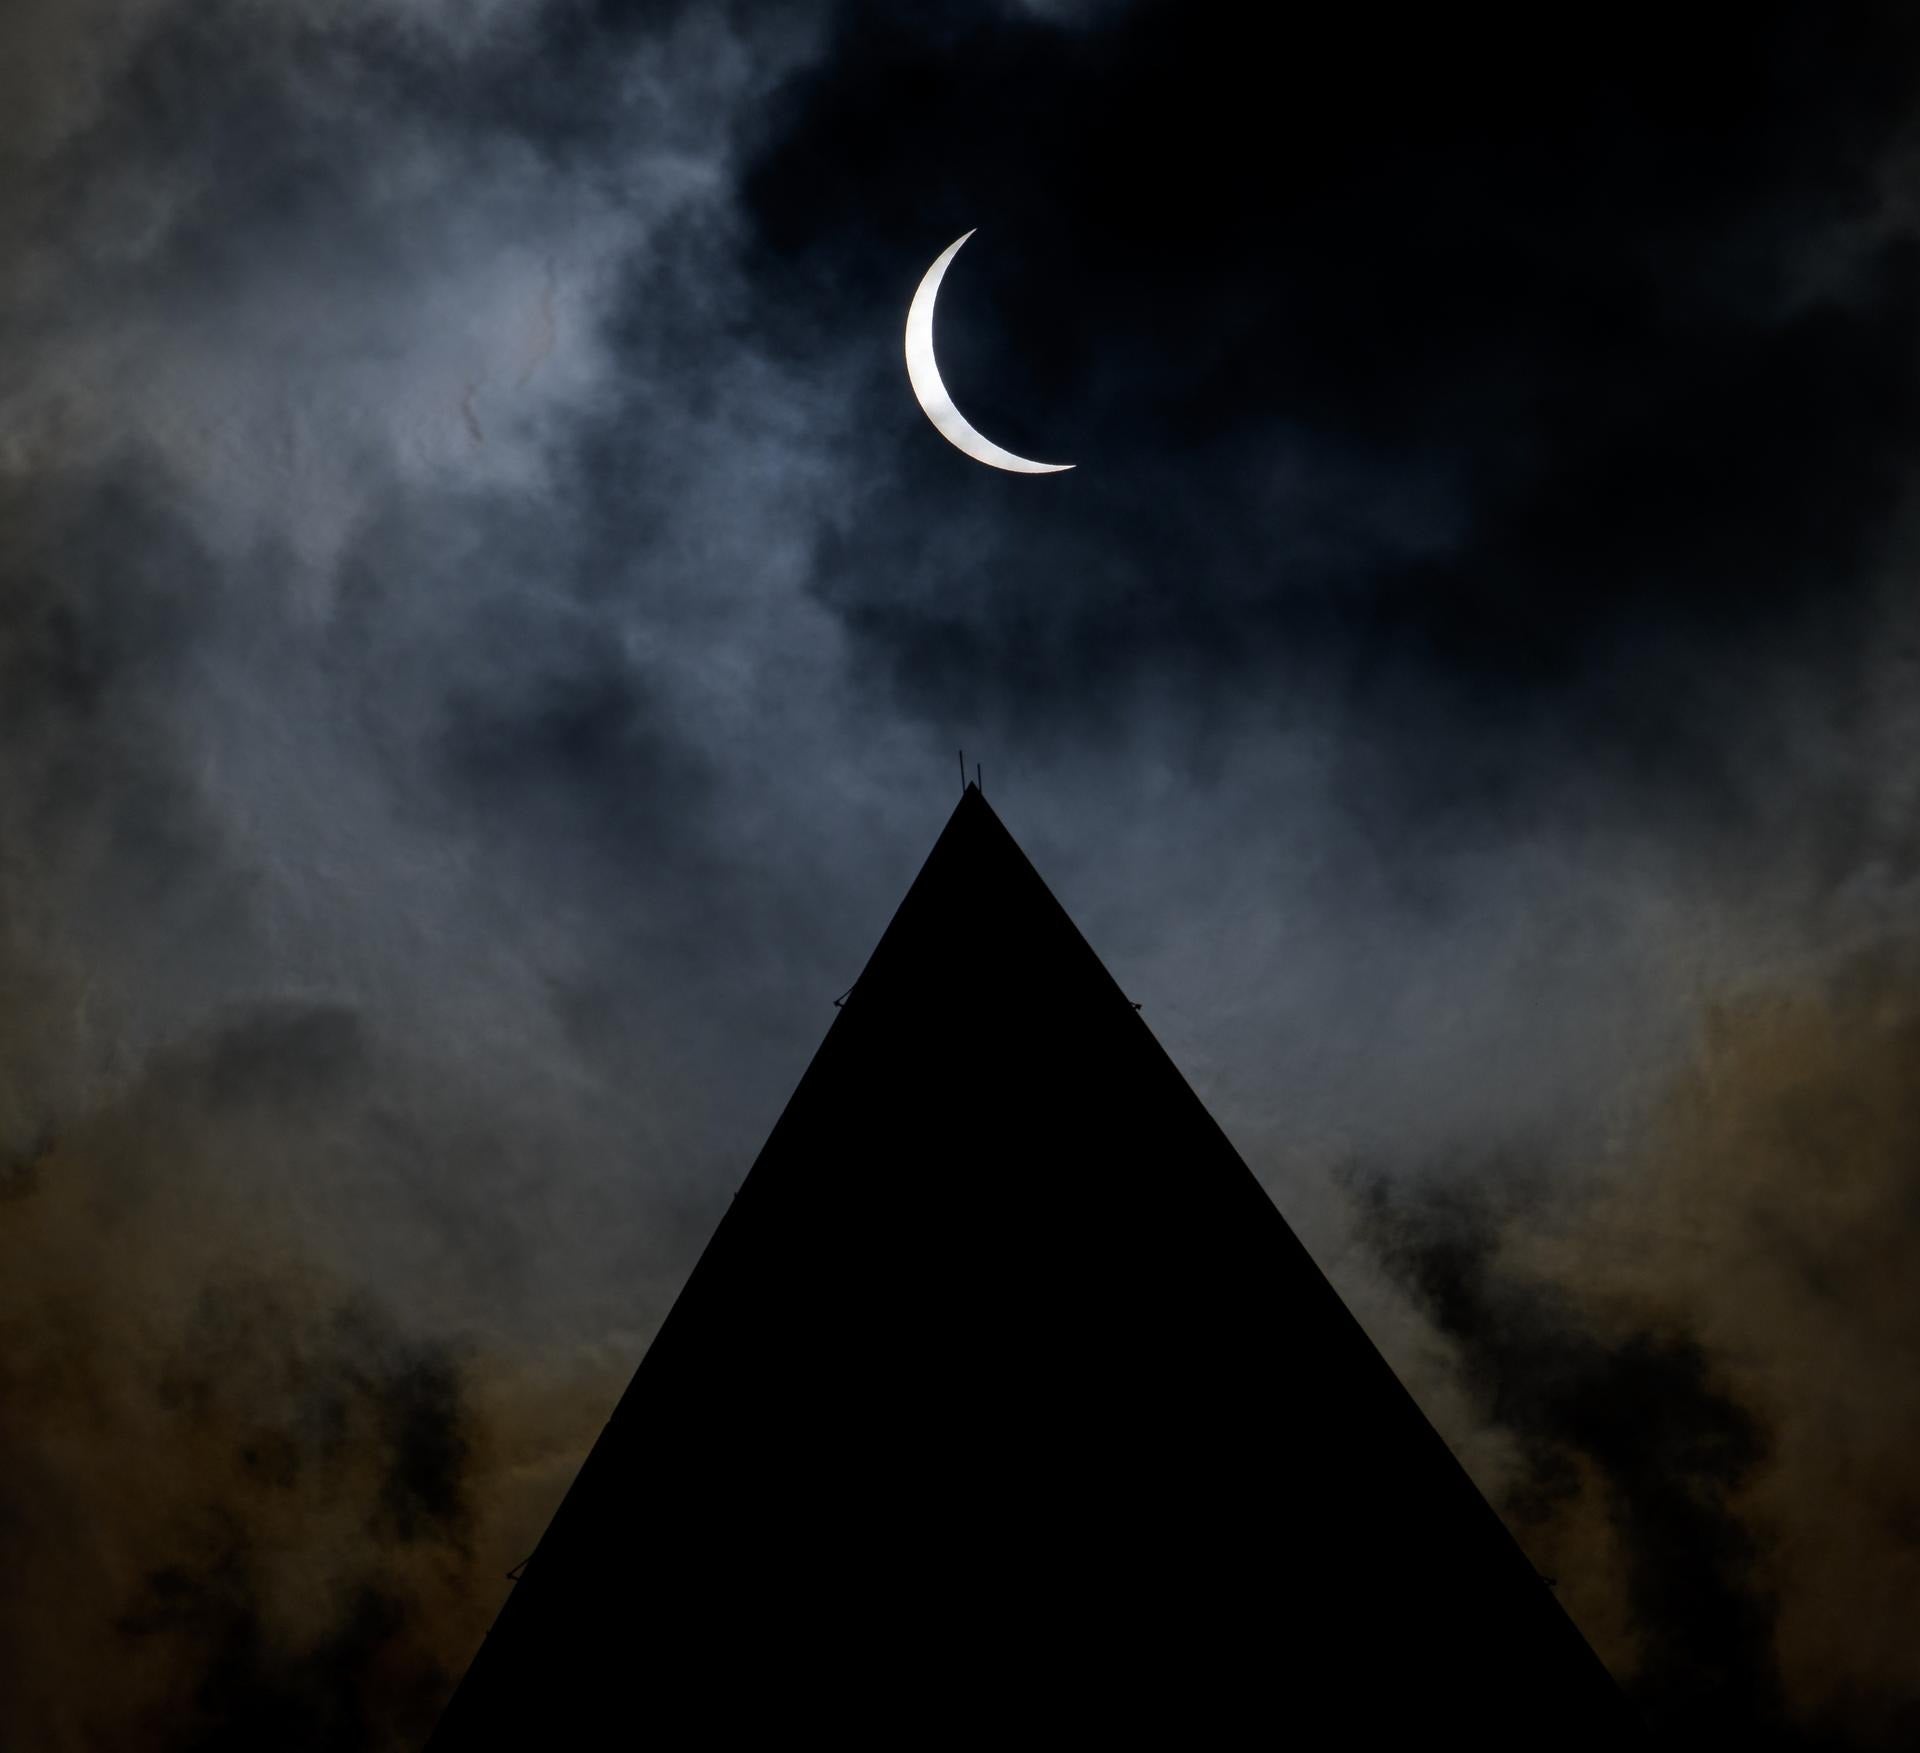
Excitement is building for the total eclipse of April 8, 2024. Viewing such solar eclipses is great fun; however, looking at the Sun must be done cautiously. Many use special solar filters to reduce the Sun’s energy to safe levels before it enters a telescope or binoculars. But how can those without access to either view the eclipse safely?
Terry Richardson, an astronomer and faculty emeritus of the College of Charleston in South Carolina, came up with an ingenious gadget before the 2017 total eclipse, one that can be easily made in an afternoon. He calls it the Safe Solar Viewer (SSV). It’s not a telescope for viewing the Sun directly; instead, it projects sharp, enlarged views of the solar image onto a screen — and it far outperforms the common cardboard pinhole viewer.
The best part might be the low cost. Terry designed two versions. The simpler one uses optics that cost about $1. The more advanced version’s optics cost $5.
Simple SSV
Let’s look at the Simple SSV first. The lens comes from a pair of +1 reading glasses. You can buy these from a dollar store for, well, a dollar (or $1.50 in some cases these days). Since you only need one of the lenses from the reading glasses, you can give the second lens to a friend.
Each lens has a focal length of about 39.4 inches (1 meter). To confirm your lens’ focal length, let light from a room lamp shine through it onto a wall. Move the lens back and forth until the projected image is sharp, and then measure the distance from the lens to the image. That’s how long your SSV needs to be.
Terry notes that you can use up to a +2 reading glass lens for a shorter focal length, but it will produce smaller images.
Besides the lens, you will need a long three-sided cardboard box measuring about 4 by 4 inches (10.2 by 10.2 centimeters) across and about 6 or 7 inches (15.2 or 17.8 cm) longer than the lens focal length. Leave one long side of the box open for viewing.
Cut about 4 inches off from the front of the box to make the focuser. At the opposite end of the long box, glue a white card to serve as the projection screen.
Before mounting the lens to the outside of the focuser box, cut a small, round hole in the end’s center (see opposite page, middle). Do not make the hole the same size as the lens. Terry warns, “In practice, a better image is formed if the hole is kept to about ¼ inch [about 0.6 cm] or a little more in size. A large hole makes an image that is too bright and indistinct for the best viewing.”
Place the eyeglass lens over the hole in the focuser box and secure it using masking tape, duct tape, or glue. Just keep the center of the lens clear. With that set, slide the focuser into the open end of the long box (see opposite page, bottom).

Advanced SSV
The Advanced SSV uses two lenses — an objective lens and a Barlow lens — to project an image onto a white screen. It’s best to assemble most of this SSV from plywood rather than cardboard, to keep the lenses aligned.
The objective lens should have a focal length between 400 and 600mm, while the Barlow is best between 18 and 30mm. Terry bought his optics from Surplus Shed (surplusshed.com). Thanks to the SSV’s popularity, Surplus Shed now sells an SSV lens set for only $5 plus shipping.
On Terry’s advice, I used ½-inch plywood for my own Advanced SSV (top):
- Support rail: 32″ x 3½” (A)
- Focuser upright: 3¾” x 3½” (B)
- Focuser foot: 2″ x 3½” (C)
- Barlow upright: 3¾” x 3½” (G)
- Screen holder: 4½” x 3½” (H)
In addition, two focuser slide guides (D) are needed to keep the focuser from shifting along the support rail. These can be easily made by cutting a 6-inch (15.2 cm) tongue depressor in half. Finally, cut two 3-by-3-inch (7.6-by-7.6 cm) pieces of cardboard (E and F) to hold the optics in place.
Begin by attaching the screen-holder (H) to the end of the support rail (A) with carpenter’s glue and finishing nails, taking care not to crack the plywood. Then glue a white card onto the front of the screen holder.
Next, drill concentric pilot holes through the centers of the focuser (B) and Barlow (G) uprights, to ensure that both lenses will be on the same optical axis when completed. Then, open up the pilot hole in the focuser upright to match the outside diameter of the objective lens. Do the same to the Barlow upright to match that lens’s outside diameter.
Finish off the focuser by nailing and gluing the foot (C) to the upright, and add the two focuser slide guides (D) to the foot’s two sides.
Carefully insert the lenses into their respective supports. Check that they are square to the uprights. Hold them in place with the cardboard lens holders (E and F). I used duct tape to seal them tightly.
The exact spacing of the lenses and screen-holder is not super-
critical, but plan on positioning the Barlow about 11½ to 12 inches (29.2 to 30.5 cm) from the screen. Before you commit to anything, though, do a test. Bring the SSV outside on a sunny day and tilt it sunward. Mark about 12 inches in front of the screen and hold the Barlow in place. Next, slide on the focuser, aim at the Sun so that it shines through both lenses and onto the screen, and move it back and forth until you see a sharp image. Do NOT look through the SSV’s lens to aim at the Sun. The Sun should always be at your back.
If the image isn’t sharp, nudge the focuser toward or away from the Barlow. If need be, also move the Barlow slightly toward or away from the screen. Once you get a reasonably good image, mark where the Barlow upright is along the support beam. Make sure it’s square to the support beam, then drill two pilot holes through the beam and into the Barlow upright. Use carpenter’s glue and finishing nails to secure the upright.
Final focusing

Once everything is assembled, it’s time to focus your SSV. Regardless of the version, lean it against a chair or other support, shifting it until the Sun is shining through the lens. Again, do NOT look through the SSV’s lens to do this.
After the Sun is projected onto the screen, and without moving the SSV’s aim, slide the focuser back and forth until the projected image is sharpest. Once it’s set, you should never need to refocus it. To keep the Simple SSV’s focuser in place, Terry suggests using four binder clips. The Advanced SSV’s focuser is best held in place with one or two strong rubber bands.
For more information on the SSV, visit Terry Richardson’s website: richardsont.people.cofc.edu/safe_solar_folder.
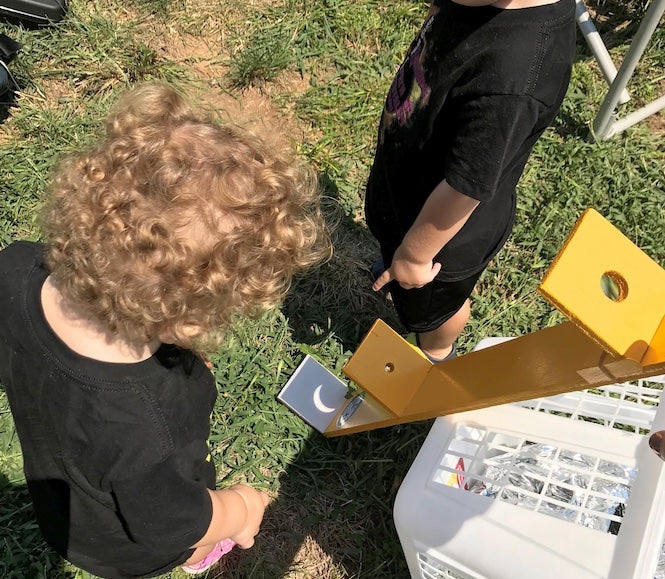
Making the SSV is a simple but very effective STEM project for parents, science classes, clubs, and Scout groups. And once it’s done, it’s sure to be a hit. My grandchildren loved using the SSV that I made for the 2017 eclipse, and we will certainly have it with us again for the next.