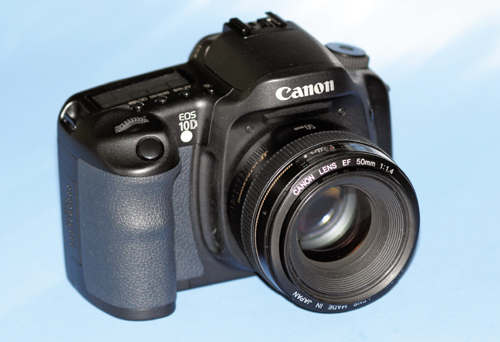
For several years after the introduction of consumer digital cameras, film photographers wouldn’t touch them. The first generation of digital cameras had many limitations, especially if you were planning to do astrophotography. Foremost among the restrictions was the fact that exposures could be no longer than a few seconds. Some newer models feature longer exposure times and a way to lock the shutter open – a feature that corresponds to the old “bulb” setting on film cameras. Another serious drawback of early digital cameras was a lack of interchangeable lenses. Top-level cameras made today tout the fact that they use the same high-quality lenses of old 35mm cameras. Newer cameras also can be adapted for telescope use in the same manner as standard 35mm film cameras: by using a “T” adapter. Even digital cameras without interchangeable lenses can image through a telescope with the addition of a special adapter that attaches via threads to the front of the camera’s lens.
Digital-imaging chips are a lot more sensitive to light than any 35mm film. But both have problems. Film suffers from a type of light loss called “reciprocity failure.” Reciprocity failure is a decrease in light sensitivity (speed) with increased length of exposure. This problem limits how effective film is after a certain exposure time. Digital cameras suffer from a problem called “noise.” The noise is electronic, and most of it is caused by heat built up by the camera’s control circuitry. The heat creates hot pixels on the camera’s chip and stray optical “noise,” which shows up as white specks on the image. Image-processing software is now well suited to deal with camera noise, but software does have its limits. Therefore, it’s best to do a bit of research and choose a camera that has as little noise as possible.
Apart from the disadvantages, a digital camera offers numerous advantages. The ultimate advantage over film is “instant gratification.” You can see your images right after you shoot them. This is a huge benefit. Problems with focus, framing, etc., can be dealt with immediately. Digital imaging also offers the advantage over film of being able to combine images more easily, which can help bring out finer detail. You can do this with film, but the negatives or slides must first be scanned into your computer. Finally, as noted above, if you do a lot of imaging, the cost savings as time passes place digital imaging far ahead of film.
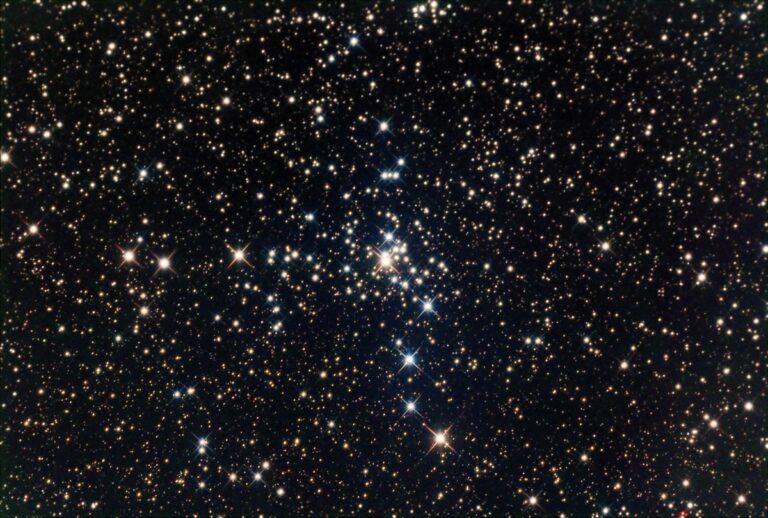
Amateur astronomers are making great progress with the use of video cameras for recording celestial events. Each day, it seems that fainter and fainter objects are being imaged on video. As I write this, however, video astronomy still is confined to the brighter celestial objects — the Sun, Moon, brighter planets, and certain double stars. Images of nebulae and galaxies have been produced, but not many. Some of the most impressive video work I’ve seen demonstrates the advantage video has over still images — video can record events that occur over time such as occultations of stars, changes in solar prominences, and eclipses of the Sun and Moon.
Three types of video astrophotography are possible. The first type is “non-telescope” video. This is popular with amateurs who have long focal-length lenses and who are interested in wide-angle shots. Eclipses are perfect targets for this type of video astrophotography. Generally, after polar aligning, the telescope’s optical tube assembly is removed from the mount and replaced with the camera. Once the system is rebalanced, you’re ready to shoot. A couple notes: (1) If you are shooting a solar eclipse, purchase (or make) a solar filter for your camera lens to use prior to totality. If you don’t, the brightness of the unfiltered Sun will totally overwhelm the video chip. (2) It is critical to rebalance the assembly carefully, as the mount will have been balanced for the telescope. If this is not done, guiding errors will occur due to the mount’s drive mechanism.
The second type of video astrophotography involves the “afocal method,” which involves either manually holding a video camera up to the eyepiece of the telescope or mounting the video camera on a tripod and pointing the camera lens into the eyepiece. Sound too simple? I have seen some very good results from this technique. If at all possible, use a camera that allows you to change the exposure time manually. Experiment with exposure times on all objects you shoot. Also try different eyepiece/zoom combinations. Almost all video cameras have a zoom feature. Try a low-power eyepiece with the camera lens zoomed to maximum, a high-power eyepiece with the camera lens zoomed to minimum, and everything in between. If you are shooting video in this fashion for any length of time, the best technique is simply to hand-hold the camera. Trying to position the camera on a tripod is problematic because Earth is rotating. Whether the telescope is driven or you are moving it manually, as with a Dobsonian mount, continual repositioning of the camera will be necessary. Hand-holding the camera is just easier.
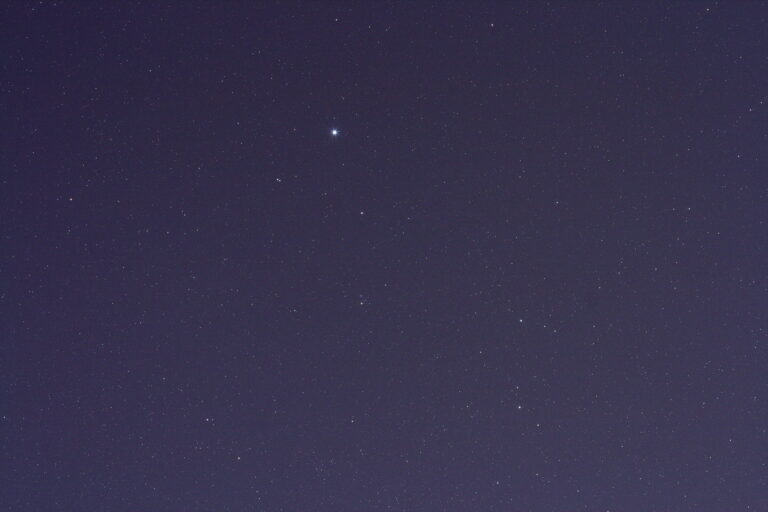
The third type of video astrophotography uses a small camera, usually black and white, directly connected to a telescope. I use such a setup for my 4-inch refractor. On such a small telescope, the camera must be pretty small. I use a black-and-white security camera that’s available from a number of distributors such as Supercircuits. Find them on the Internet at www.supercircuits.com. I’ve produced good video of the Sun, Moon, Jupiter, Saturn and a number of bright double stars.
This section is labeled “Video astrophotography” because that’s how these images are captured. Some amateurs, however, use video to produce still images. The theory is that within the large number of frames captured on video, some small number will be exposed during moments of excellent seeing. This technique works. It takes time to scan the video for the best images, so either be prepared for a lot of “away from the telescope” work or find a software package that will select the best images for you. Once the high-quality frames of video are identified, they can be “stacked,” that is, combined electronically using software such as Photoshop.
The best way to capture video images is by hooking up the video camera directly to the computer. Then you can manipulate images, stack them, etc., with very little problem. If, however, you want to record on a tape medium first, you will need a video capture board such as Play, Inc.’s Snappy, Dazzle Multimedia’s Hollywood DV-Bridge, or ATI Tech’s TV Wonder.
However you choose to capture video images of celestial objects, a few common-sense rules apply. Because your telescope functions as your “lens,” use the finest quality telescope you can buy or borrow. Next, use a sensitive video camera. The more sensitive the camera, the higher (fainter) your limiting magnitude will be. Record onto a high-resolution media because your choice of media will set the final resolution. 8mm and VHS should be your last choices. Hi-8 and S-VHS are much better, and digital-8 is even better yet. Digital capture straight to a computer is best. If you don’t have the resources to use a high-end system, all is not lost. In fact, valuable experience can be gained until you can upgrade. A number of video imagers report good results even using VHS tape. Make sure to use the fastest tape speed.
If you are imaging in black and white, using a yellow, orange, or red color filter will reduce the effects of Earth’s atmosphere. The image will still be black and white. However, for most video cameras using CCD chips, such filtering will improve the image. Little light will be lost because most chips of this type are very sensitive to red light. If you need a bigger image, use a system with a long focal length. Employ a high-quality Barlow lens if necessary. Many video astrophotographers work at f/30 or even higher focal ratios.
Whether you choose a digital still camera or a digital video camera, I’m certain it won’t take you long to produce good astronomical images. The learning curve isn’t steep, the long-term costs are low, and the gratification (seeing your image) is immediate. Good luck!