As you may suspect, I’m not an award-winning photographer. But I have beautiful celestial images in my photo albums. Without any exotic equipment, you, too, can capture constellations, moon-planet alignments, and meteors. You can create your own atlas of the sky overhead. All you need is a 35mm camera, a camera-store tripod, and a cable release to hold the shutter open without jiggling the camera. If I can do it, so can you.
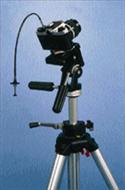
Start on a clear, moonless night by loading fast color film into your camera and attaching it to a tripod. In the Northern Hemisphere, set the lens aperture wide-open, move the shutter speed to the B (bulb) setting, and point the camera at Polaris. Use a lens hood, and a hair dryer if necessary, to keep dew from forming on the lens.
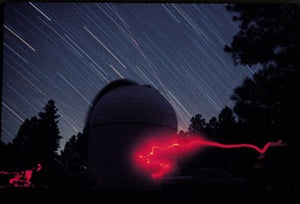
Use a cable release to bracket your exposures: Take exposures of 5 to 40 minutes. Remember to vary your exposure times from what you consider too brief to far too long. Likewise, vary the camera’s aperture setting from a wide-open f/2.8 to a pinhole f/22. The resulting star-trail photographs will illustrate the apparent rotation of the sky around the North Celestial Pole. Urban light pollution may wash out your exposures, but taken at a dark site your images will show the colors of stars. Welcome to astrophotography.
Keep a record of exposure times and f/stops, weather conditions, light pollution, and sky conditions. Compare your images to those notes. You will learn to estimate the “sky fog limit” of your site — the longest exposure beyond which the background illumination of the sky cancels out any benefit gained with a longer exposure. Of course, your first pictures won’t rival Ansel Adams’s, but keep trying. As with any skill — from comedy to photography — persistence is required.
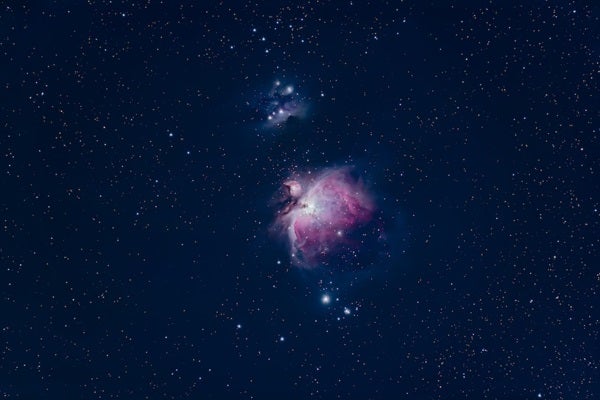
In photographs taken just after sunset or before sunrise you may capture a satellite trail. Much less frequently, during the middle of the night, you may catch a meteor trail. The variation in star-trail length illustrates the apparent east-to-west motion of the sky, which causes stars to trail. Take another set of time exposures of the sky at the celestial equator, which is 90° away from Polaris. In these photos, note that the star trails are straight and much longer. Star trails are shortest and most curved near Polaris. They become straighter and less curved farther away from the North Star, becoming straight at the equator. At the celestial equator these lines elongate at a rate of 15&mdeg; per hour of camera exposure. Thus you can take a portrait of the Big Dipper (which is closer to Polaris) using a longer time exposure than you can of the Orion constellation, which is on the equator.
The amount of trailing in your photographs also depends on the focal length of the lens used: at a given exposure a wide-angle lens will yield shorter or invisible trails while a telephoto lens will show longer, brighter trails.
Imaging point sources of light is a revealing test for camera lenses. Stars near the center of the image may be points, but stars at the outer edge of the field look like blobs. Why? All but the best lenses lose quality near their edges. Specialized lenses — for example, those with zoom features or with low focal ratios — have even poorer edge-of-field quality, which is most apparent at full aperture.
Stopping down the shutter often will improve image quality. My inexpensive 17mm wide-angle lens has distortions when the aperture is wide open at f/3.5. However, stars become sharp — even at the edge of photographs — when I adjust the aperture to f/5.6 and lengthen the exposure times. It’s a trade-off: image quality can be increased, but more time is needed. However, when you increase exposure times the motion of stars will make them trail across your film. I can reduce exposure times by using faster films, but they yield grainier images. If your camera’s lens produces sharp star images all the way to the edges — even when the aperture is wide open — you have a treasure.
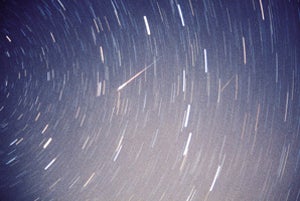
Your chances of photographing a meteor are slim, but they are better while taking long-exposure star-trail photographs in the early morning during the Perseid, Leonid, Geminid, or other annual meteor showers. Don’t point the camera at the source of these showers. Meteor trails are longer the farther away from the constellation from which they arise. Meteors, which may look bright to your naked eye, look dim on film because they flash too briefly. For the best results, adjust your camera to full aperture and use faster film. The distorted edge-of-field effects that many photographers find so objectionable in short exposures should give you wide, colorful star trails.
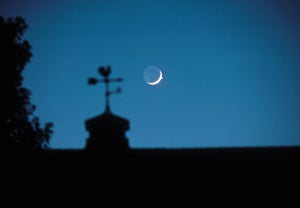
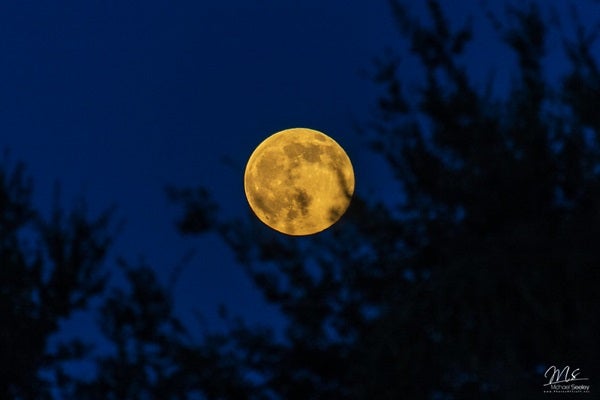
Because the full moon is sunlit you can photograph it as if taking a backyard snapshot in the afternoon. The moon at partial phases is side-lighted or back-lighted: in these circumstances use a lens aperture that is about one stop wider for a gibbous moon, two to three stops wider for a quarter moon, and three to four stops wider for a crescent moon.
Unfortunately, the angular size of a full moon is only about 0.5°. Since a normal 50mm lens covers 38° of sky, you could fit 76 full moons in your picture. Don’t expect to see crater details in an enlargement. Good lunar portraits require a telephoto lens or telescope. When using a short-focal-length lens to photograph the moon, try giving it interesting company — bright stars, planets, mountains, sunrises, or sunsets.
With the help of our lens-coverage table and a star atlas you can plan portraits of your favorite constellations and star groupings. Rectangular paper or transparent overlays that match the sky coverage of your lenses will help you plan photographs. You may not immediately recognize your pictures because fast film, a short focus lens, and a moderate f/stop such as 5.6 will capture many stars too dim to see with your naked eye. These pictures can be taken with exposure times brief enough to prevent star trailing.
In mid-northern latitudes, about 30,000 square degrees of the entire 41,000-degree sky rise far enough above the horizon during a year to be photographed. A 17mm wide-angle lens covers 6,000 square degrees of sky, so theoretically you could cover the entire visible sky with five photographs. A 50mm lens covers 1,000 square degrees, so you could create a complete star atlas from your site with only 30 photographs, although 60 would provide overlapping coverage. Your photographic star atlas won’t rival the Palomar Sky Survey, but it will add immeasurably to your knowledge of the night sky.
You may eventually outgrow your tripod. Star trails may become passé. The next step in astrophotography is surprisingly easy: mount your camera on a telescope platform with a motor drive that tracks the sky. This setup permits much longer exposures and yields more rewarding photographs.