Key Takeaways:

This month, I’ll show you how to reduce a bright star until it is only a fraction of its original size and brightness — overkill for sure, but useful in demonstrating how powerful this technique is. It will be up to you to decide how far to take it.
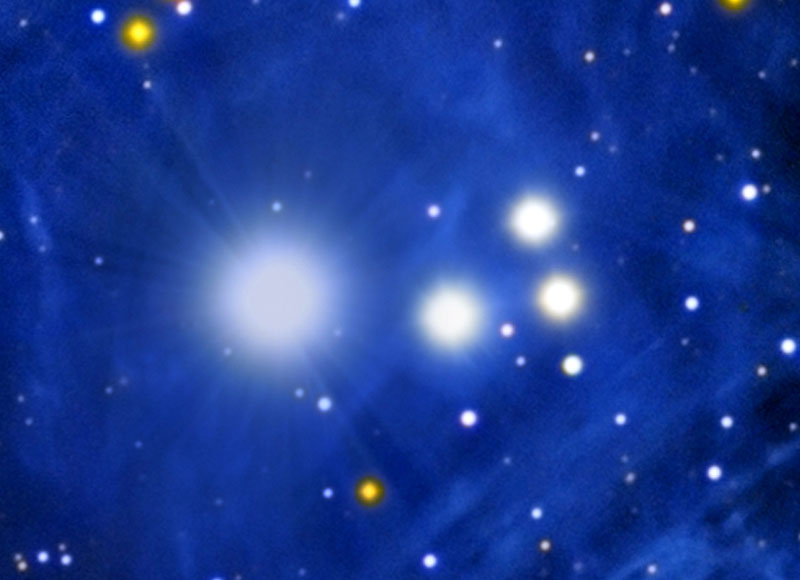
For our purposes, we will select a bright star in the Pleiades (M45) and make it as “small” as some of the much fainter stars next to it. Note: You must be in 16-bit mode to do this technique, as we will be compressing tonal space around the star.

Next, deselect and redraw the circle, closer to the core this time. Hide the selection if it makes it easier to see what’s going on, repeat the process, and then deselect.
best efforts to keep
the optics clean,
some scattering of
light is inevitable.
With the image open, go to “Filter” and then “Liquify.” On the extreme left-hand side of the window, make sure you select the fourth icon from the top (the “Pucker Tool”). The brush size should be 50 percent larger than the core of the star. Set the brush density to 50 and the brush rate to 20. Under “View Options,” uncheck everything. Move the brush (circle) and center it over the star; then click the mouse and hold it. Note how the core of the star shrinks, much like with the common “Negative Spherize” technique, only minus all the hassle.
Move the mouse slightly while still holding the button down to accelerate the shrinking process. Just shrink the core a little bit; experiment with this technique until you feel comfortable with this tool. When you’re happy with the results, let go and press “OK,” then return to where you left off.
Dodge the core of the star with the “Dodge Tool” in “Highlight” mode at a strength of 10 percent to bring the core back to white.
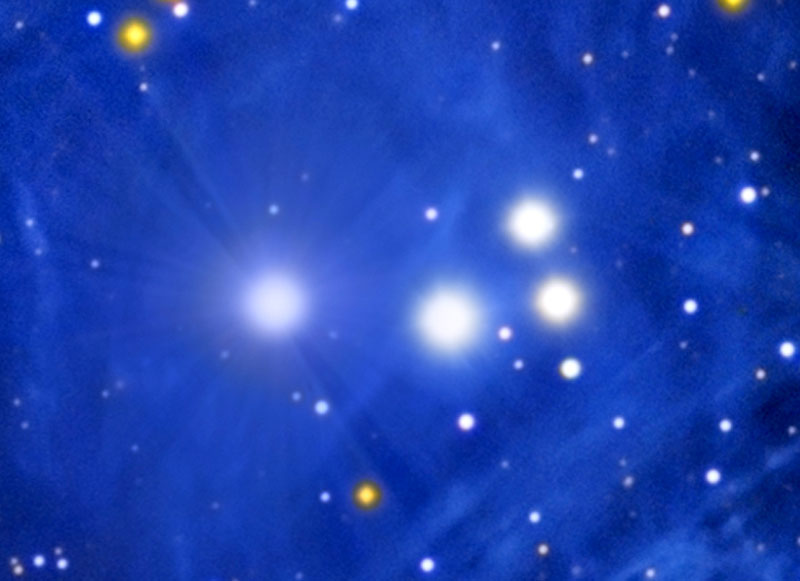
After finishing, you should see details that were previously covered up by the flare and a star that is more representative of its true luminosity. Remember, I took this technique to extremes to show you how well it can work. In real life, my adjustments would have been more modest.
Happy star shrinking!