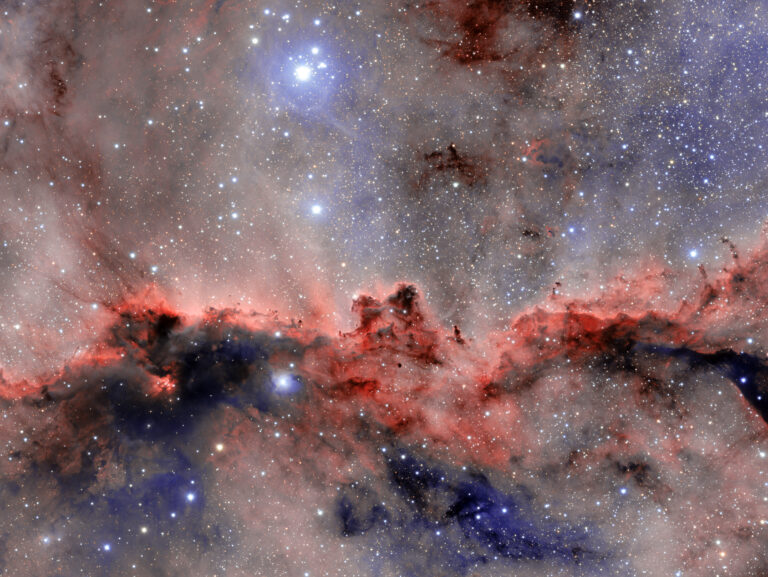
In a perfect world, however, I try to follow a pattern. I begin by analyzing the nature of my target. Does it need deep exposures to allow massive stretching (see my November and December 2010 columns), or is it a bright nebula (like the Rosette) where short exposures will do? This will dictate whether I shoot 90- or 15-minute exposures and whether I combine 25 or five.
Do I shoot a separate luminance that I’ll combine with RGB data (my typical procedure for a galaxy) with my 14.5-inch f/9 reflector, or do I simply shoot RGB images (like I do for most nebulae) with my 71mm f/5.6 refractor? Tailoring your equipment and imaging parameters to the subject matter is the first step toward achieving superior results.
After narrowing my selection, I use MaxIm DL version V to apply my darks and flats (see my September 2010 column), and to combine the pictures. I’m a big fan of the multi-iterative “SD Sigma Combine” for my combining, and I save the resulting 16-bit FITS file as a “master” file of the respective images. I also use MaxIm DL to align and combine my color frames into a master RGB, saved in 16-bit FITS. (For more about this process, see my January 2011 column.)
From here, I use a software algorithm on these master files that reverses the blur mostly caused from poor seeing and sharpens the images. (My favorite software for this process, called deconvolution, is AIP4WIN.)
Next, I bring these files back into MaxIm DL and convert them to 16-bit TIFF files. The advantage of this is that I can compress the files linearly to fit within the 16-bit boundaries if necessary.

Sometimes after my first “journey” through the data, I realize a different approach would work better. With difficult photos, I rework the image several times, slowly “getting to know” the data and the image better. This is common — accomplished imagers often realize that the best approach to the processing only becomes obvious after the first try. So don’t feel discouraged if your initial attempt didn’t come out perfect. Just go back and make it better.
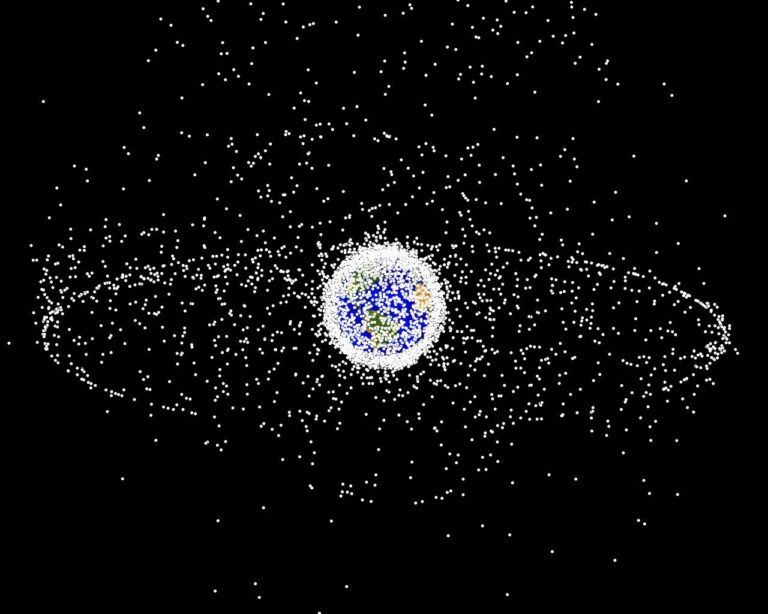
Making an A-grade image requires many steps. As with so much, you’ll find that good planning will help considerably.