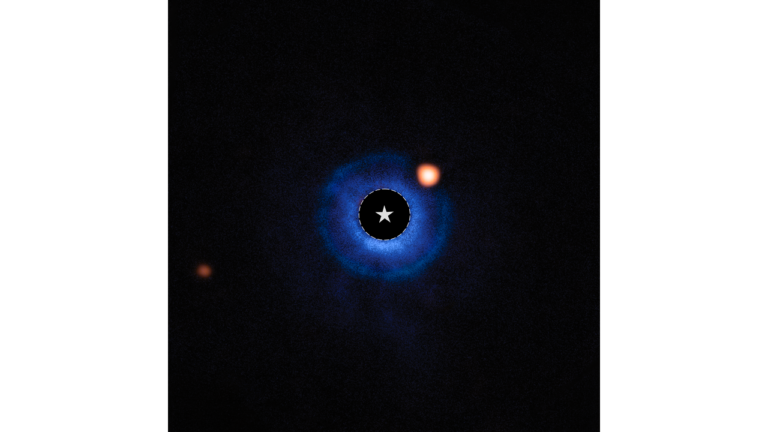
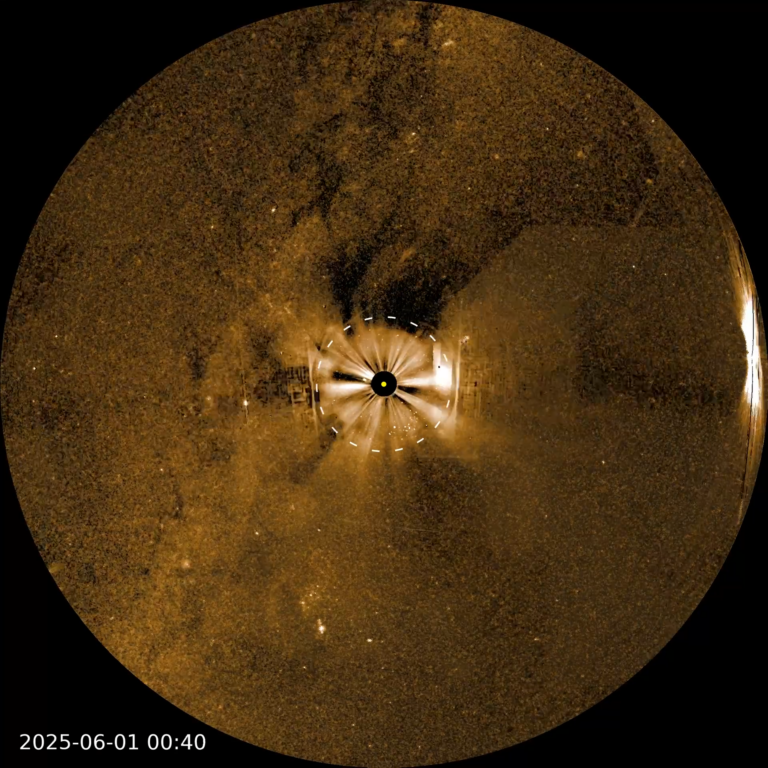
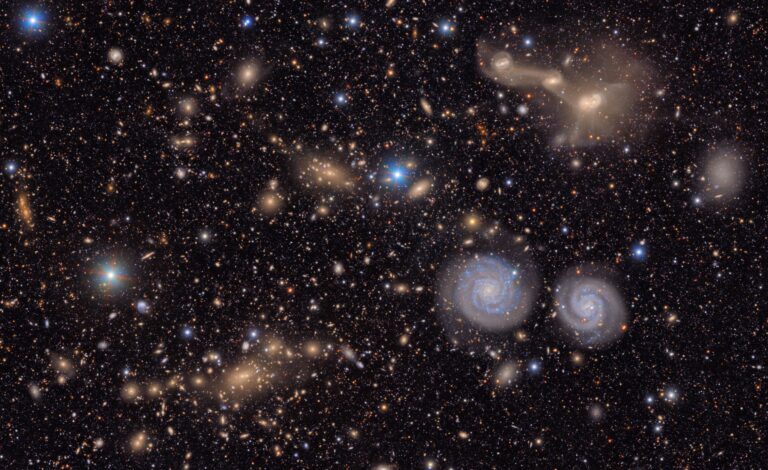
To fully understand HDR, it helps to know why it was invented. As digital imaging evolved, it became easy to capture information beyond what a single frame can depict. When Photoshop creates a huge 32-bit image — by combining data from the deepest shadows to the brightest highlights — a problem arises. How do you bring all these tonal values down to a more limiting 16- or 8-bit image without losing too much detail? If we could go into this huge image and enhance the local detail elements in it, then when we reduce bit depth (and lose data), the major detail will still be there after the loss.
It turns out this same idea applies to well-made astroimages, which possess good detail from the shadows to the highlights. The better the data you start with, the more “HDR Toning” can do for your image. It will analyze your image and attempt to enhance the subtle detail through the process of “local micro contrast enhancement.” Let’s examine the HDR controls more closely.
First of all, know that whenever you process an astroimage in HDR, the highlights are likely to wash out right away. Not to worry: the “Gamma” and “Highlight” sliders under “Tone and Detail” work well together to bring them back. It’s helpful to have your first step be simply using both sliders to make the highlights look normal again.
The “Radius” setting under “Edge Glow” works similar to the “Radius” setting in “Unsharp Masking,” another image manipulation technique: Selecting smaller pixel amounts emphasizes the fine detail, while working with large numbers of pixels emphasizes the overall image. I usually leave the “Strength” of “Edge Glow” around 0.50, unless the image is unresponsive.
with this powerful tool. Your goal is to
maintain the “natural” look of each
image for the best results.
Once you are satisfied with your settings, go back and fine-tune the “Gamma” and “Highlight” settings one last time. You want as much “Gamma” (midrange contrast) as your image can support while working in conjunction with the “Highlight” slider to keep the image’s highlights from blowing out.
One of the side effects of “HDR Toning” is emphasizing the noise structure, or visual static, along with the other detail in your image. To fix this, simply use a mild noise reduction application such as Neat Image or Noise Ninja afterward — and possibly before, if your image is noisy to begin with. Excessive noise can “distract” the HDR software from the image’s true tonal values. It bears repeating that it’s easy to overprocess your photos with this powerful tool. Your goal is to maintain the “natural” look of each image for the best results.
“HDR Toning” may seem intimidating at first, but if you experiment with the controls, it will soon start to make sense. (For more details, visit www.astrophoto.com.) In other words, the best way to understand HDR is to use it!


