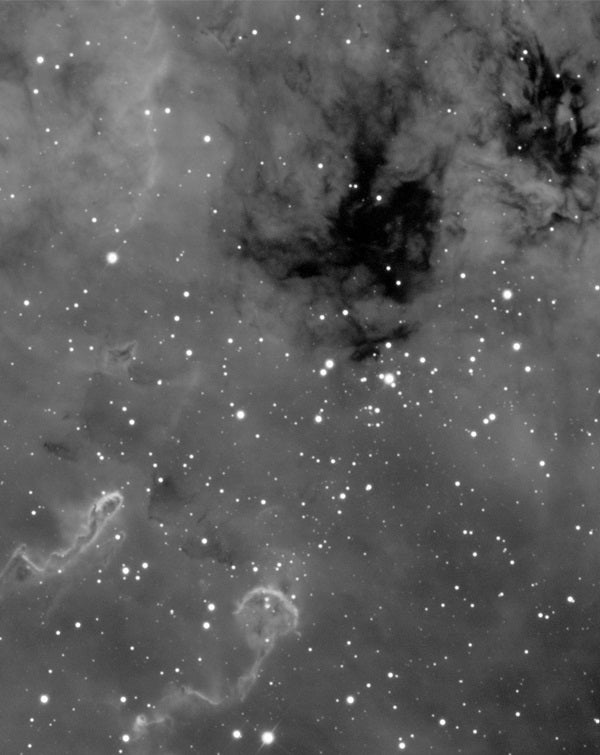
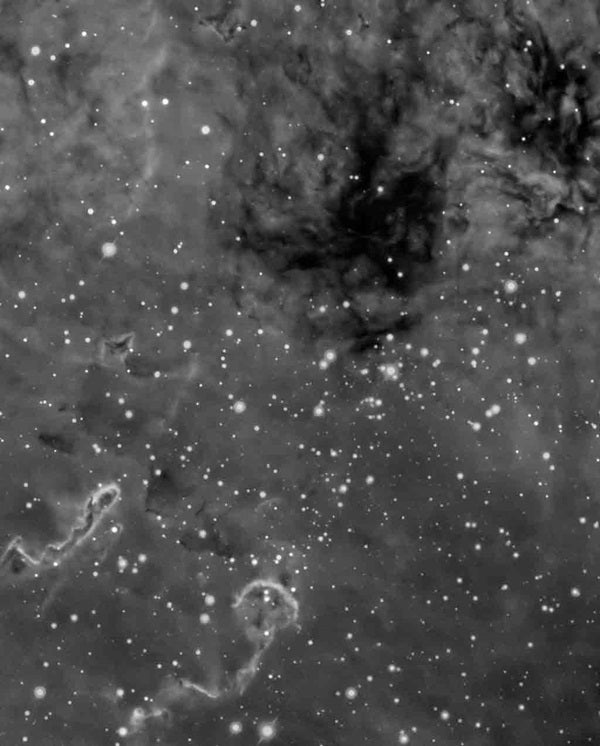
The top image shows an apparently finished shot of IC 410’s “tadpoles” and neighboring dark nebulae. This look was possible by stretching the photo with “Curves” and resetting the black point via “Levels.” Careful attention is necessary to keep all of the detail. The image underneath is the result of “HDR Toning.” The process is complicated, so I’ll take this column and next month’s to cover it entirely. First, you should practice becoming more familiar with the various options.
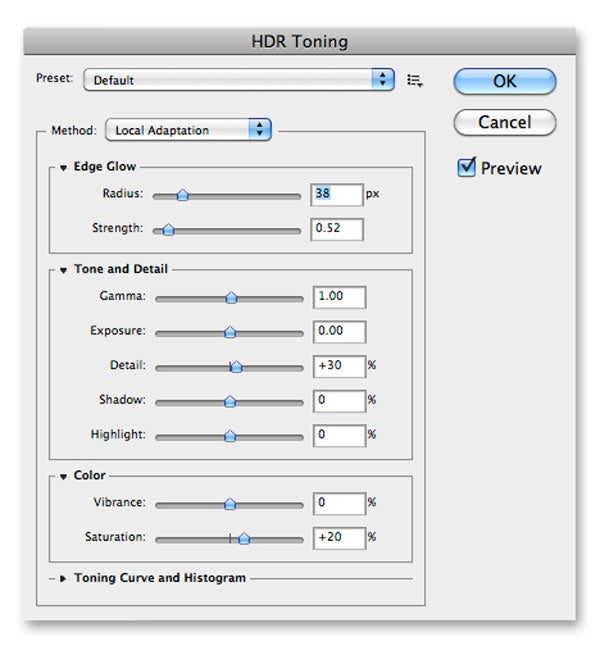
1 Open your starting image in Photoshop CS5. Go to “Image,” then “Adjustments,” and finally “HDR Toning.”
2 The HDR control box will appear. Choose the following input parameters for your image: “Preset” = Default (assuming this is the first time you use HDR); “Method” = Local Adaptation.
3 “Edge Glow” is the trickiest part of HDR. It’s a way to microadjust the contrast of your image’s features. Start with “Radius” = approximately 100, and “Strength” = approximately 0.50. You will fine-tune these values later. Don’t worry if your highlights get too bright at this point.
4 “Tone and Detail” allows you to adjust the image even further after “Edge Glow” using five different sliders: “Gamma,” “Exposure,” “Detail,” “Shadow,” and “Highlight.” Try the following:
“Exposure” defines how the image is exposed overall. If you try to make the photo brighter, the highlights will wash out again, especially around the brightest stars. You can use this variable to darken the image slightly if adding contrast makes it too light. (“Curves” also adjusts the density of any part of the image, and it is more density specific.)
“Detail” is a powerful tool, akin to high-pass filtering on steroids. Moving the slider to the right will emphasize detail, but don’t go nuts. Use this control with discretion.
Finally, “Shadow” and “Highlight” should be fairly obvious: They control the densities of the shadows and highlights tonal zones.
In the next article, you’ll see how to use all of these controls to bring out the fine detail of your image.