Viewing through a white-light (visual) filter makes a fine introduction to solar astronomy. It lets us observe the Sun’s gaseous photosphere, commonly referred to as its “surface,” and several of its features.
Sunspots, for example, show up well against the stark solar disk, becoming increasingly detailed at higher magnifications. They consist of umbrae, dark areas where the Sun’s magnetic field is strongest, and they may include filamentary penumbrae, the not-quite-as-dark regions surrounding umbrae. Sunspots are cooler than their surroundings, causing them to appear dark by comparison.
Our second option, narrowband Hydrogen-alpha (Hα) filters, lets us observe the Sun’s chromosphere, the layer just above our star’s visible surface. Amateur astronomers use Hα filters that center on the red spectral line at 656.28 nanometers and let little else through.
Through this filter, the chromosphere is so alive with detail that sunspots lack the well-defined edges visible through a white-light filter. You will notice bright patches called “plage areas” — strong magnetic fields associated with faculae from the photosphere.

Two common problems that come up while sketching the Sun through either filter are exaggerated size and misplacement of features. Oversizing results from an attempt to sketch highly detailed features in a limited space. Start with a larger circle as the solar disk; give yourself room to record your observations. And you can simplify the correct placement of solar features by using an imaginary grid for plotting.
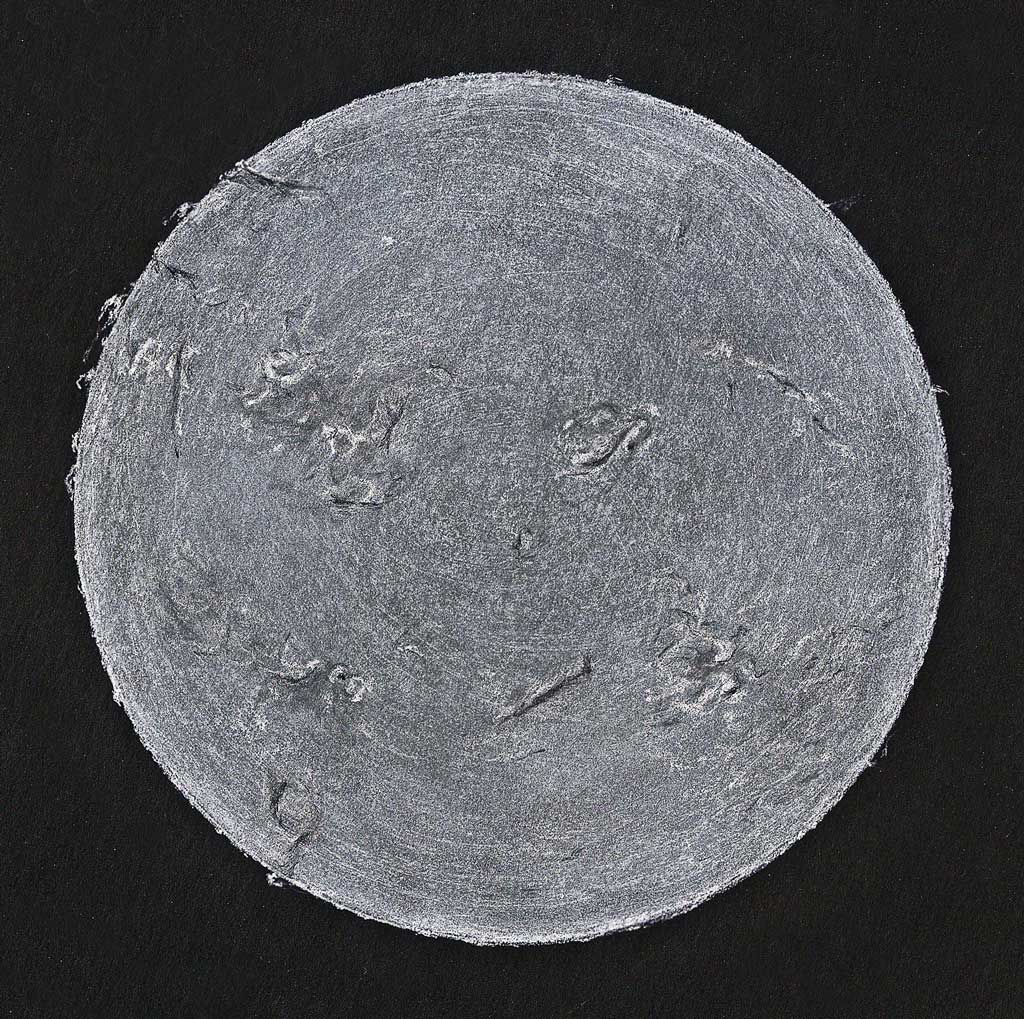
When you sketch the Sun in Hα, maintaining dark adaption is essential — and it isn’t easy in daylight. Blocking outside light around the eyepiece with a shield or dark cloth will improve your view and let you see faint detail that otherwise would be lost. Try sketching on black paper with a white pencil. This technique reduces glare, permitting your eyes to adapt more quickly when going from sketch to eyepiece.
Once you become comfortable with solar sketching, consider creating a sketch sequence of an erupting prominence or tracking an active region as it makes its way across the disk. Sketch sequences come to life through animation with software like Photoshop or Gimp. View an erupting prominence animation I created at http://wp.me/pY46X-LQ. Whichever filter you choose, with a little patience, you’ll be on your way to a lifetime of solar sketching.