Astroimager Adam Block instructs astrophotographers in how to remove dust doughnuts from images.
By Adam Block |
Published: March 28, 2016 | Last updated on May 18, 2023
Image processing is, at its heart, an exercise in solving problems. Data just don’t want to go together and fit nicely like pieces of a jigsaw puzzle. Instead, you must shave, cut, color, and throw out pieces to form a final image. So, creativity in solving a problem can be just as important as knowing how to use all the tools. Here’s a particular problem I solved to illustrate that the boundaries of creativity, if they exist, must be expansive indeed.
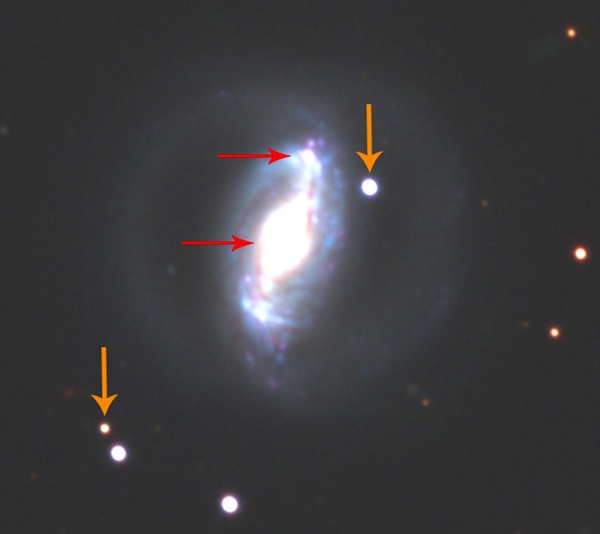
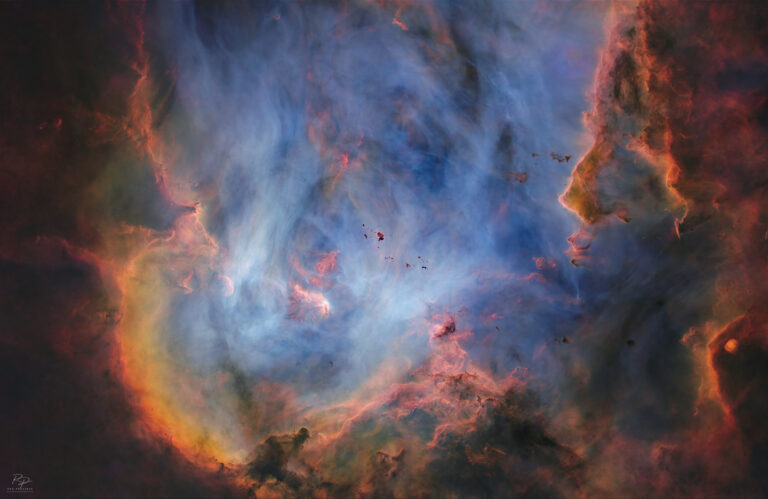
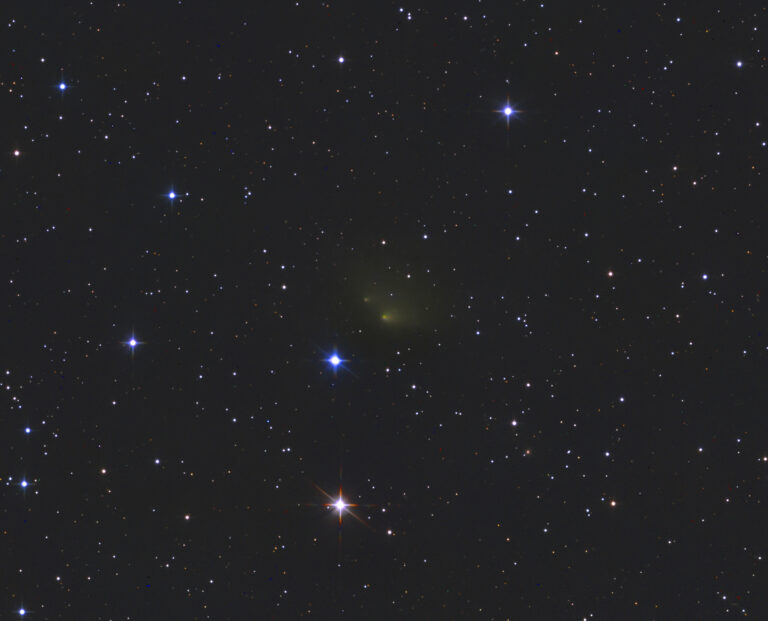
First, check out the combined luminance data for Keenan’s System (NGC 5216) in Image #1. As you can see, the image shows several dust doughnuts. If they were in an uninteresting section of sky, we could easily remove them. In this case, however, the largest doughnut coincides with one of the system’s faint tidal tails. Cosmetically filling this region with “Content-Aware” pixels — as demonstrated in my column “When light goes astray, part 2,” which appeared in the November 2015 issue — will not work. There isn’t a way to safely distinguish between the error and the tidal tail. We would just be arbitrarily guessing to adjust an area that took more than 12 hours to detect!
Image #1. This greatly stretched image shows the deleterious dust doughnuts the author discusses.
All images: Adam Block
At this point, examining your data and really paying attention to it reaps rewards. (See my February 2016 column, “Blast from the past.”) As I flipped through my RGB (color) data, I noticed that the dust doughnuts were not in that section of the image, although I had calibrated the data properly. I quickly realized that I could substitute the data from these frames to fix the luminance image. The RGB image characterizes the luminance image in all meaningful ways. The slightly lower resolution I used to capture the color data is not a problem because I’m just substituting sky values that contain the diffuse glow of the tidal tail and background galaxies.
This is what I did:
Step 1: Convert the RGB (color) picture to grayscale.
Step 2: Normalize the image with the luminance frame as the reference. This process equalized the background and signal strengths.
Step 3: Measure the brightest values of the errors (dust doughnuts) in the luminance image. This became the threshold value for substitution.
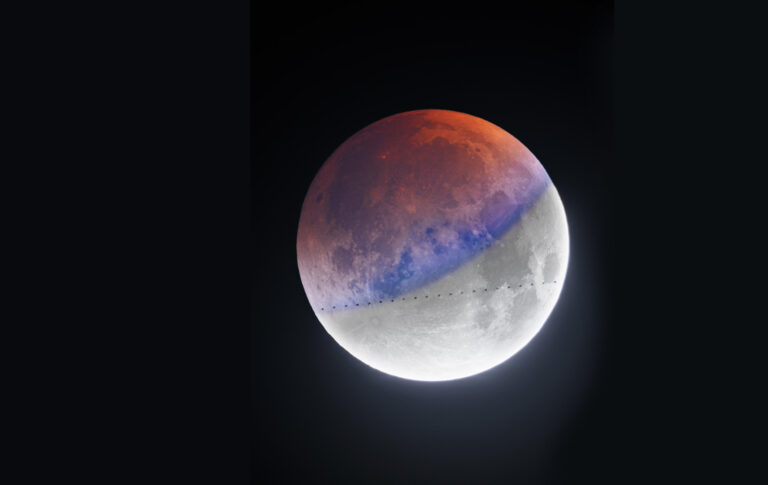
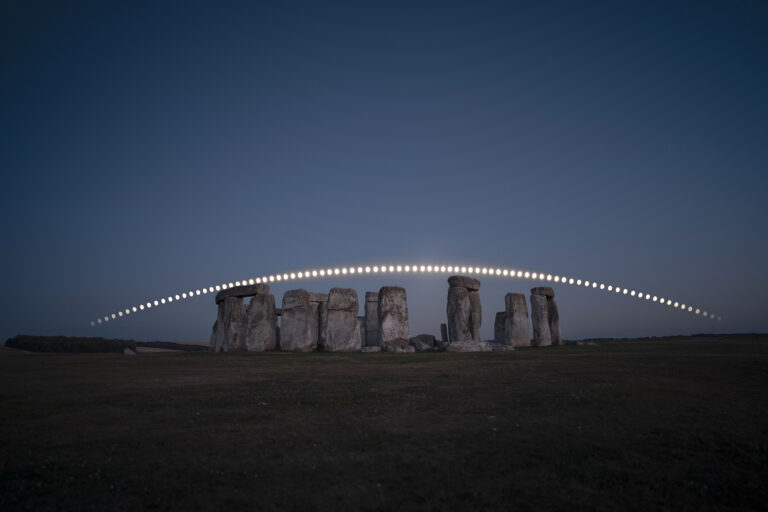
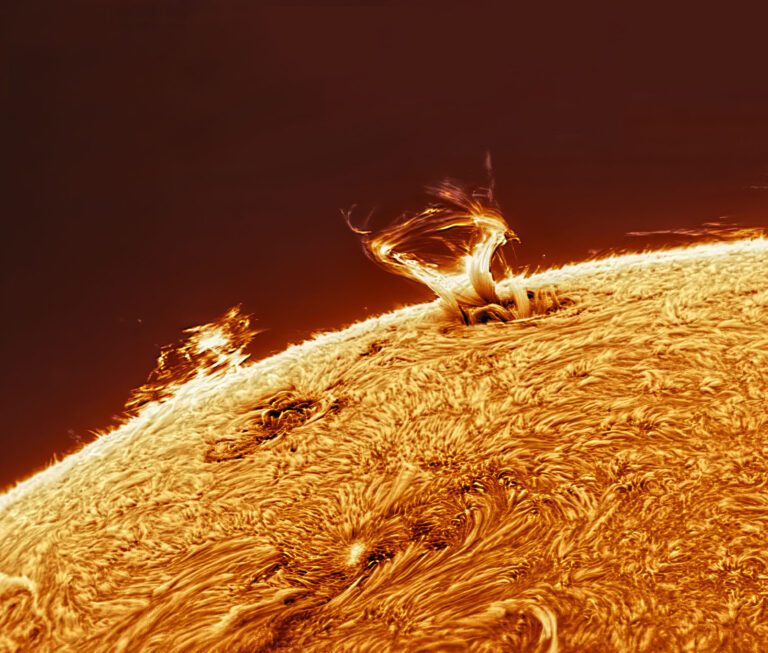
Image #2. The author revealed the rejected pixels in the luminance image by making them red. He then replaced them with pixels from the RGB (grayscale) image.
Step 4: Reject all values in the luminance image that were less than the threshold.
Step 5: Combine this image with the grayscale RGB image to produce a luminance with an RGB sky.
Step 6: Finally, save it as a “corrected” luminance. I opened the problem image and the corrected one in Photoshop. Using a mask, I selectively revealed only the areas that needed correction.
These steps are general and will require a few small variations depending on the software you use. For example, in step 5 when you combine the images, the RGB one should be given zero weight except where you plan to substitute pixels. In CCDStack, you would do this by setting the weight of the RGB image to a negligible value and making the rejected pixels “Missing Values.”
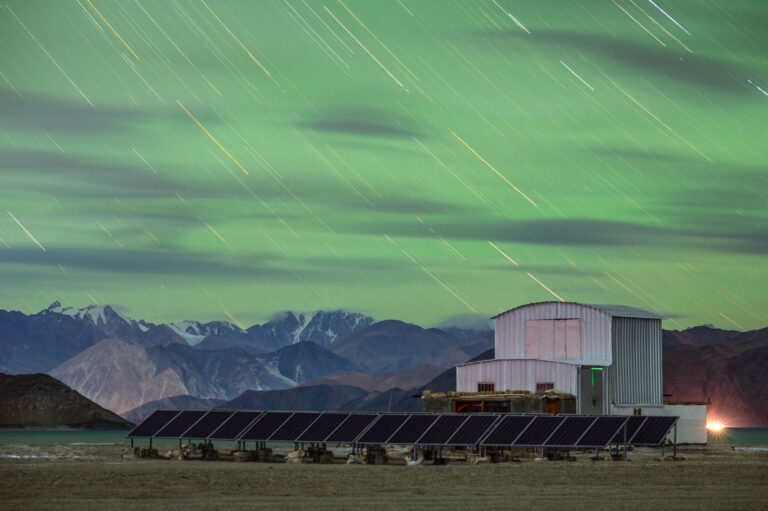
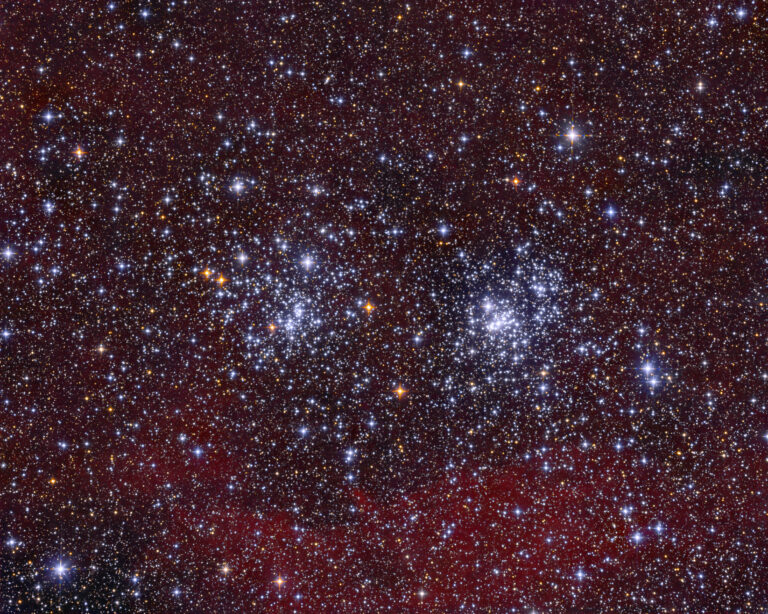
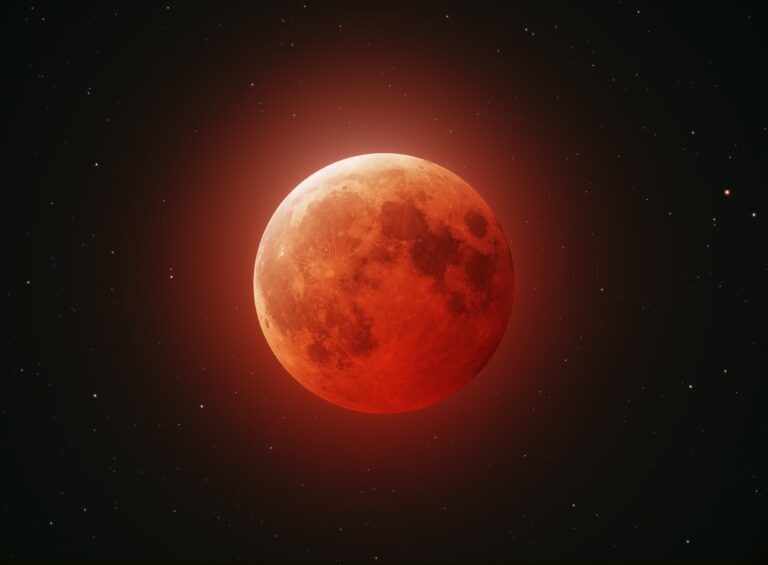
Image #3. The result of the author’s corrections, this image shows much more detail. You’ll find a larger version at www.adamblockphotos.com/ngc-5216.html.
The resulting corrected image maintains the story of galactic collision by substituting real data in the affected part of the tidal tails. This is problem-solving at its best. I was able to convert an image that I wasn’t satisfied with to one that I proudly show others, knowing that the most important part of the story is the astronomy and not the image processing.