December 2012: Follow these steps to improve any unshapely stars infiltrating your images.
By Tony Hallas |
Published: October 29, 2012 | Last updated on May 18, 2023
You’ve polar aligned carefully, collimated your telescope, and chosen an appropriate guide star. Yet, despite all these precautions, you’ve ended up with oval stars in one of your images. As long as the ovals are not too extreme, it’s possible to round them out in Photoshop if you follow these steps.
1 Enlarge the image until you can see the stars clearly.
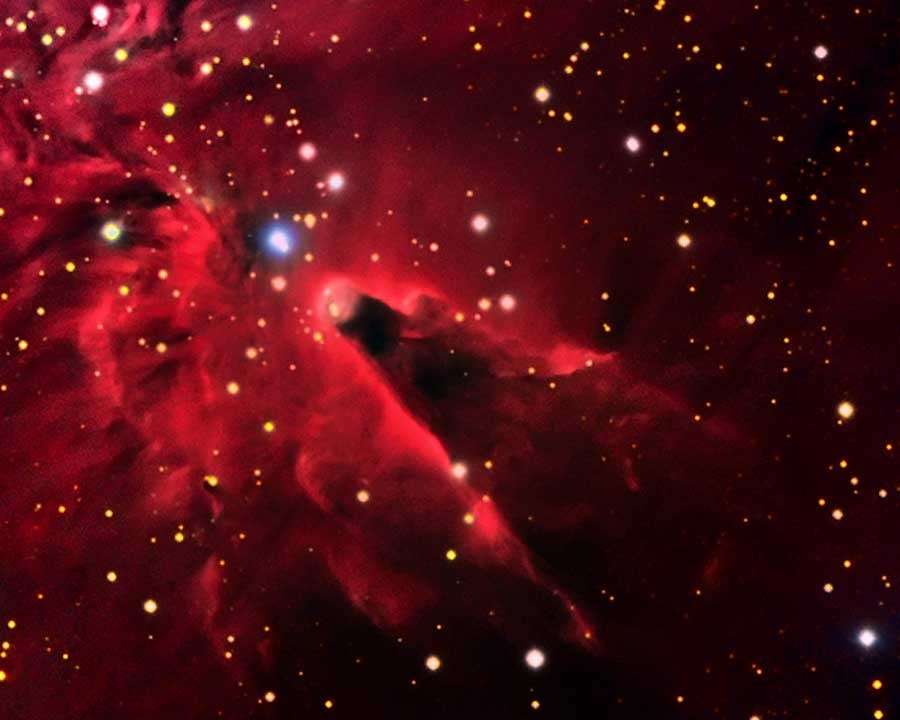
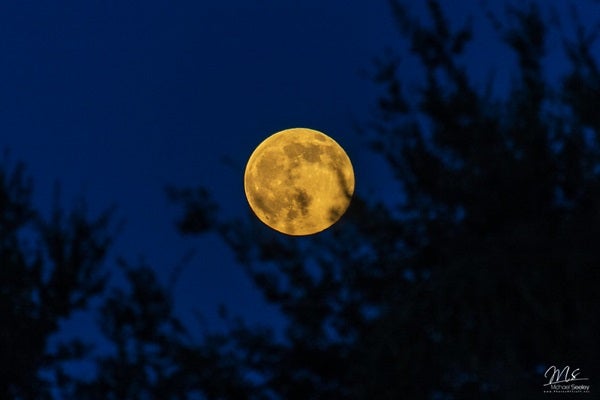
A beautiful astroimage featuring full, round stars might not be as hard to achieve as you think. // All photos: Tony Hallas
2 Go to “Color Range” in the “Select” menu. Choose either “Sampled Colors” or “Highlights.” If you decide to use the former, set the “Fuzziness” to 30–40 and select a variety of stars using the “+” eyedropper. Choosing the latter is actually much easier, but it might not pick up some of the fainter stars.
3 Once you have made the selection, click “OK” and go to “Select” > “Modify” > “Expand”; and enter a value of 4–8 pixels. In this case, you want to include some of the area around the star.
4 Now, look at your entire image and use the “Lasso” tool to deselect any ex-tended object (like part of a nebula) that the star selection process might have included. As a final step, hide the marching ants (Control+H) so you can see what’s going to happen next.
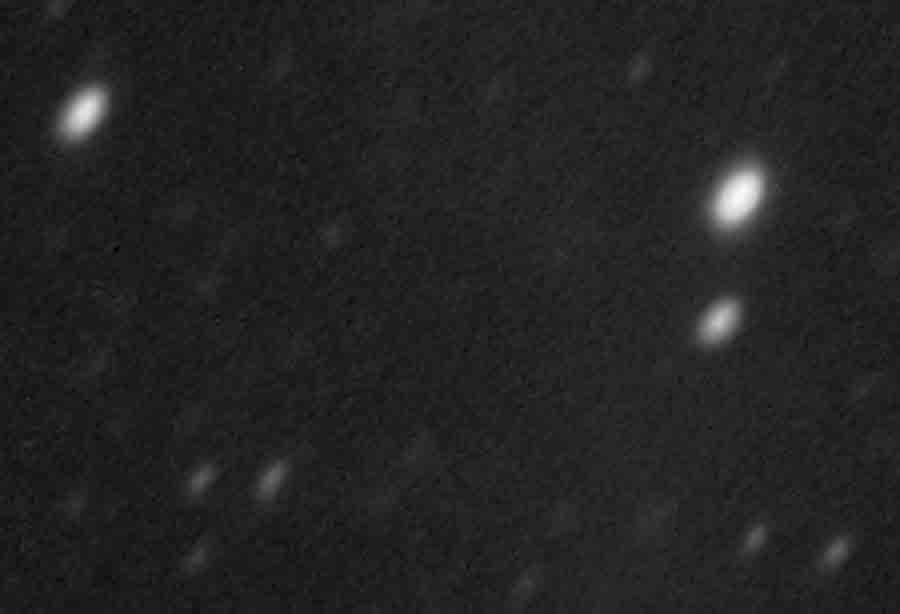
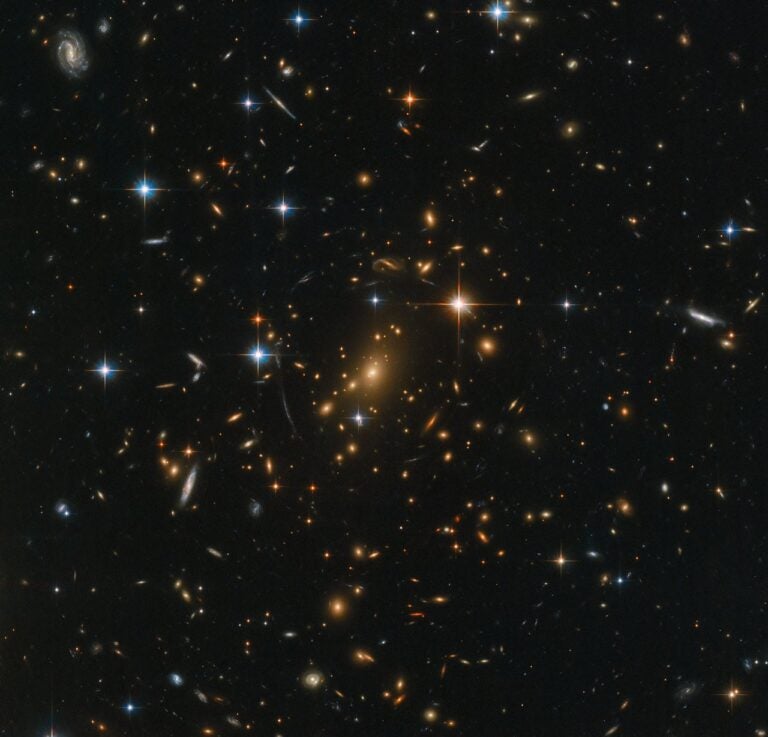
Elliptical stars can plague even the best-prepared astroimagers.
5 Make a duplicate layer (“Duplicate Layer” under the “Layers” menu, or Control+J) and go to “Filter” > “Other” > “Offset.” This filter allows you to move your layer in fine increments up, down, left, and right. You control this by the numbers you enter; notice that you can enter negative numbers, too.
6 You will want to move your duplicate layer along the axis of the elliptical stars. To see this, click “Preview” on and off as you enter the numbers. You want a movement of the duplicate layer that is half of the ellipse. When you have achieved this, click “OK.”
7 Now the magic: Change the “Combine” mode in the layer palette from “Normal” to “Darken,” and watch as the star becomes more round. Photoshop will pick up the darker area brought into the ellipse by the offset duplicate layer and make it part of the image. If you see too much of a hard edge in this process, you can “Feather” the selection gently. Fine-tune the process by keeping the duplicate layer active, and use the arrow keys to move the duplicate layer while holding down “Control” until you have the best stars.
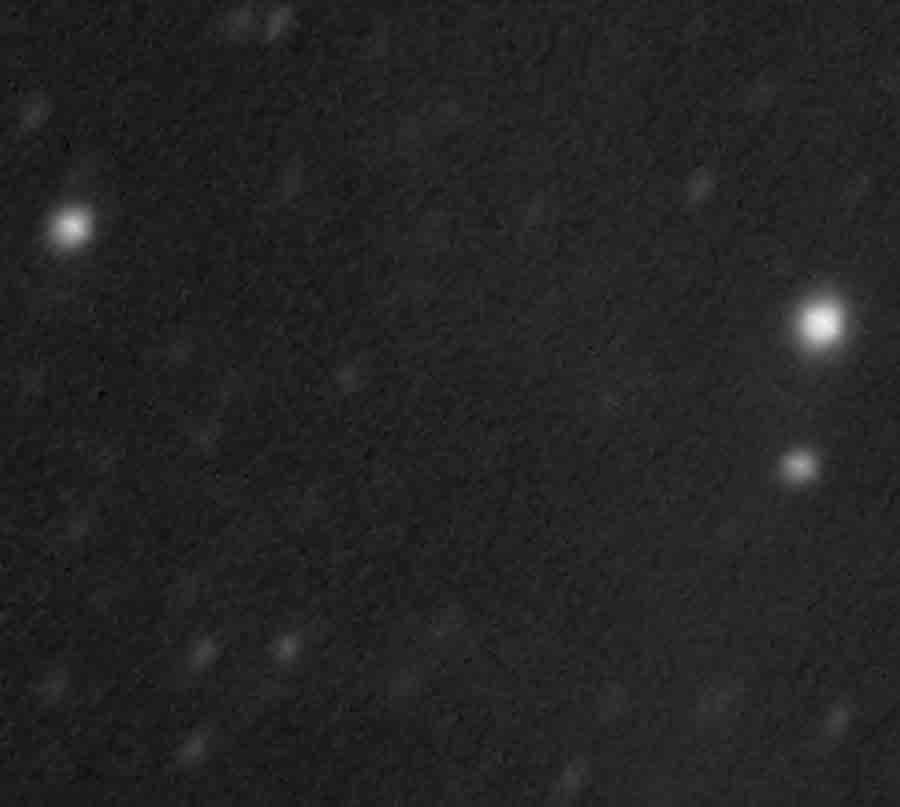
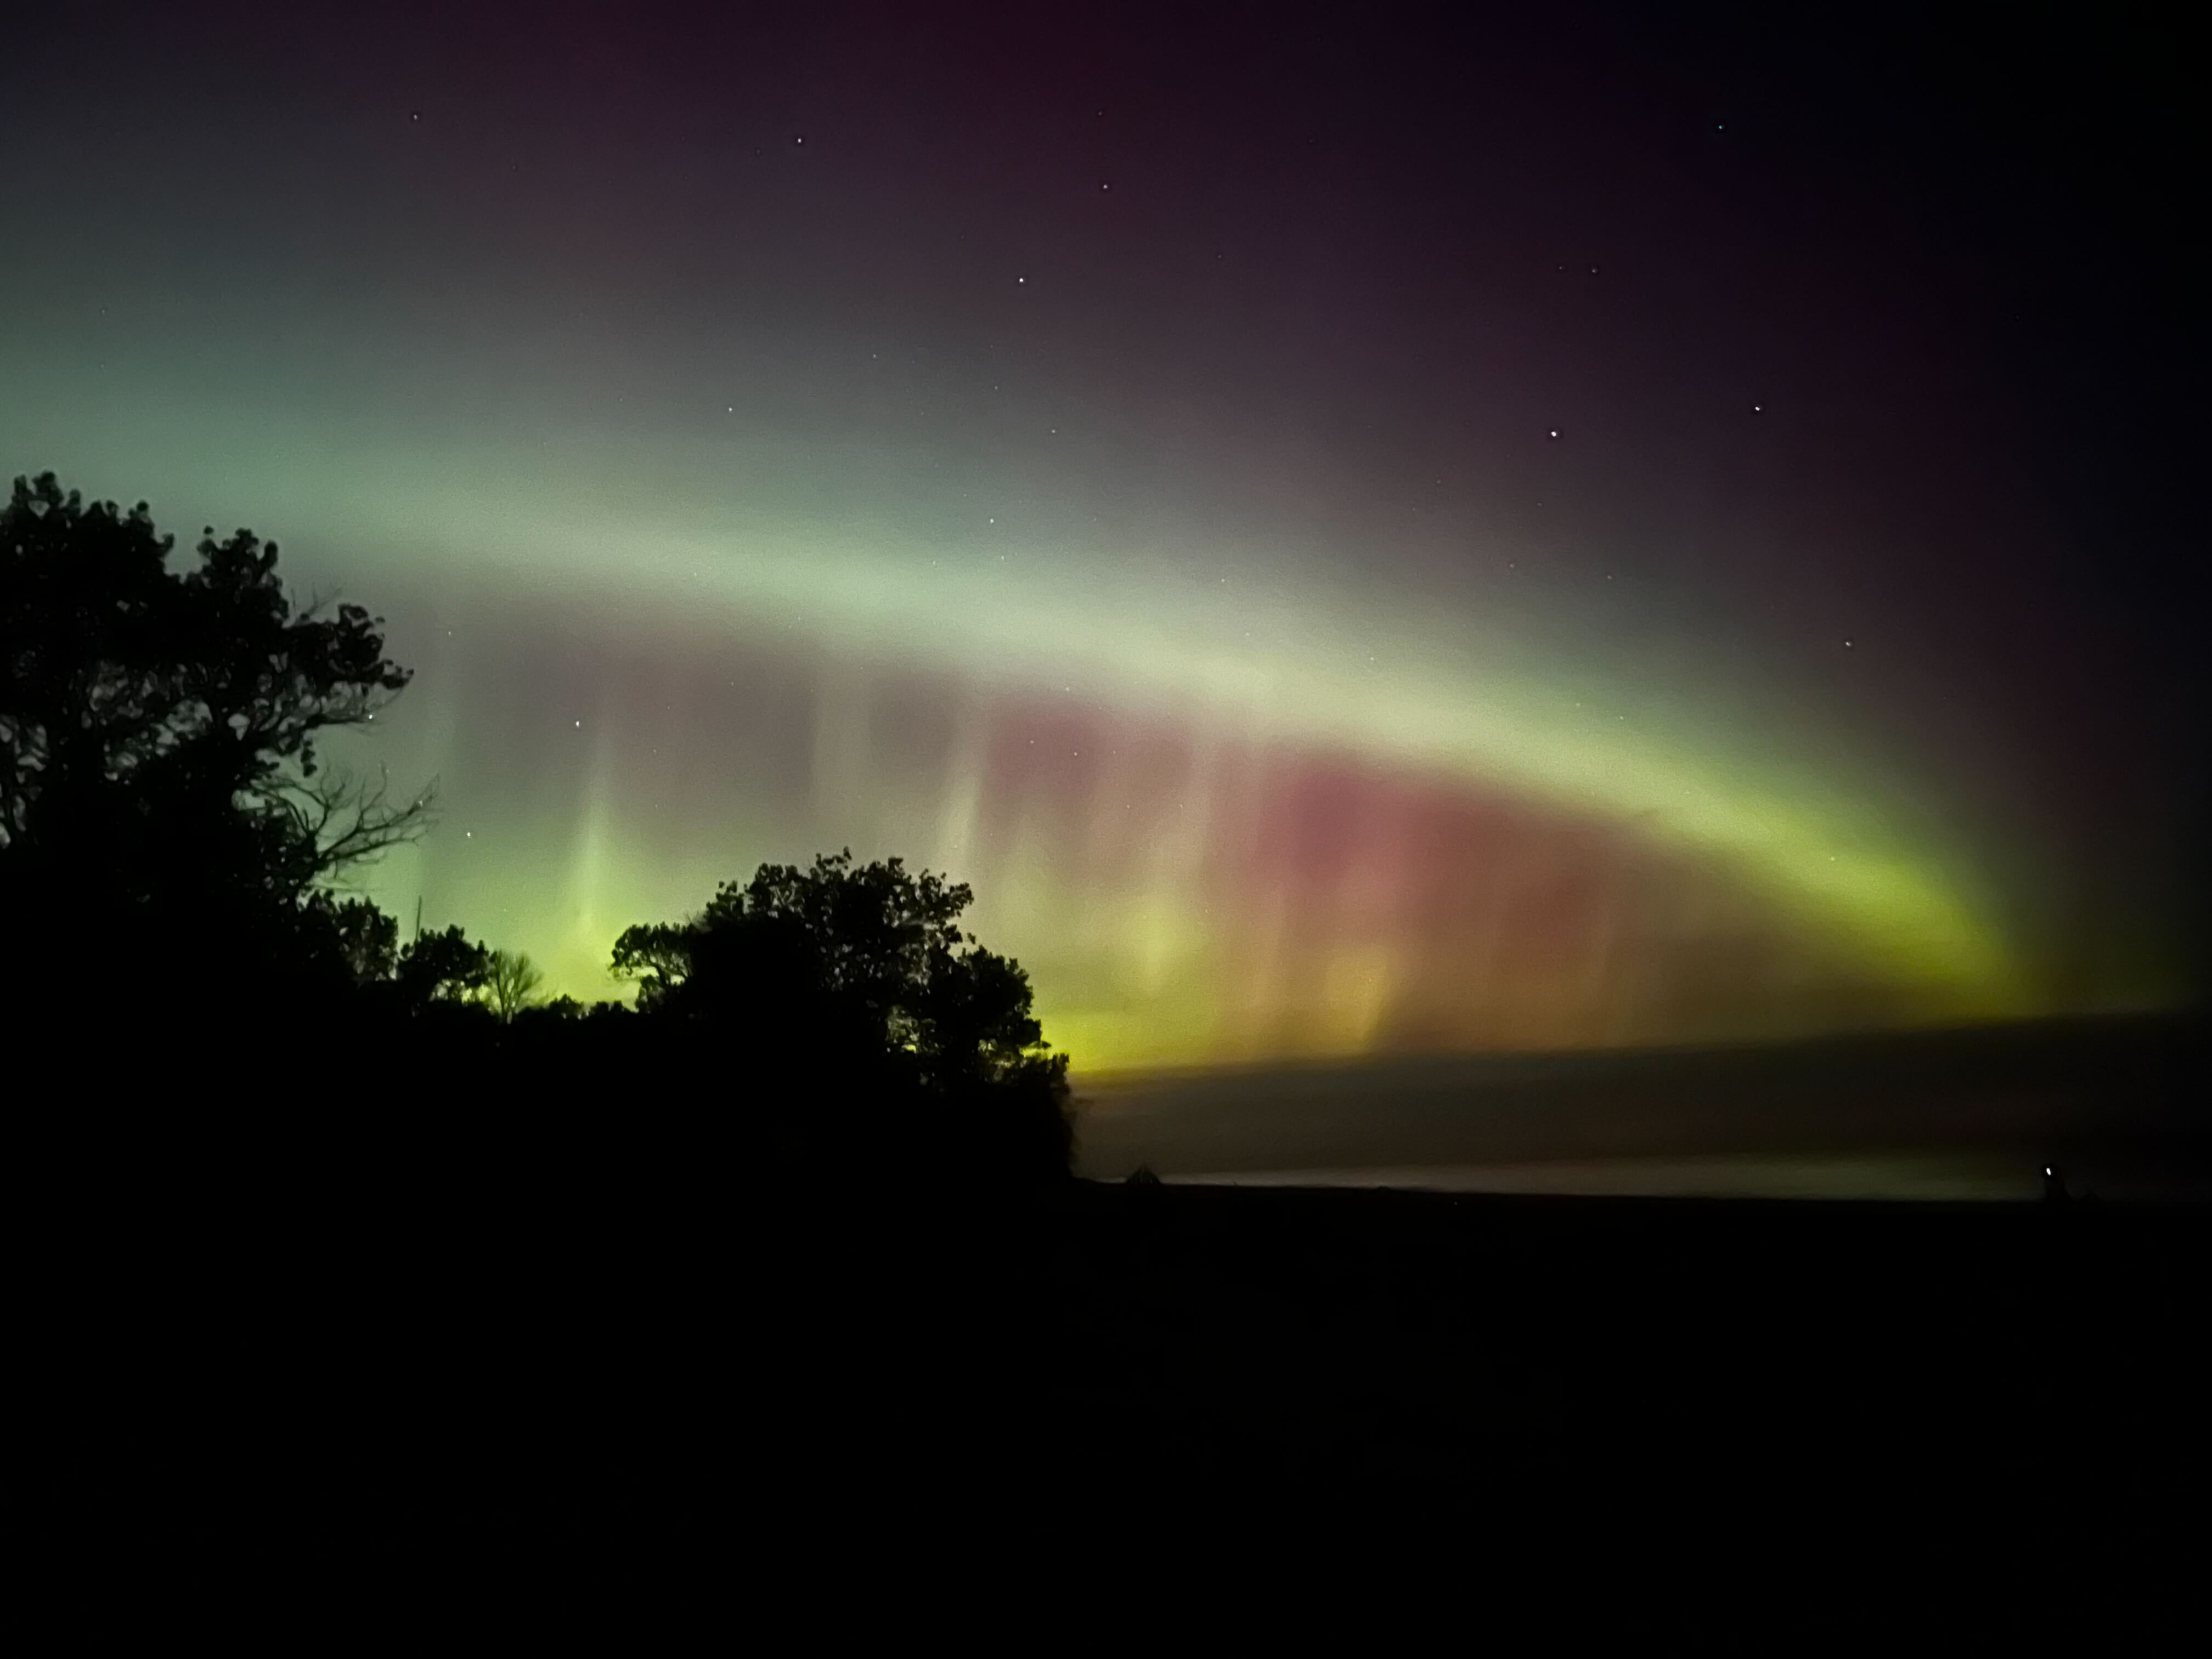
Turning those elliptical stars into round ones is actually possible using a relatively simple process in Photoshop.
8 Once you understand this process, you can adapt it to produce remarkably round stars from elliptical ones in a variety of images. If for some reason you only have elliptical stars in part of your image, open a “Reveal all” mask over the duplicate layer (“Layer” > “Layer Mask” > “Reveal All”) and paint with black to block the action of the layer where you don’t want it. This is also a good way to keep the offset from affecting extended objects instead of deselecting.
Once everything looks good, simply flatten the image and pretend that your photo never had any oval stars!