The first step is to reduce the data by applying dark frames and flat fields. I explained how to do this in my September column. Next, combine these files into master 16-bit TIFF files with one of the popular image-processing programs like MaxIm DL or CCDStack.
Once you create the master files, import them into Adobe Photoshop. (If you don’t know how to use Photoshop, I recommend Adobe Photoshop CS Classroom in a Book by Adobe Press to get you started. You can find it and updates on Amazon.com and from other booksellers.)
Specifically, you will use Photoshop‘s “curves” function. Curves allow you to “stretch” the data without losing any of it. They let you dig out all the faint detail while, at the same time, keeping your bright areas from washing out.
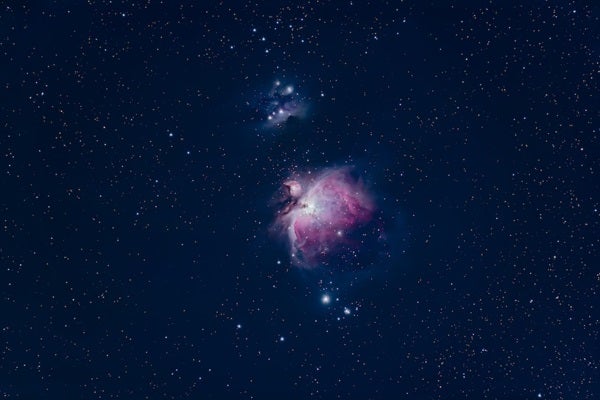
Open the 16-bit master luminance TIFF file in Photoshop. It will appear dark with a few stars visible. The reason is because an astroimage without stretching
has only a fraction of the data collected in a typical “daytime” exposure.
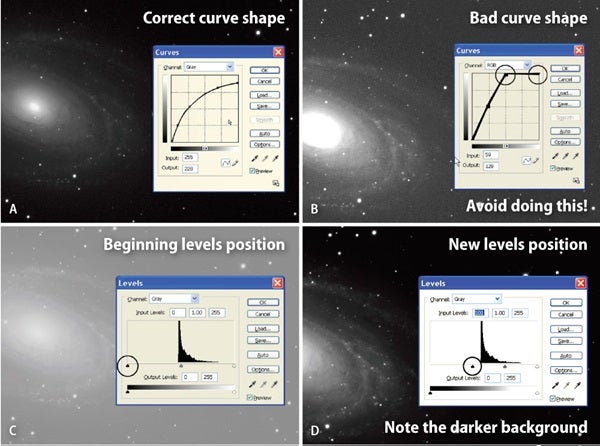
Open “curves.” Make sure the shadows (not the highlights) are represented in the lower left-hand corner, and pull up the curve line as shown in illustration A. Using curves is simple. Pulling up on the curve lightens the image; pulling down darkens it. Furthermore, the curve is a representation of all the tonal values in your image, so where you pull on the curve relates to a specific density in your image.
Follow just a few rules when working with curves: When stretching the curve, never let the curve touch the top of the graph. Also, always bring the curve’s upper end point down slightly. See illustration B for what not to do.
After you have pulled up on the curve for the first time, and made sure the curve generally matches illustration A, click “OK.” Your image just got lighter. Now repeat the process and the image will get lighter again. By doing this, you stretch the data without throwing any of it away, which sometimes happens when using imageprocessing automatic functions.
Keep repeating this process until the overall image appears too light. When you get to this stage of the process, reset the black point to make your image look normal again. The easiest way to do this is to open up “levels” and pull the black-point slider to the right until it is just a little bit outside the beginning of the graph. Although the image darkened, you keep all the detail already produced by the previous stretching. Click “OK” to accept the results. Illustrations C and D show the “before” and “after” of the black point position.
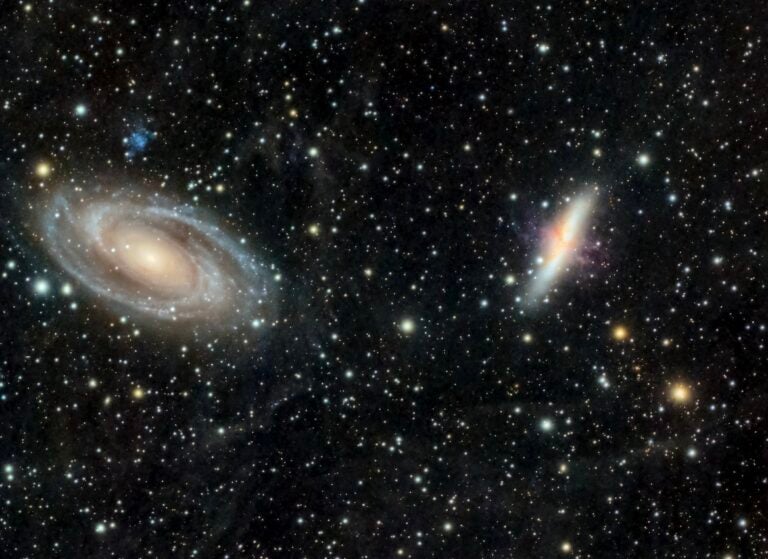
Now stretch the image again using curves until it becomes too light overall once more. Then reset the black point using levels. At some point in this process, M81’s nucleus will become too light.
I’ll stop here and continue this lesson next month when I’ll show you how to selectively bring the galaxy’s nucleus back under control.
October 2010: Signal-to-noise ratio
See an archive of Tony Hallas’ Imaging the Cosmos