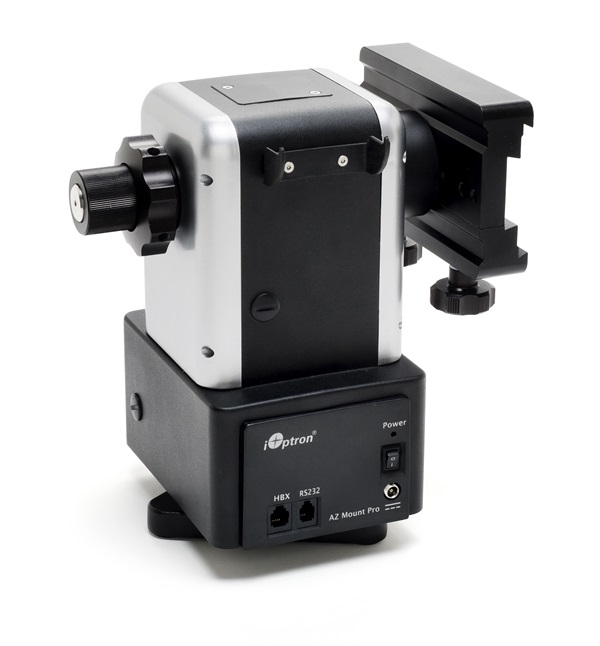
One of the leading manufacturers of sophisticated portable mounts is iOptron. One of the first to enter this burgeoning field with its Cube mount, the company continues to innovate with the recent introduction of the AZ Mount Pro.
Control and features
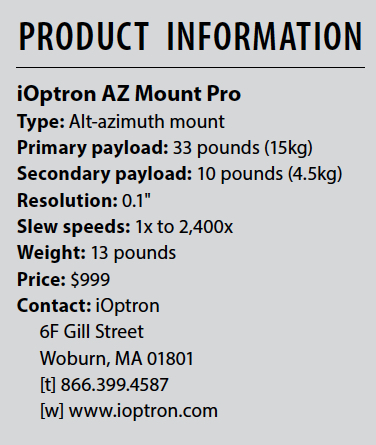
Designed for telescopes weighing up to 33 pounds (15 kilograms), the AZ Mount Pro is a compact all-in-one mount that features full computer control, a rechargeable lithium-ion battery, and something the company terms “level-and-go” technology for simplified setup. All this and more is contained in a mount that weighs just 13 pounds (5.9kg).
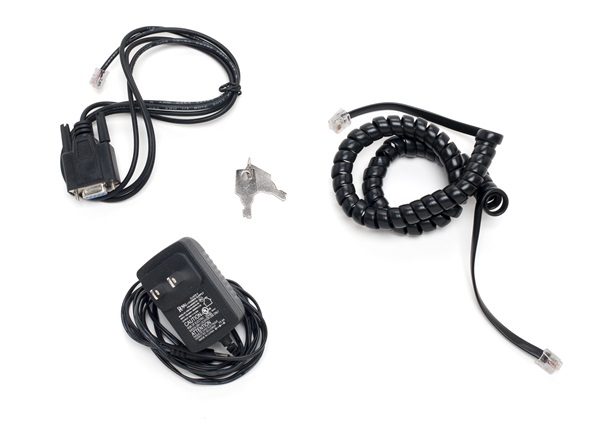
A dedicated AC charger, cables, a 6-inch (15-centimeter) dual dovetail base that accepts both Losmandy- and Vixen-style mounting plates, and a 10-pound (4.5kg) counterweight are also included. Instructions are not; however, you can view and download both a quick-start guide and full instructions from iOptron’s website as PDF files. The matching tripod features 2-inch (5cm) stainless steel legs that you can adjust from 33 inches (84cm) to 55 inches (140cm) in length.
It’s here!
I recently had a chance to put an AZ Mount Pro and matching tripod to the test using my 6-inch (15cm) catadioptric telescope. The results were impressive.
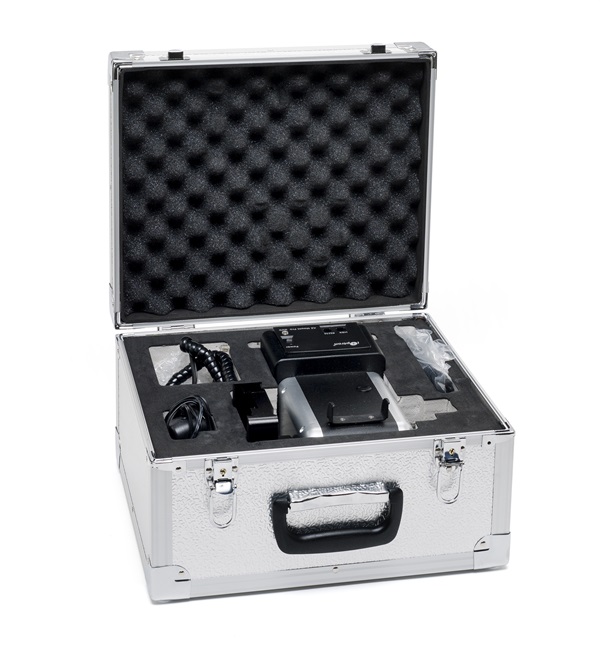
The mount and tripod arrived well packed in separate boxes. The mount came in a custom-fit aluminum carrying case for secure storage and transport. While I would not trust checking it as baggage on a flight, it’s certainly small enough to come aboard as carry-on luggage.
Assembly out of the box proved to be easy. The mount attaches to the tripod with a central bolt. Three equidistant ball-tipped bolts protrude from the top of the tripod and line up with matching holes on the underside of the mount’s base. Use them to level the mount before use.
In the field, I discovered that setup is a simple, four-step process.
Step 1: Level the mount on the tripod by adjusting the three bolts until the bubble level built into the base reads level, and then tighten the central bolt.
Step 2: Attach the telescope and counterweight. Before attaching the scope, slide out the stainless steel counterweight shaft, which remains neatly hidden inside the mount when not in use. If the scope weighs more than 12 pounds (5.4kg), using the supplied 10-pound counterweight is recommended. Add a second (sold separately) if it exceeds 24 pounds (11kg). My scope weighs less than 12 pounds, but I followed iOptron’s advice to use the single counterweight to improve go-to accuracy.
The telescope sidesaddle dovetail plate is dual purpose, accepting both industry-standard Losmandy- and Vixen-style mounting bars. It’s important to attach the telescope so that the front aims in the direction of the small arrow on the dovetail plate. The instructions mention it, but you could miss the arrow setting up in the dark. Then, slide the telescope fore and aft until it balances, and finger-tighten both dovetail saddle locking screws to hold it securely.
The counterweight shaft also can hold a second scope by using the optional secondary saddle (iOptron part number 8953). The secondary saddle accepts Vixen dovetail plates only. After attaching the telescope, you can align it with the primary scope by loosening two setscrews and rotating the secondary saddle’s base.
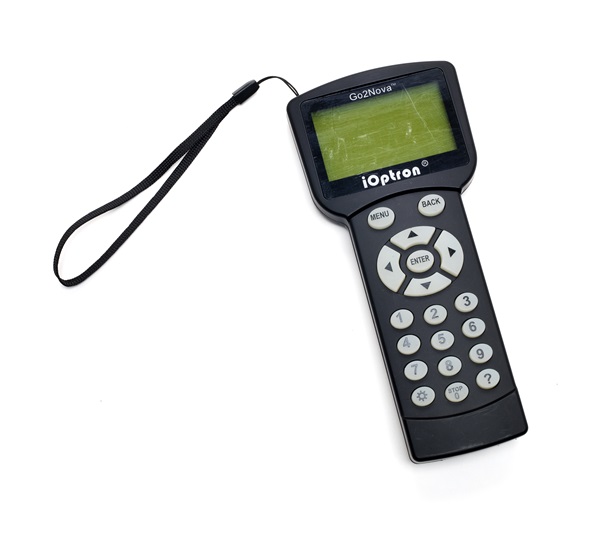
Step 3: Plug the hand controller into the mount and turn on the power. The battery should last up to 10 hours on a single charge, iOptron says. For me, one charge tracked the sky for just under nine hours. That’s much better than older mounts that used sets of alkaline batteries. If the battery becomes depleted, the mount can run off the included AC adapter.
Step 4: Once level and powered on, the mount will take it from there. Using an integrated 32-channel GPS, it calculates its precise location along with the date, time, and heading, spinning slowly and silently until the scope aims at the zenith, the mount’s “zero position.”
Then the mount moves to a bright sky object of its own selection. The hand controller’s dim red readout then asked me to confirm that the bright object matches the name on the LCD screen and that it is centered in the field of view. The entire process took less than three minutes.
For my initial test run, the mount chose the Moon, which was a thin crescent hanging low in the western sky at the time. While the aim wasn’t perfect, the Moon was well within the field of view. To improve precision, a user can select “Sync to Target” on the menu and then press the directional arrows on the hand controller to center the object.
Several other initialization options are provided as well for syncing the mount’s go-to brain to the sky, including “One Star,” “Two Star,” “Three Star,” and “Solar System.” In all cases, leveling the mount is critical for ensuring go-to and tracking accuracy.
Now I was ready to take it for a spin. I purposely tried to confuse it by selecting widely separated targets. I couldn’t. Toggling through the library of objects, no matter which I chose, if it was up in the sky, the mount steered my telescope its way and placed it in the field of view of my low-power eyepiece. If I chose an object that was below the horizon, the mount would not budge. I would have preferred it if the menu said “Below Horizon” or some such note, but at least it didn’t give me false hope.
I also want to give kudos to iOptron for how quiet the mount is. While some go-to mounts pierce the night, the AZ Mount Pro’s stepper motors barely purr above a whisper as the mount moves from object to object.
Incidentally, using a low-power eyepiece for initial aiming and finding is a good rule of thumb with just about any computerized system. For my tests, I used a 32mm Plössl eyepiece for a 1° true field of view. It worked like a charm.
The mount and tripod are extremely stable. Doing the “tap test” with the heel of my hand, I found any reverberations were minor and settled out quickly.
I came away impressed with iOptron’s AZ Mount Pro. While it is not suitable for long-exposure imaging because of field rotation, it is an outstanding choice for visual observers looking for a travel-ready, state-of-the-art way to view the universe.