It’s a complaint many an art teacher is all too familiar with. Perhaps you had the same thought upon discovering that our topic this month is astronomical sketching.
Sketching at the eyepiece isn’t as hard as you might think, as long as you don’t rush. Besides a telescope and eyepieces, you’ll need a clipboard, a sheet of paper with a circle on it to represent the field of view, and a few sharpened #2 pencils with erasers. You’ll also need a flashlight covered with red cellophane to preserve your night vision. Armed with these tools, you’re ready! Here’s how to create your own cosmic masterpiece.
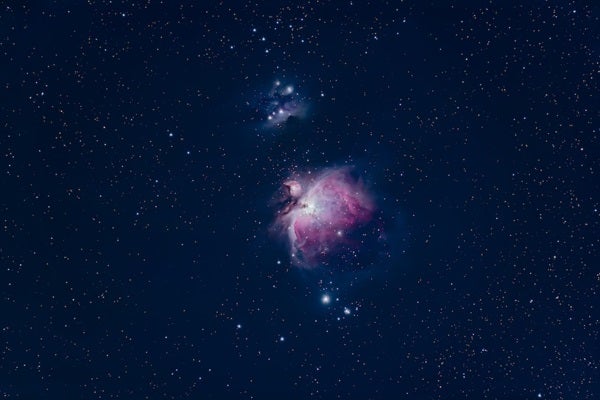
Center the subject (in this case, we’ll work with the Beehive Cluster [M44]) in the eyepiece’s field of view. Use a magnification that captures the entire cluster, as well as some of the surrounding space.

Begin by sketching “anchor” stars. These bright stars serve as reference points in your sketch. Carefully draw each star, noting its position in the field relative to the center and edge. It helps to think of the field edge as the face of a clock, with stars near the top marking the 12 o’clock position. Look for distinct star patterns like triangles or curved lines. As you add each star, note its position in relation to the ones already sketched. Because you’ll represent a star’s brightness by the size of the pencil dot you draw, make these dots fairly large and bold.
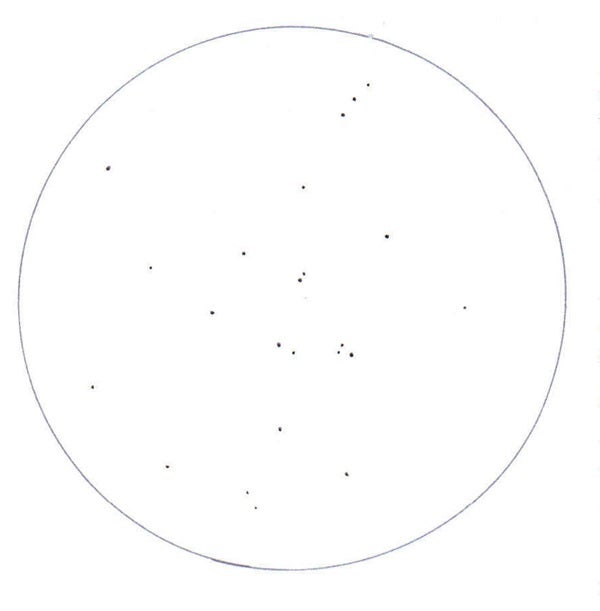
Add the fainter, but readily visible, member stars of the Beehive Cluster. Use the anchor stars to position them. Because you’re sketching fainter stars, the pencil dots should be less bold.
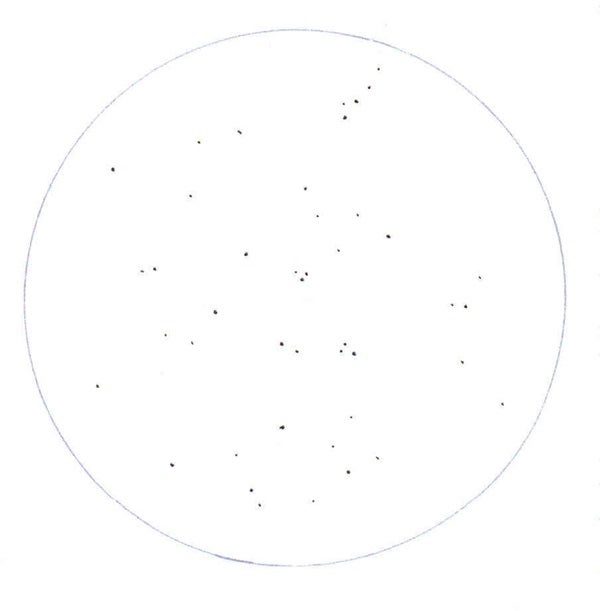
Here’s the part that hones your observing skills. Look carefully for faint stars that approach the limiting magnitude of your telescope (averted vision helps here). Represent each with tiny pinpoints.
Sketching may not be as fast and accurate as digital photography, but it forces you to take a good long look at your subject. You pick out subtle nuances you might miss with a casual glance.
Your masterpiece is complete! All it needs is a title (in this case, “M44”), the date and time, the telescope you used, the eyepiece’s magnifying power, and sky conditions.
Questions, comments, or suggestions? E-mail me at gchaple@hotmail.com. Next month: A funny thing happened on the way to the observatory. Clear skies!
For further information on astronomical sketching, be sure to follow David J. Eicher’s “Deep-sky Showcase” in each issue of Astronomy (page 68 this month). You can observe the objects he suggests and compare sketching results.
For more Internet resources, log on to Bill Greer’s astronomy site at www.rangeweb.net/~sketcher. In addition, look into Math Heijen’s how-to at www.backyard-astro.com/focusonarchive/sketching/sketching.html. For a video clip featuring Dave Eicher, subscribers can visit www.Astronomy.com/videos. Click on “How to,” and scroll down toward the bottom to get to “Sketching from the telescope.”
Finally, from Patrick Moore’s Practical Astronomy Series comes an excellent book, Astronomical Sketching (Springer, 2007). You’ll find in-depth instruction on a variety of astro-sketching techniques from authors Richard Handy, David B. Moody, Jeremy Perez, Erika Rix, and Sol Robbins.
February 2010: Astroimaging 101
See an archive of Glenn Chaple’s Observing Basics