From the February 2011 issue

Tony Hallas’ Cosmic Imaging: Create a mosaic

April 2011: Multiply your camera’s normal field of view.
By | Published: February 21, 2011 | Last updated on May 18, 2023
tony_hallas
There will come a time in your astroimaging career when you will want to stitch (not stack, but combine) two images into one large one. The word mosaic comes from the ancient method of creating a piece of artwork from many small pieces of stone, glass, or other materials. In this case, you will use pieces of the sky you have photographed.

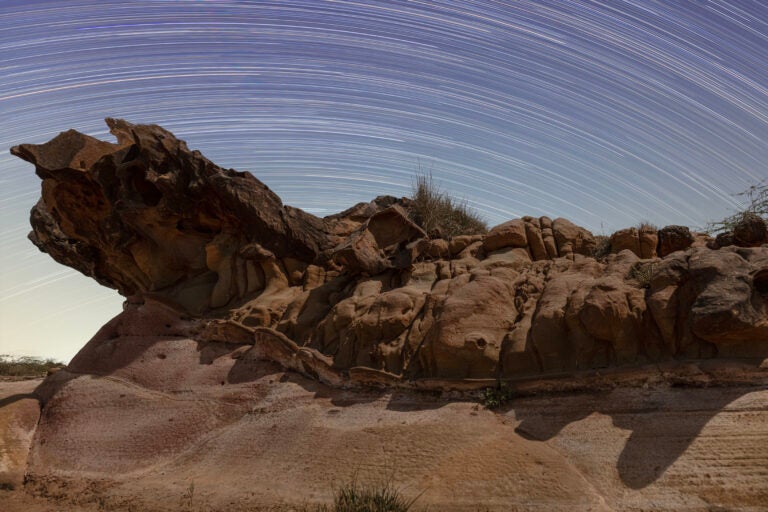
To begin, you must have the Windows-only software called RegiStar (available at www.aurigaimaging.com). You also need a wide-field image of the area. The image does not have to be high-resolution, but it must encompass everything you have separately imaged. And there’s one thing to remember when you take the images: You will need about a 20 percent overlap between each of your mosaic pieces.

Two-part-mosaic
A two-part mosaic requires three images: two mosaic “pieces” (with roughly a 20 percent overlap) and a wide-field “base” image on which you can align them. All images: Tony Hallas
To put together a two-part mosaic, use Adobe Photoshop to resize the wide-field image to the final size of your mosaic. To do this, open each mosaic image, and then select “Image” and “Image Size” from the drop-down menus. View the dialog box.

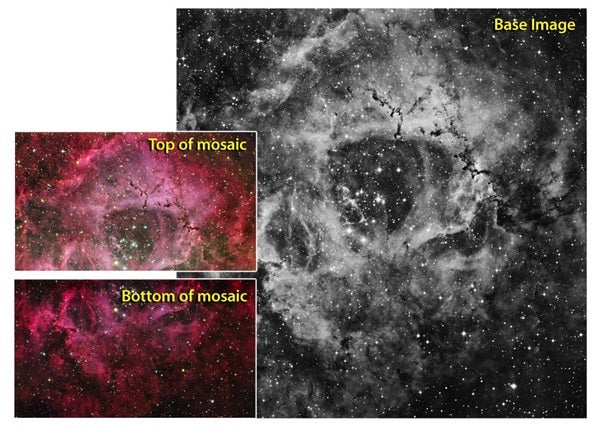
Let’s say your mosaic images each measure 3,000 pixels wide and each takes up one half of the wide-field image. You will, therefore, need a 6,000-pixel-wide final image. So, in this example, you would resize the wide-field image to that size.

Next, import all three images into RegiStar. Make the wide-field image the base image on which you will build and align your two mosaic pieces. RegiStar will then morph the mosaic pieces — star by star — onto the wide-field image.

Incomplete-mosaic
This incomplete mosaic shows the two pieces aligned, but without adjustments to make the pair blend seamlessly into one image.
Save these morphed images so that you can assemble them registered on top of the wide-field image back in Photoshop. Use layers to do this. Make the wide-field image the background, and then drag the two mosaic pieces on top of it as layers.

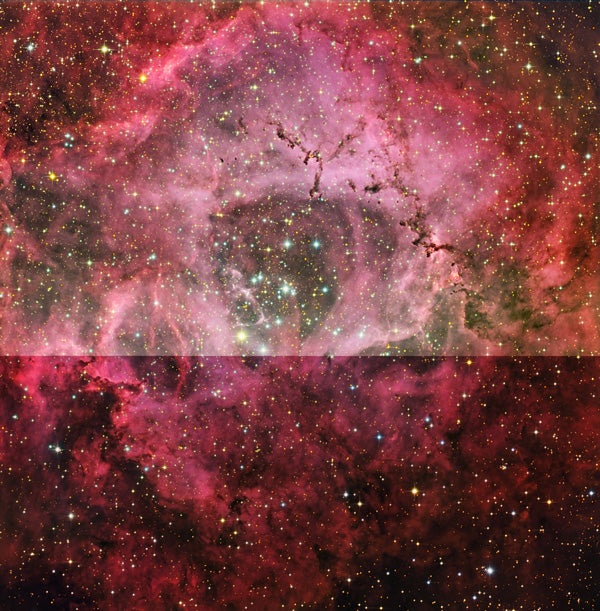
You want to use layers so you can adjust each mosaic piece’s density and color without disturbing its neighbor. This step is essential because it allows you to make the two images appear seamless — the mark of any successful mosaic. Select each layer and, using feathering, adjust the color and density of the edges until the images match.

Final-image
The final image shows the top and bottom images balanced with no discernible edge between the two.
Despite your best efforts, there may still be a line where the top layer overlaps the second one. Here’s how to deal with it. Set the eraser tool at 50-percent strength, set the brush to minimum hardness, and, with the top layer active, carefully erase the top layer where the line is. Repeat if one pass was not enough. The two layers will now melt into one another without a trace.

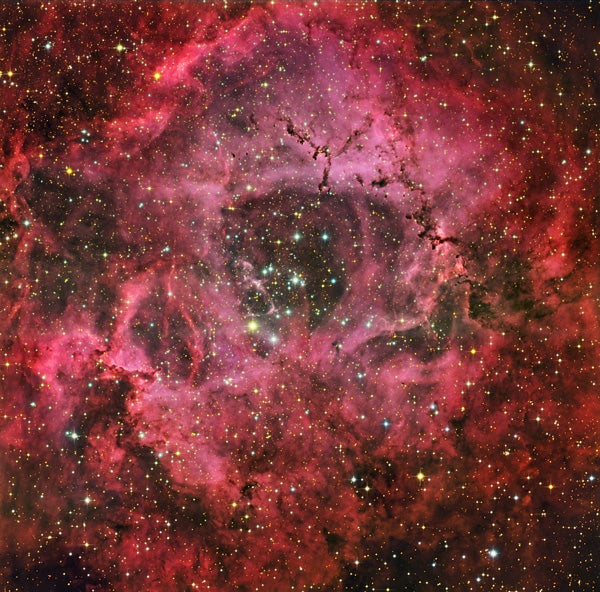
When the two mosaic pieces fit together to your satisfaction, flatten the image. The wide-field image will have disappeared underneath. Its job is done. If any remains, simply crop it out. You can expand this technique to any number of mosaic pieces as long as you have the wide-field image to assemble them on. Next month, we will take a more detailed look at RegiStar.