Key Takeaways:

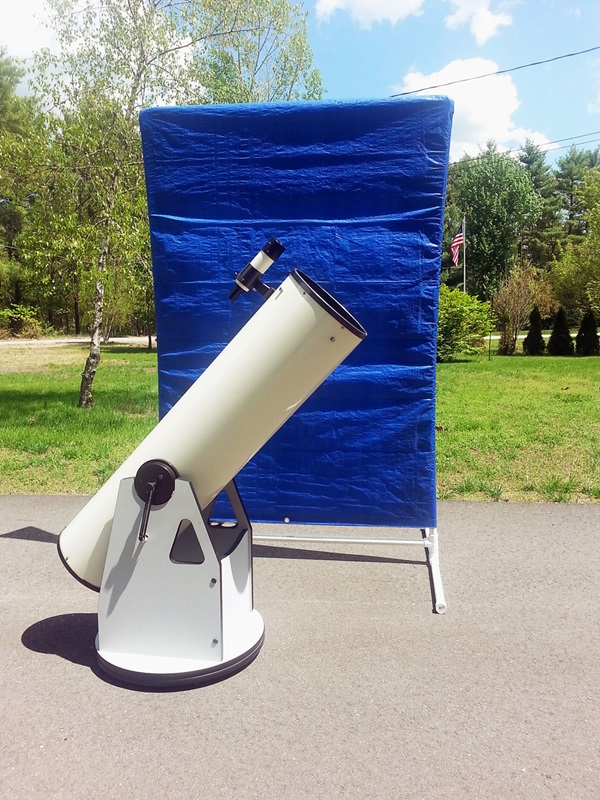
Truth be told, there is no cookie-cutter design for a light shield. To determine its final form and size, you must consider a number of factors, including the nature of the light source, the size of the telescope being shielded, and the degree of desired portability. This past spring, after decades of dodging pesky outside lights and dealing with annoying outdoor illumination I sometimes encountered at star parties, I finally put together a lightweight, portable light shield for my 10-inch telescope. Here are the three simple steps I took, which you can modify to fit your particular circumstances.
Step 1: Draw up a design, and decide on the necessary materials. I based my design loosely on a rectangular sail-like shield created by Chris Bayus of Flint, Michigan, and featured in Phil Harrington’s book Star Ware, First Edition (John Wiley & Sons, 1994). Its height would have to be 6 feet (1.8 meters) to effectively screen my telescope when pointed at the zenith. Meanwhile, the width would have to cover the distance difference between the eyepiece location in this zenith position and its location when the scope is aimed toward the horizon (4 feet [1.2m]). My completed light shield would be composed of a 4-foot by 6-foot frame held upright with a pair of struts that would support the actual shade (a 6-foot by 8-foot [1.8m by 2.4m] tarp attached to the frame with bungee cords).
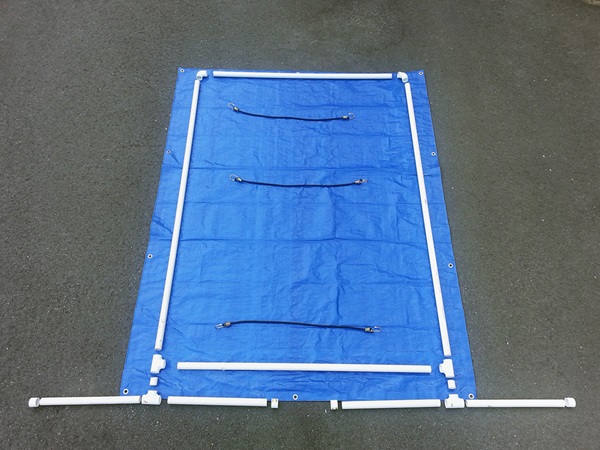
Because portability was a critical factor, I chose to work with 1-inch-diameter (2.5 centimeters) PVC plumber’s pipe and non-threaded “slip-in” fittings (90° elbows, tees, and end caps). This material would produce a lightweight shield that would be easy to assemble and break down for travel purposes. Four-foot and 6-foot pipes would form the frame, connected at the top with two elbows and at the bottom with a pair of tees. I would assemble each of the support struts from a pair of 18-inch (46cm) lengths of PVC pipe joined in the middle by a tee and closed at the ends with slip-in caps. A 1-inch segment of PVC pipe would connect the tees in the support struts to the tees at the base of the frame. Then I would drape the tarp over the top of the assembled frame and secure it with bungee cords.
I don’t pretend to be a master carpenter, and I don’t have an engineering degree, but I had to admit that the final product looked pretty good. But would it work?
If extraneous outdoor lights have spoiled your backyard astronomy adventures, fight back — with ingenuity and a little engineering! A few hours spent making a light shield will bring you and your telescope back into action. To obtain detailed information and photos outlining the construction of my light shield, download the PDF below.
Questions, comments, or suggestions? Email me at gchaple@hotmail.com. Next month: We take a peek into the Struve double star catalog. Clear skies!