Key Takeaways:
- Remote astronomical imaging offers advantages over on-site observation, eliminating travel, setup time, and weather-related setbacks.
- Successful remote imaging necessitates robust, reliable equipment including a robotic mount with absolute encoders, a complete imaging train, power management systems (UPS, web power switch), and a compact computer for remote operation.
- Essential software components include imaging control applications (e.g., Sequence Generator Pro, NINA) and remote access software (e.g., TeamViewer, RustDesk) requiring thorough pre-deployment testing.
- Selecting a remote imaging site requires careful consideration of factors such as dark skies, weather conditions, site security, technical support provisions, infrastructure reliability, and contractual agreements.
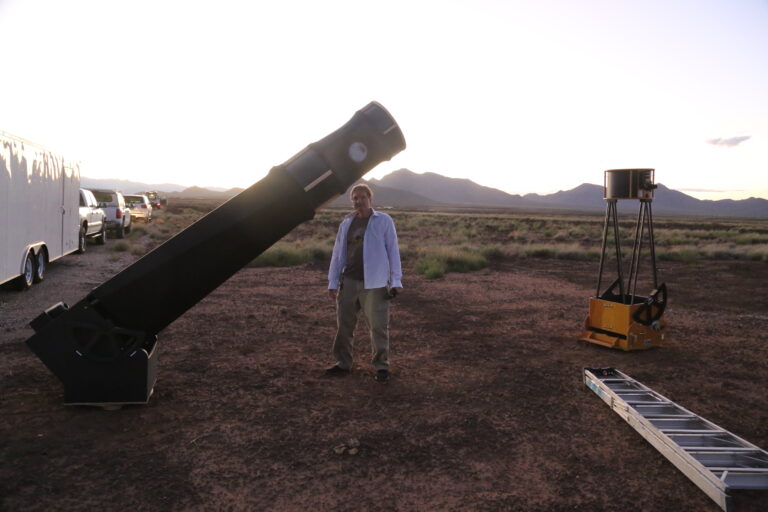
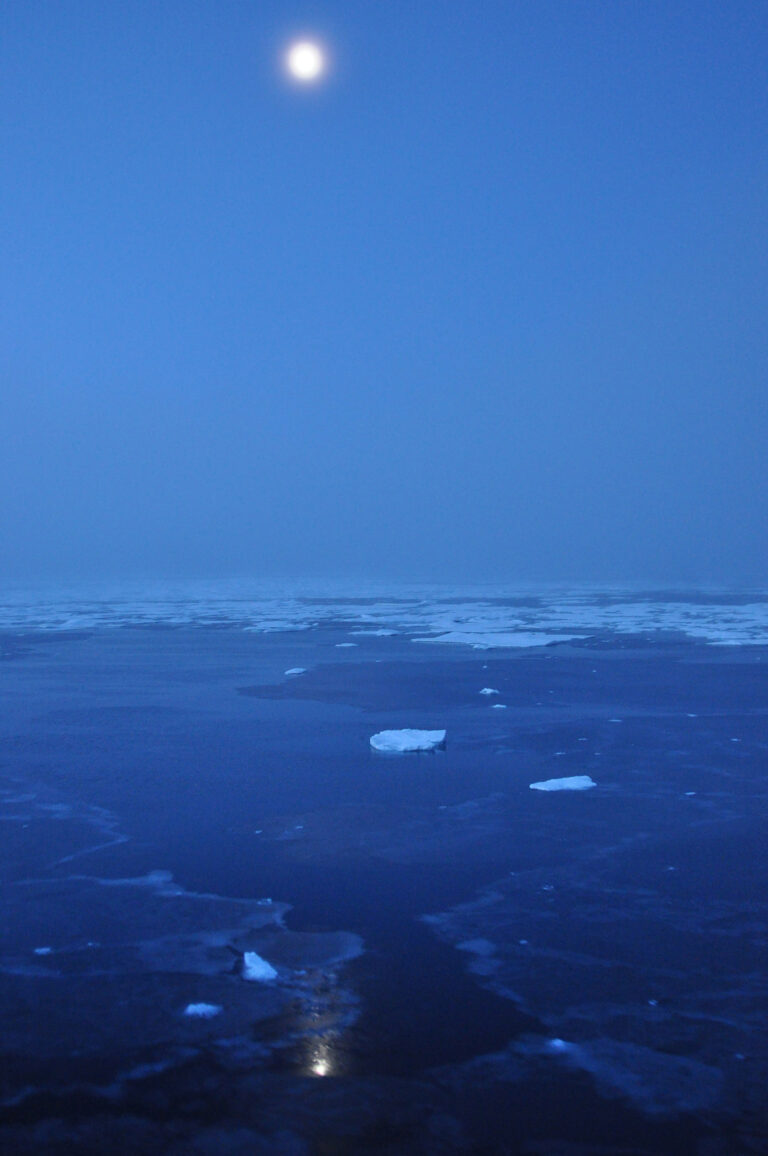
Most of us do not live in a dark-sky area, or even close to one. Often an imaging session involves loading a ton of equipment into a vehicle and driving for several hours to a less light-polluted site. We arrive at the destination, unload the equipment, and set it all up — only to discover we’ve forgotten something. Or, worse, clouds move in.
If all that sounds familiar, then you can see why remote imaging has become so popular. Perhaps you, too, have considered hosting your equipment at a location dedicated to serving the needs of imagers.
With remote imaging now available to professional and amateur astronomers alike, there are several options available to you. If you don’t own a lot of expensive equipment, there are subscription services where you can rent time on a remote system or purchase datasets for your own use. Cooperatives also are available if you’re looking to jointly run a remote system with other amateurs. However, this article is for amateur astronomers who wish to use their own equipment in a semipermanent setup so that they may access it on any opportune night.
A remotely hosted system has many benefits: There’s no need to make a long journey, no equipment to set up and align, and no frustrated drives back home if inclement weather arises. You can image in the safety and comfort of your home and retire for a good night’s sleep at a reasonable hour. But there are many details to consider before opting to observe remotely.
Check your list
First, consider your equipment — both the physical hardware and the software to run it. It’s important to remember that you won’t have the option to go outside and adjust something if an issue pops up, so you need equipment that is robust, reliable, and state of the art. A typical imaging kit will consist of the following hardware:
- Imaging telescope
- Mount
- Tripod or pier
- Camera and filter wheel
- Electronic focuser
- Rotator
- Guiding system
- Flat panel
- Dew heater
- Uninterruptible power supply
- Web power switch
- Powered USB hub
- Minicomputer
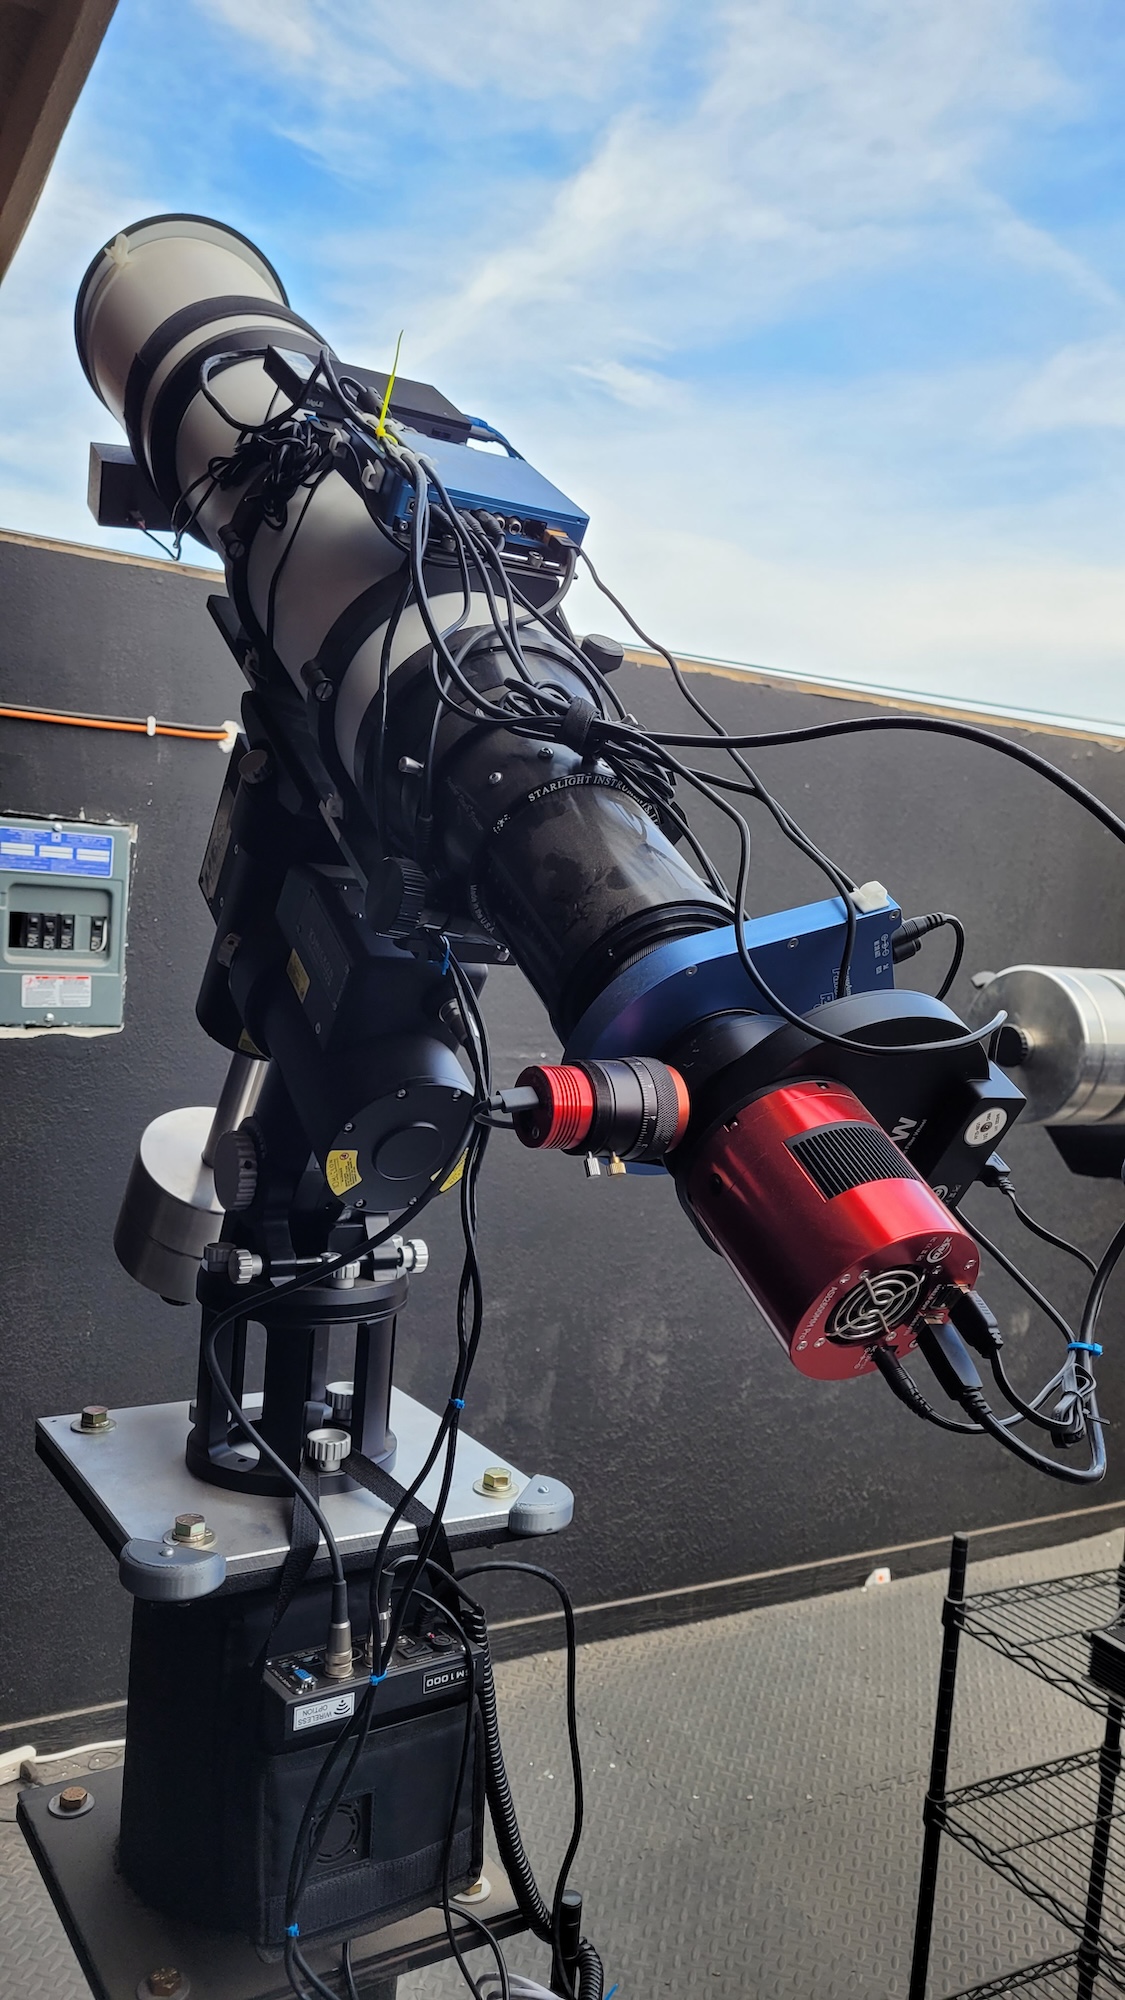
Almost any high-quality telescope will work as your photon collector. The centerpiece of your imaging kit will be the mount, plus a sturdy tripod or pier to connect it to. You want a mount designed for robotic use, such as an Astro-Physics Mach2GTO or 10Micron series mount. These mounts come with absolute encoders, so if the power is lost, the mount will know where it is when power is restored. Alternatively, other mounts have home positions — a location the mount can be commanded to go to if there’s a loss of power.
Next is the imaging train itself. This can consist of several items: camera, filter wheel, field rotator, electronic focuser, and either an off-axis guider or an external guide scope. It’s also important to have a dew heater as well as either an electronic flat panel or lens cover to protect the optics when the scope is not in use. Most remote sites sit on high desert plateaus where it can get quite windy at times, which can kick up a lot of dust, so you’ll want your optics protected.
There are also power distribution requirements. Most remote facilities require an uninterruptible power supply and recommend a web power switch so that you can recycle power to your equipment remotely if it’s inadvertently shut off. Several companies manufacture power distribution and USB hub solutions, such as PrimaLuceLab and Pegasus Astro, which allow you to connect all your USB devices and 12-volt DC power cords to a common box on top of the scope. Such a setup aids greatly in cable management as well.
Finally, you’ll need a computer to run all this equipment. I use a MeLE Quieter 4C — it’s compact, has no moving parts, and can easily sit on top of a scope. Having the computer sit atop the imaging kit means one cable fewer hanging off the system. Various brands of minicomputers are available and they usually cost around $200.
Take out your remote (software)
The glue that holds the imaging kit together and allows you to operate it remotely is the software. In addition to the drivers that allow you to access your equipment, you will also need applications to run your imaging equipment and access your remote computer. Two common applications are Sequence Generator Pro and Nighttime Imaging ‘N’ Astronomy (NINA). Applications like TeamViewer, RustDesk, and Remote Desktop allow you to connect to your remote computer. I recommend having two such applications installed on your remote system.
Before setting any of this up remotely, it’s important to thoroughly test your system at home to make sure it all works as you think it should. You will want to set up the imaging system — in the backyard will suffice — load all your software onto the minicomputer, access your minicomputer remotely, and set up an imaging sequence. Make sure to consider the following: (1) how close the mount should get to the pier before performing a meridian flip, (2) the position you want to use for parking the scope, and (3) what should happen if you lose power. It’s best to make a list of all the things you want to do, such as the types of images you want to take or the maneuvers you want the scope to be capable of, plus all the things you think could go wrong and their solutions, and test them. Document your system thoroughly with photos and instructions for proper setup when you do get to your remote site.
Location, location, location
You’re now ready to choose a remote site. Here are some factors to consider when making that decision.
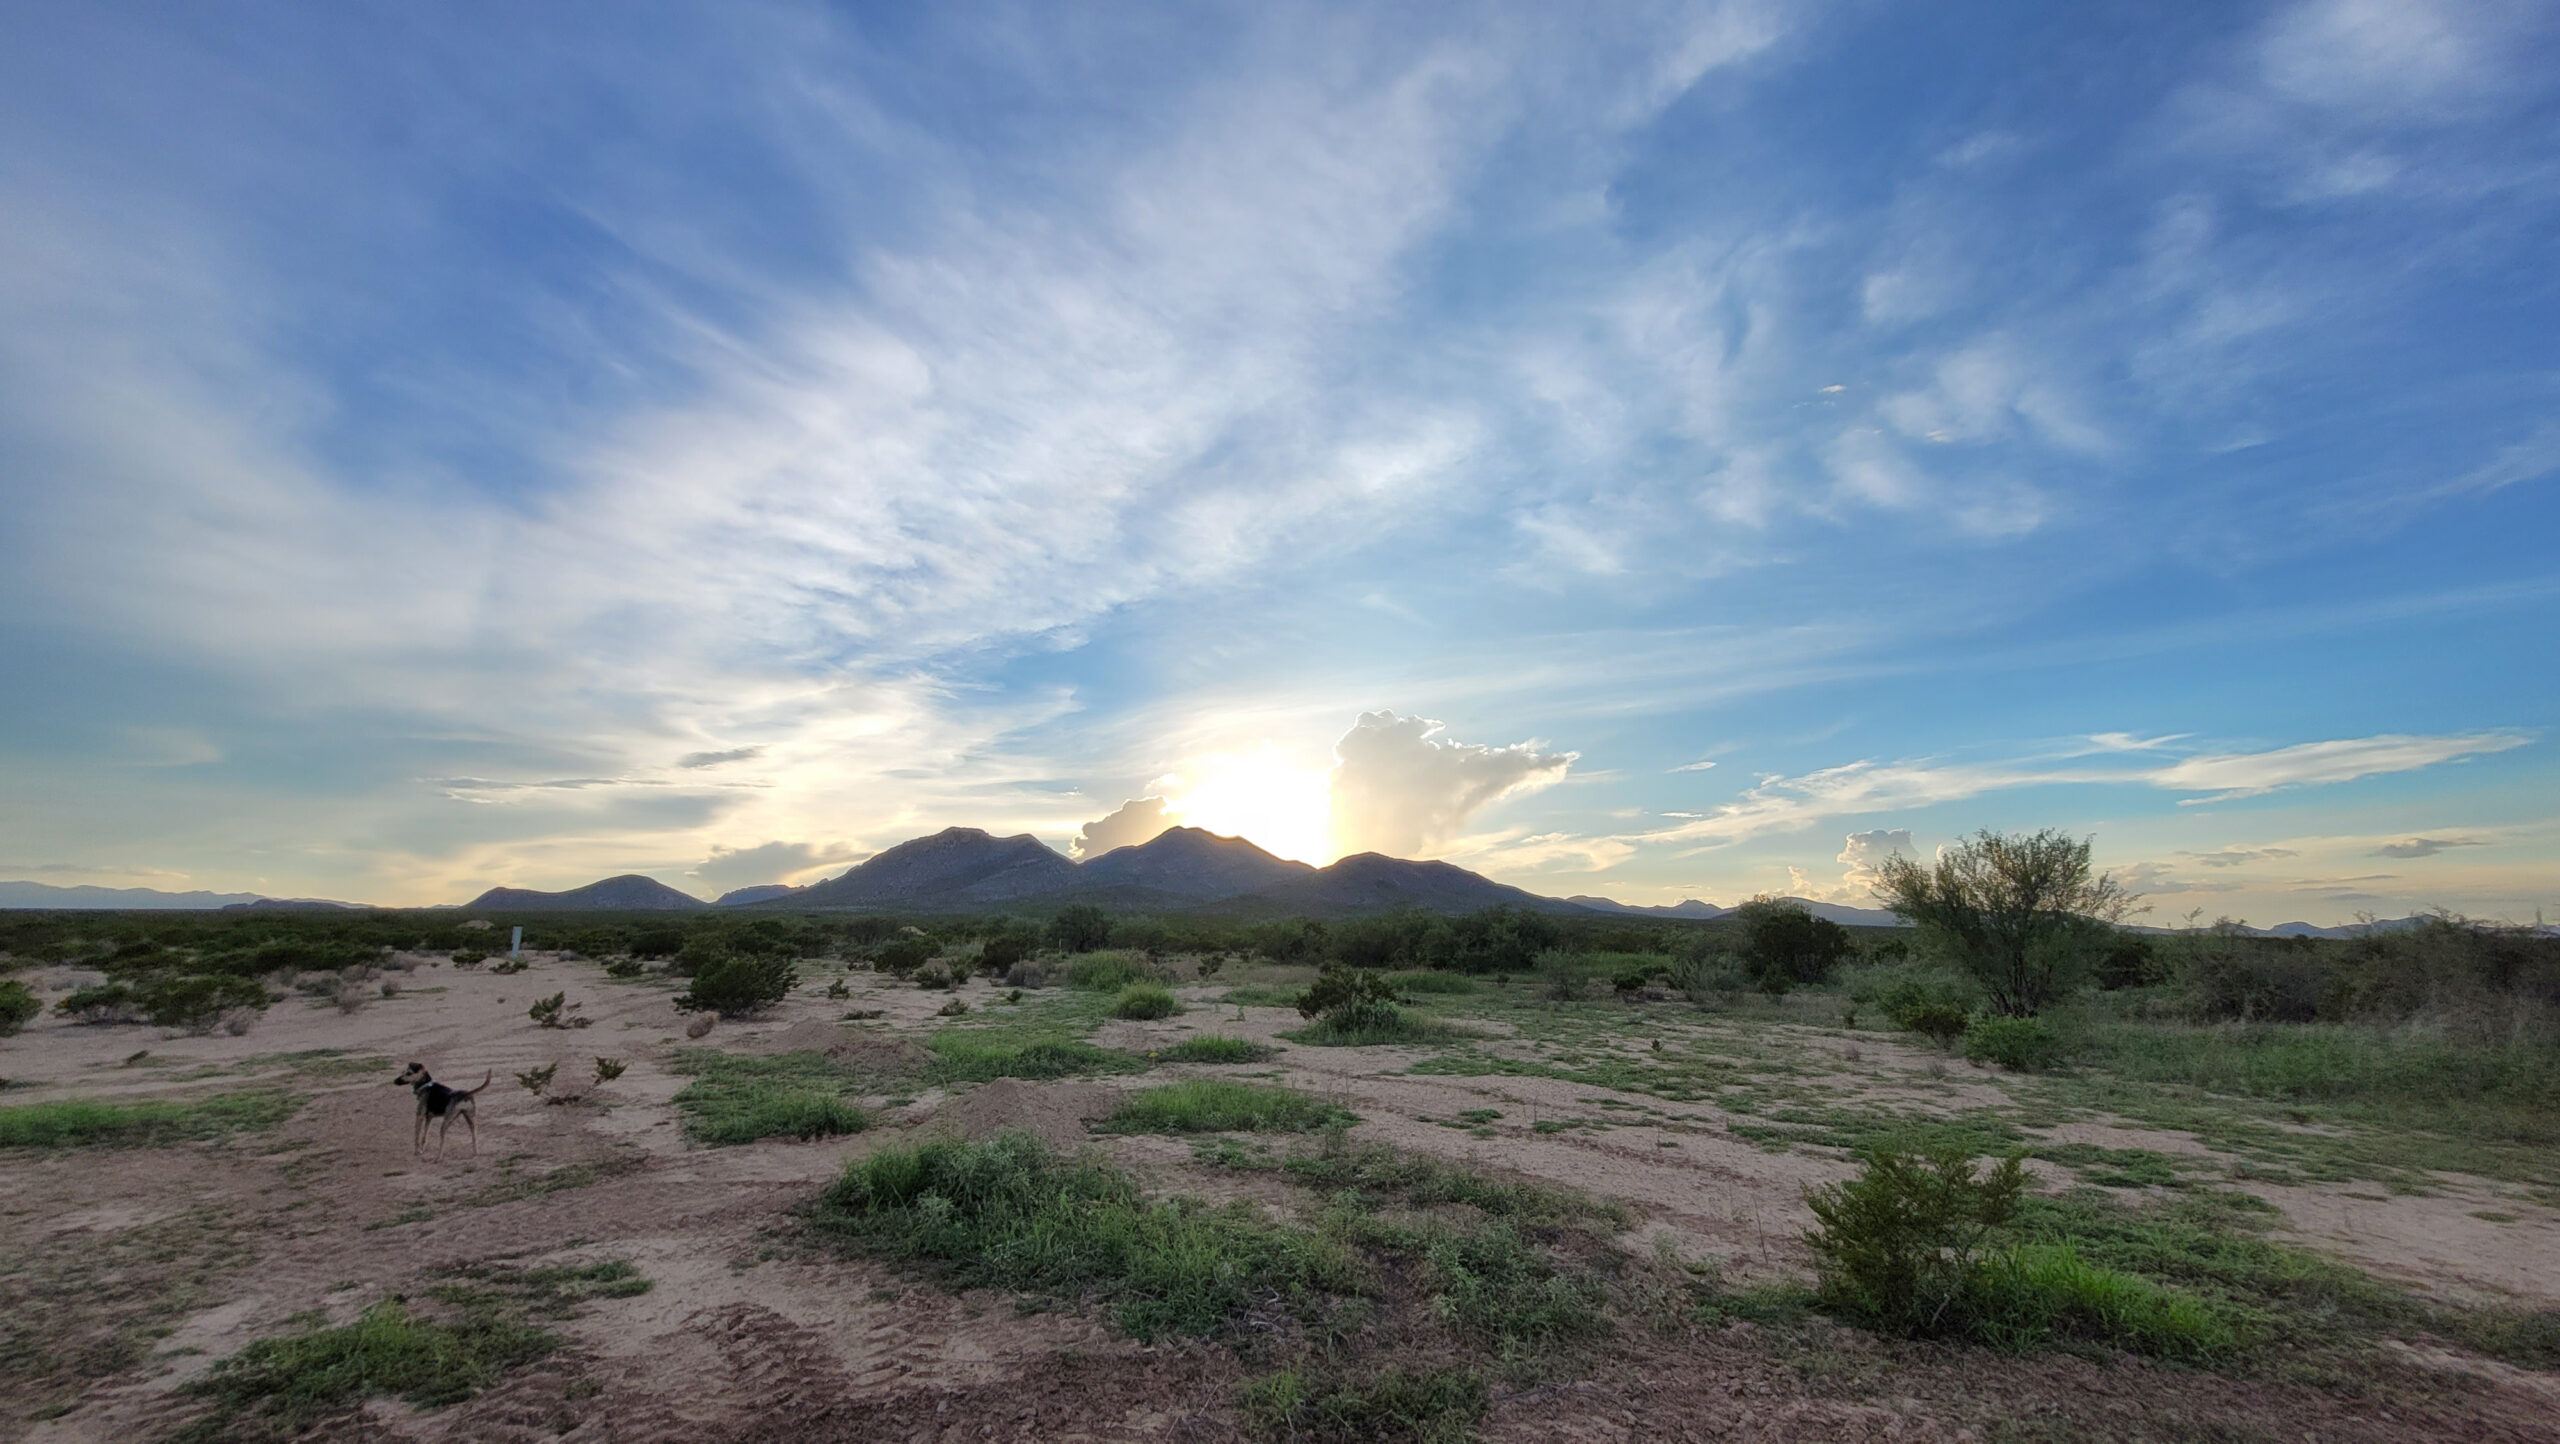
Location is everything: You want a hosting site that has dark skies with little to no light pollution, plus good transparency and seeing. Hosting facilities can be found in the American Southwest, specifically in the southern parts of Arizona, New Mexico, and Texas. These areas of the country enjoy all those preferred features plus 300 or more nights of clear skies. Research the weather carefully, because no site is immune to bad weather. While the southwestern deserts have many clear winter nights, the summer brings the monsoon season with rain in July and August.
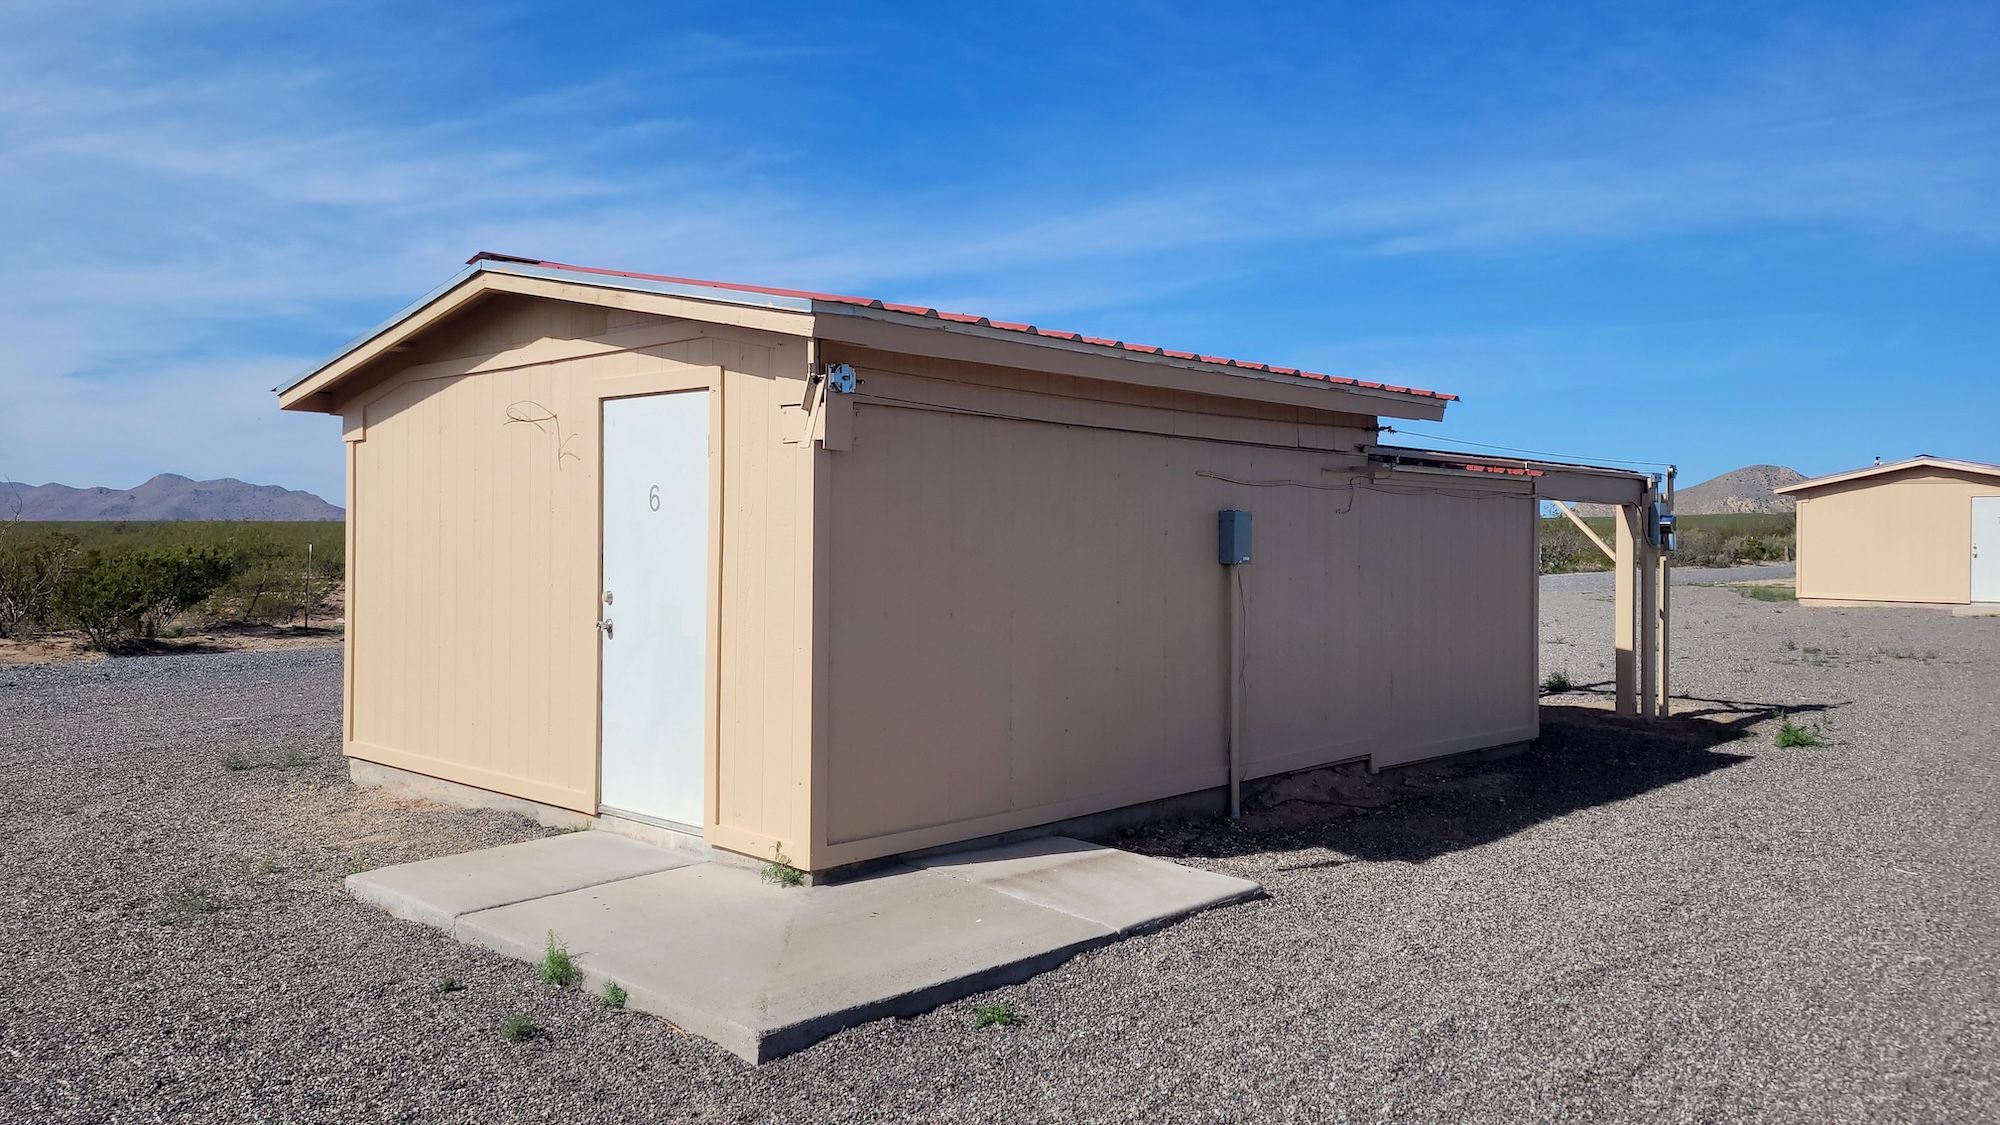
Costs for hosting sites vary depending on location and observatory size. I have my kit set up at Deep Space Products Remote, located in Animas, New Mexico, in a roll-off roof observatory that’s shared with three other kits. I pay $600 a month to rent this pier, which is a fairly typical rate. Also check payment options — some facilities rent month to month with a first and last month’s rent agreement, others lease for a year at a time and give discounts for longer leases.
Security at the hosting site is also important. Ask about the nature of site security, whether there are personnel present, and whether the site is monitored regularly.
Technical support is particularly vital when it comes to remote imaging. As thoroughly as we may test our systems, nothing can prevent a USB cable from failing or a slewing error from crashing the scope into the pier. Ask about the level of support the hosting site provides: Is it available on site? What is the average response time, and how are issues reported? Also ask whether there are additional fees associated with certain types of support.
Similarly, what is the nature of the hosting site’s technical infrastructure? How do they report safety issues to your kit? For example, if wind gusts or clouds close the observatory, how is your system notified so it can properly shut down? How often does the facility close for maintenance? Are power outages common? Will the facility staff assist you in recommending proper equipment for the environment?
An agreement with a hosting site will involve signing a contract. Like any lease, this contract outlines your rights as a customer as well as the site’s responsibilities. It’s prudent to receive an advance copy and review it. Some facilities may restrict how you can use your data, so any agreement should be read carefully.
Finalizing your setup
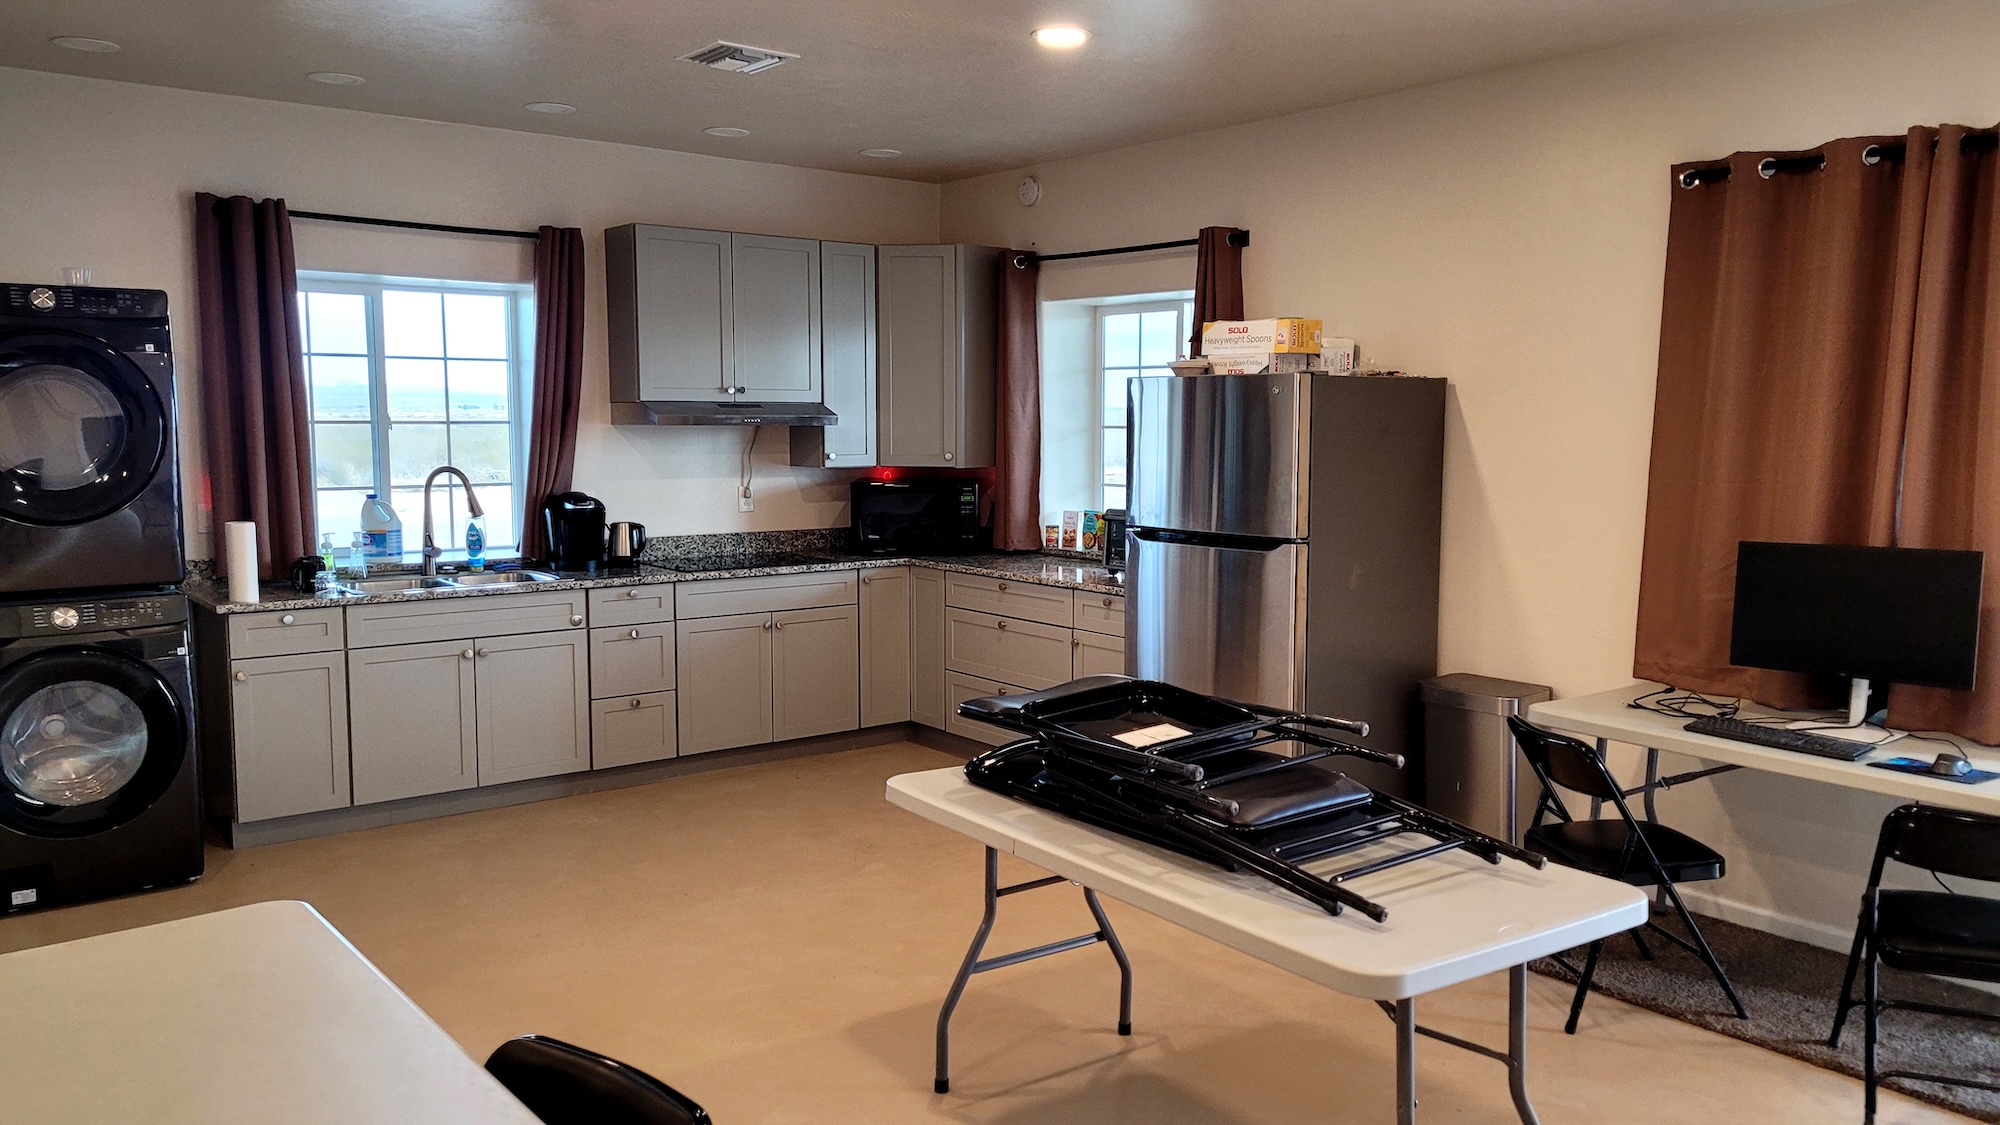
Most sites allow clients to visit (by appointment) and have facilities to host them. This is important because it usually takes more than a day to set up your equipment and properly test it before departing, and it could take even longer if you arrive during a spate of bad weather.
As an alternative, you might ask if it’s possible to ship your equipment to the remote site and have them set it up. If you take the latter route, then proper documentation on how to set your equipment up, along with an inventory list and photographs, is critical; the remote site will need this to correctly set up your kit. Remote hosting sites will charge extra for this service, however, and you will have to weigh this fact and any shipping charges against what it would cost you to travel to the site to do it yourself. In my case, it turned out to be cheaper to ship my equipment and pay to have it set up than to do it myself.
Taking the time to do your research and finding a hosting site that meets your needs will provide you with a fantastic remote-imaging experience. You can finally say goodbye to long drives to merely semi-dark skies, fumbling with equipment, and staying up late in the cold. Now you can image all night long, Moon and weather permitting, any night of the year from the comfort of your own home.