Since 3D printing became accessible to the average consumer in the 2010s, the internet has exploded with printable designs from creators around the world. Sites like Thingiverse and Printables host millions of downloadable files, and decent printers can be had for as little as $200. I got a Prusa i3 Mk3s+ for Christmas in 2022 and have scarcely stopped printing since. One of my most ambitious projects so far? A fully functional 8-inch f/5 Newtonian telescope.
This 3D-printed Dobsonian, called the Leavitt after astronomer Henrietta Swan Leavitt, was designed by a Printables user named Novel Tinker. Not every component is printed, of course — I had to buy metal fasteners, springs, glue, truss rods, and the mirrors. But Novel Tinker provided a detailed parts list and assembly instructions, even recommending a specific set of mirrors from eBay. (Any 8-inch mirror will work, though, and you can adjust the truss length to accommodate faster focal ratios if desired.)
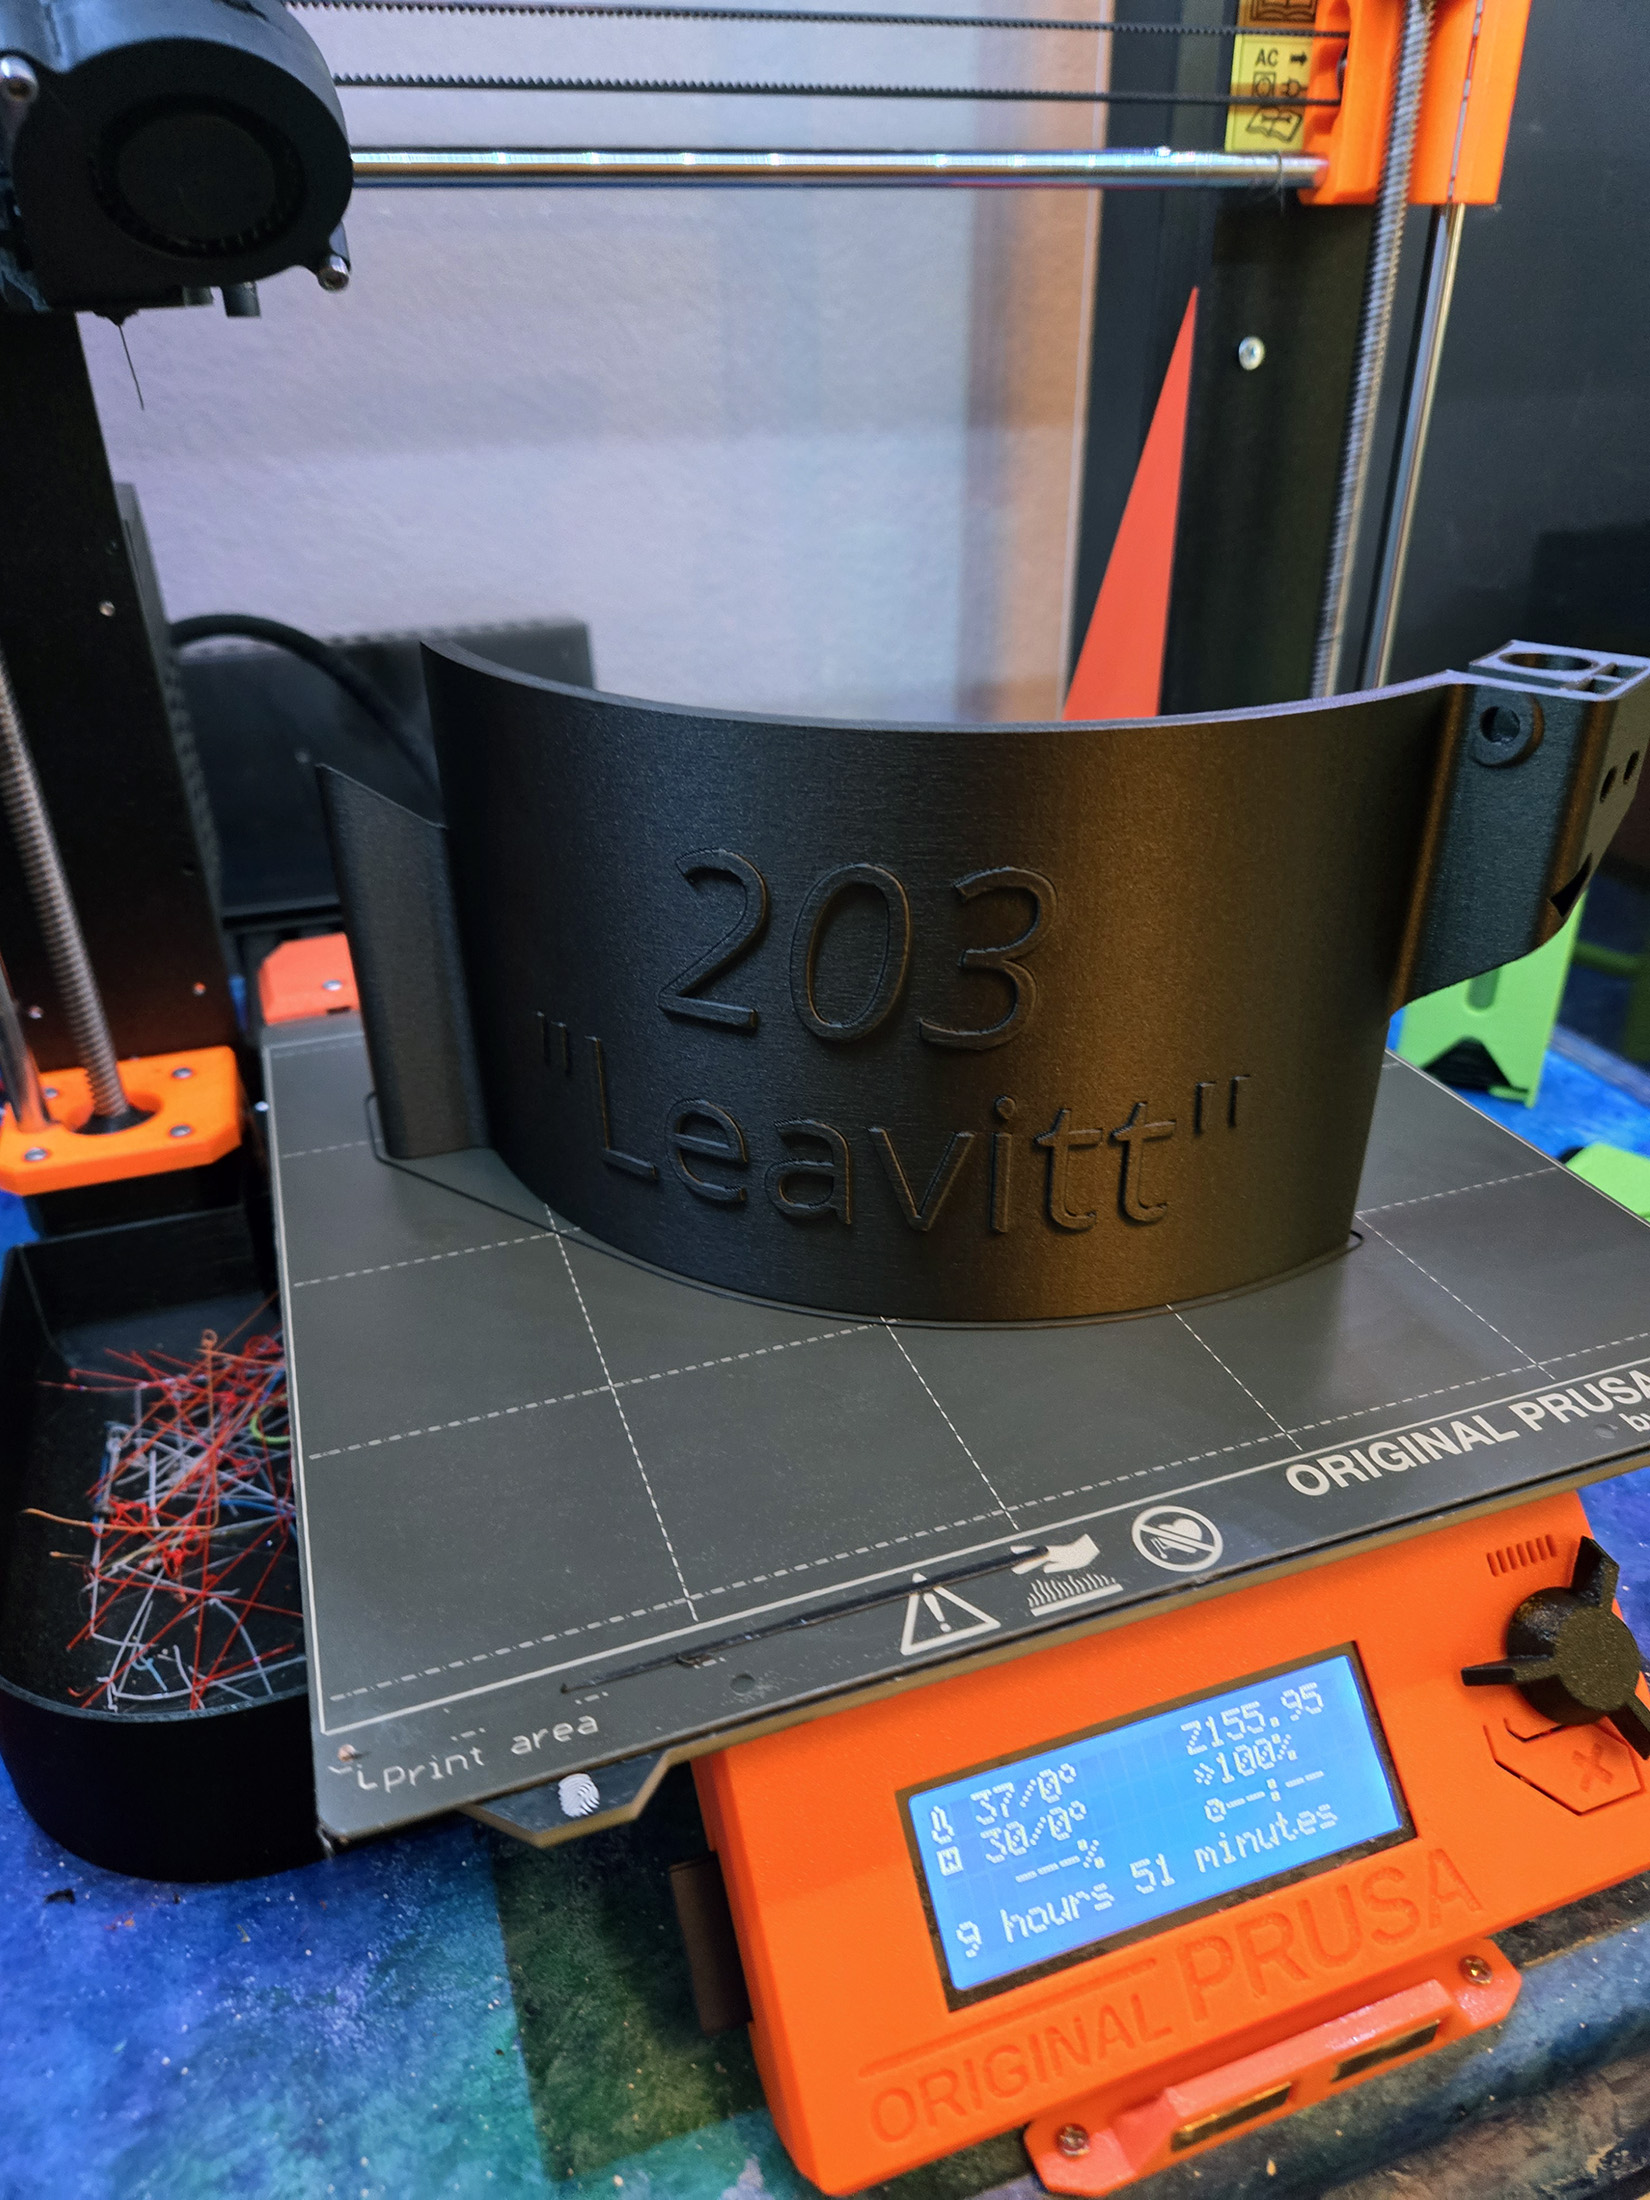
For printing, I used a carbon fiber High-Temperature Polylactic Acid (HTPLA) composite from Protopasta instead of regular PLA. While more expensive at $80 per kilogram, it is more rigid and less reflective than regular PLA. Most importantly, it is heat treatable. Regular PLA softens around 120 degrees Fahrenheit (48.9 degrees Celsius), which isn’t ideal for gear left in a hot car at summer star parties. Heat-treated PLA will stay rigid until 310 F (154.4 C).
The base is made from wood because it’s too large for most printers. I used OSB circles and 2x4s, painted black with a sparkle additive and splattered with glow-in-the-dark paint for a starry effect. Instead of metal truss tubes, I opted for lightweight pultruded carbon fiber rods. The scope itself weighs just 8 pounds (3.6 kg), and the base 16 pounds (7.3 kg). Bungee cords create adjustable friction for the altitude axis, and Teflon furniture feet ensure smooth azimuth movement.
The focuser is unique: A threaded tube moves in and out by rotating a ring and is locked by two thumbscrews. The eyepiece is secured via a collet and nut. My only complaint is that the thread pitch is too fine — it takes many turns to change focus between eyepieces.
So, how does it perform? I tested it out at the Rocky Mountain Star Stare in Colorado this June and was impressed! Stars were sharp to the edges, collimation was easy and stable, and views were what you’d expect from a solid 8-inch. It even won an award in the star party’s amateur telescope-making competition.
Cost-wise, it ended up being more expensive than I’d hoped — you could get a larger manufactured Dob for about the same price. A few printing mistakes and broken parts meant I needed extra filament, and ordering fasteners from Amazon forced me to buy more than I needed. Local hardware stores might have saved me some money there.
So, why spend all the time, money, and effort making a 3D-printed telescope when I already own a nice 12-inch Dob? Simple: It was fun! The challenge was rewarding, and the novelty will be a hit at star parties and outreach events. Plus, it’s modular — any part can be redesigned and reprinted as needed. If you have a 3D printer and want a fun, satisfying project, I highly recommend giving this telescope a try. Good luck!