Amateur astronomy is about observing: Each and every time you look through an eyepiece, you make contact with a distant part of the universe. I’ve assembled this list of observing tips — one for each letter of the alphabet — to help you get the most out of those precious moments behind the eyepiece. I’ve discovered some of them on my own, but others were passed on to me by wise observing buddies. Read them, use them, and add to them. If you do, you’ll become a better observer.
AVOID EYE FATIGUE. Take short breaks, and try one of these simple eye exercises every 20 minutes or so. Lightly cup your eyes with your palms and relax for 60 seconds. Or simply look away from the eyepiece and roll your eyes up, down, around, and side to side for 20 seconds; then relax, eyes closed, for another 30 seconds.
BATTERIES. Take the batteries you know you’ll need — as well as the batteries you think you won’t need.
CAMERA FOCUSING. Astrophotographers want their lenses focused at infinity, but newer autofocus lenses can go past infinity when focused by hand. To resolve this problem, set the lens at infinity during the day and then lock it there with one or two wraps of tape around the barrel. Use tape that won’t leave a residue (no duct tape). Manual focus lenses don’t have this problem, but some astrophotographers tape them anyway. It’s one less thing that can go wrong.
DARK ADAPTION is the process by which the eyes increase their sensitivity to low levels of illumination. In the first 30 minutes, sensitivity increases 10,000-fold, with little gain after that. But brief exposure to bright light temporarily rolls back this hard-won increase. Just how much dark adaption you lose depends a little on the intensity and a lot on the duration of the light. A single flash from a strobe does less damage than a bright light lasting a second or more. At night, your eyes are most sensitive to red light, which means that for a given brightness, you’ll see more in light of this color. Use a red light, adjust its intensity to the lowest usable level, and then gaze only briefly at the illuminated object.
EYE PATCH. Wear an eye patch over your observing eye while setting up equipment. Put it on as long as possible before the start of your session, and you will be rewarded with a fully dark-adapted eye when you’re ready to begin observing. Move the patch to your non-observing eye when you look through the eyepiece. This lets you keep both eyes open, a technique that reduces eye fatigue. (Skeptical? Try reading this story with one eye closed for 60 seconds.) Before checking charts with a light, move the patch over your observing eye.
FOCUS each time you put your eye to the eyepiece and anytime you have a question about the sharpness of an image.
GOING DEEP. When you’re observing objects at the limit of vision or looking for small details in brighter ones, use a technique sometimes called “rocking the scope.” Gently tap the mount or the telescope tube. It really helps faint details pop out!
HIGH-ALTITUDE OBSERVING results in a degree of hypoxia, or low oxygen in body tissues, that significantly alters low-light color perception. Most people notice visual changes when they travel to altitudes approximately 2,000 feet (610 meters) higher than where they live, although those living at or near sea level may not begin to notice such effects until they reach an altitude of 4,000 feet (1.2 kilometers).
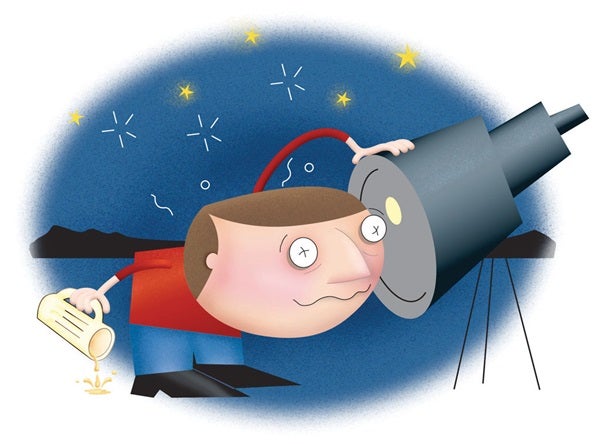
INTOXICATION. Don’t drink and drive the telescope if you’re looking to do some serious observing. Why? Alcohol impairs vision.
JUST IN CASE. Pack a “space blanket” with your equipment. Made from a metal-coated plastic film, it will trap body heat when wrapped around you, giving you an edge in all but the most severe weather conditions. It also shields against wind and rain, weighs just a few ounces, and only costs a few dollars. Often advertised as a “survival blanket,” that’s exactly what it may be for you.
KNOW YOUR EQUIPMENT. If you’ve added a new piece of equipment to your observing lineup, set it up at home first. Any problem revealed in the light will be one less you’ll have to deal with in the dark. As a second step, set up in your yard and observe as if you were at your remote dark-sky site. It’s surprising what a test run like this will teach you.
LIMITING MAGNITUDE. No better gauge of observing-site quality exists than a direct measurement of limiting visual magnitude, or LM. Most observers determine their site’s LM by identifying the faintest star they can see, usually near the zenith. Others use a method devised by meteor observers, who count the number of visible stars within predetermined asterisms.
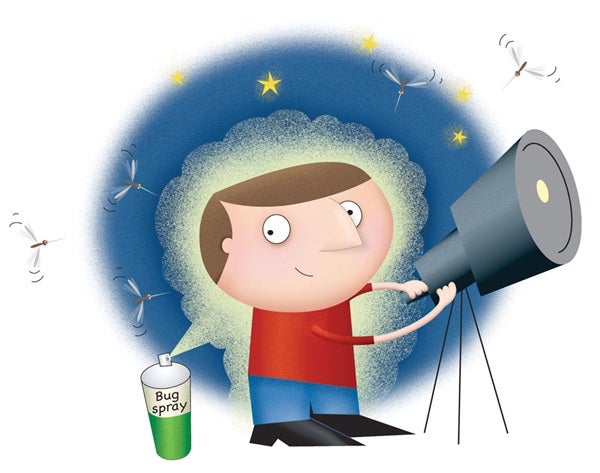
MOSQUITOES. I hate mosquitoes, and I’m willing to bet you do too. Mosquitoes attack whoever is handiest, but they prefer adults to children, women to men, and pregnant women most. They’re attracted to heat, carbon dioxide, and movement, so swatting at one is essentially an invitation to others. The most effective mosquito repellents contain DEET, the acronym for N,N-diethylmeta-toluamide. Experts suggest treating clothing as well as exposed skin. Most fabrics are approximately 1mm thick, but the average mosquito’s proboscis is 2mm long. DEET won’t keep a mosquito from approaching, but it can stop her from biting — the attacker is female — by jamming the insect’s antennae cells that are sensitive to lactic acid.
NIGHTTIME SAFETY. If you must observe alone at a remote location, double-check everything before you leave — especially non-observing-related details, such as how much fuel is in your vehicle. Let someone know exactly where you will be and exactly how long you plan to be out, and then stick to the plan. Your life may depend on someone knowing where you are.
OBSERVING CHAIRS AND LADDERS. If you’re at all uncomfortable at the telescope, you’ll do less observing, and the observations you make will be less fulfilling and less accurate. In my opinion, nothing says comfort like a high-quality observing chair. Such an accessory has four main features: sturdy construction; a padded seat; easily adjustable height; and back support. Observing chairs work fine for refractors and Schmidt-Cassegrain telescopes, which have eyepieces at the lower ends of their tubes. For large Dobsonian-mounted scopes, however, a ladder of some type is usually necessary. I suggest buying a three-step folding utility ladder with a tray. Such ladders usually feature wide, rubber-coated steps — a great safety feature after sunset — and the tray is a real bonus when you need to change eyepieces or filters.
POSITION OF TELESCOPE. When observing sessions go well into the morning hours, be sure to point your telescope where the Sun won’t shine. This is a crucial tip if you’re going to leave your scope uncovered, but remember that the Sun has been known to damage even telescopes that were capped.
QUESTION YOURSELF. Write a few questions on index cards before your observing session. For example, a card for planetary nebulae might have these questions on it: Can you see the central star? At what magnification? What shape is the nebula? Is any color apparent? And so on. Questions will jog your memory and remind you to look for certain common details — especially when you’re tired and not necessarily at your peak.
RECORD OBSERVATIONS. I have maintained a detailed observing log for more than two decades. My instrument of choice is a digital (formerly tape) recorder. Many of my observing friends write out their observations either in a logbook or directly onto a star chart, a method that allows for sketches as well. I speak into my recorder at the telescope and transcribe the observations later, usually the next day. If you follow this path, don’t let your recordings pile up.
SITE SELECTION. Perhaps paradoxically, the finest skies on Earth are not the darkest. The more stars you’re able to see, the brighter the overall sky appears. I have seen the Milky Way cast a shadow in truly dark locations. A site rated “excellent” has three characteristics: it’s free of light pollution; it contains low amounts of aerosols (dust, air pollution, and water droplets); and it’s at a relatively high altitude, between 5,000 feet (1.5km) and 8,000 feet (2.5km).
TUBE CURRENTS degrade telescopic images, but how do you know if you have a problem? Check the out-of-focus image of a fairly bright star. If you see lots of circular motion inside the star’s image, you have a severe problem. The best solution is a small, low-flow fan to move warmer air out of the telescope tube and quickly bring your mirror to the same temperature as the ambient air.
UNIVERSAL TIME (UT). Use it! Memorize your time zone’s UT correction both with and without Daylight Saving Time. Use UT in your observing log entries. Use it in your correspondence. Using UT is one way we all can standardize our observations.
VITAMIN A. A diet deficient in vitamin A can lead to impaired night vision. An adequate intake of vitamin A from foods such as eggs, cheese, liver, carrots, and most green vegetables will help ensure proper visual acuity at night. Please note that excessive quantities of vitamin A will not improve night vision and may be harmful to your health.
WEATHER AND SEEING. Some atmospheric factors indicate the quality of “seeing,” or the steadiness of an astronomical image. An air mass colder than the ground will produce puffy cumulus clouds and unsteady air, but it’s usually relatively free of dust. An air mass warmer than the ground will produce stratiform clouds, haze, or mist, and hold copious amounts of dust, but astronomical images will be steadier. Bad seeing is almost guaranteed at least 24 hours following the passage of a front (the boundary between warm and cool air masses) or trough (an elongated area of low pressure). Seeing can be very good with thin cirrus clouds aloft, but the opposite is true when high cirrus clouds combine with low-level crosswinds.
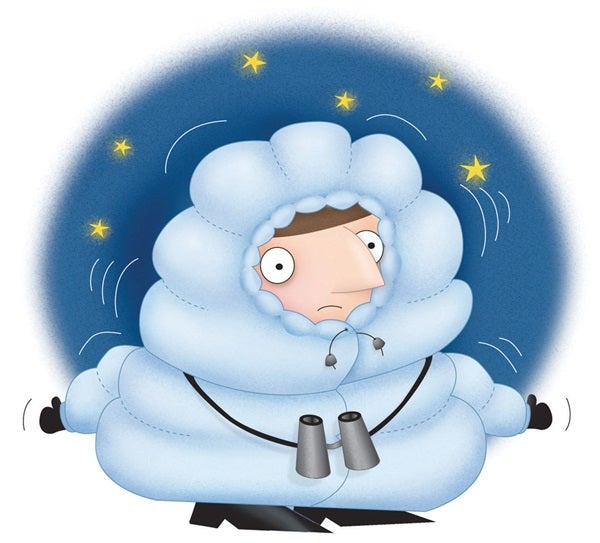
X-TREME OBSERVING. OK, it’s a stretch, but few amateurs have X-ray telescopes. “X-treme” observing means viewing in cold weather. For low-temperature observing, preparation is everything. Over pack. The difference between life and death could hang on whether you brought along a single piece of gear. Most heat loss occurs from the head, so keep yours warm. My personal headgear consists of a fleece pullover head cover topped by a wide-brimmed hat. Heat also will seep into the cold ground through your boots. I decided to purchase the warmest boots that would allow me to drive a vehicle. Hand warmers are superb but never seem to last the full time specified on the package. Keep warmers in your side pockets. Slip them in and out of your gloves or mittens for quick warm-ups. Finally, dress in layers. I generally wear fleece long underwear and thick pants. My upper body is covered with a T-shirt; a thin, long-sleeved, flannel shirt; a fleece pullover; and a down jacket. My wife, who is affected by the cold more than I am, wears a ski rescue suit as her outer layer. When fully zipped, with the hood up and boots and gloves in place, the wind has few places to chill her delicate frame.
YOUR OWN PACE. Some observers spend an hour or more on each object, trying to glean every bit of detail. Others take a leisurely pace of between five and fifteen objects per hour. Discover what works best for you.
ZOOM EYEPIECES. If you don’t have the cash to fill a large fishing-tackle box with eyepieces, consider a high-quality zoom eyepiece. Such an accessory will provide you with a range of magnifications at a cost much less than the combined cost of each eyepiece within a single zoom’s range of focal lengths.

