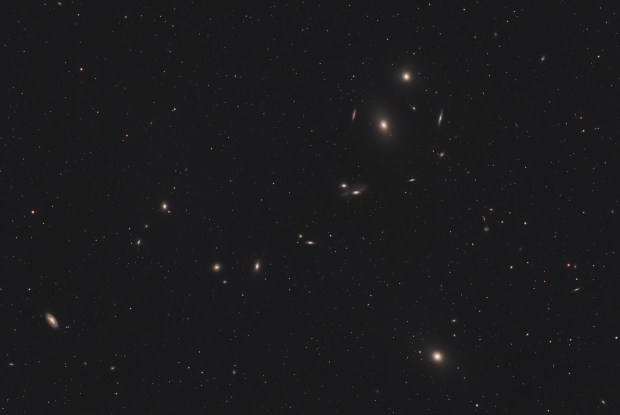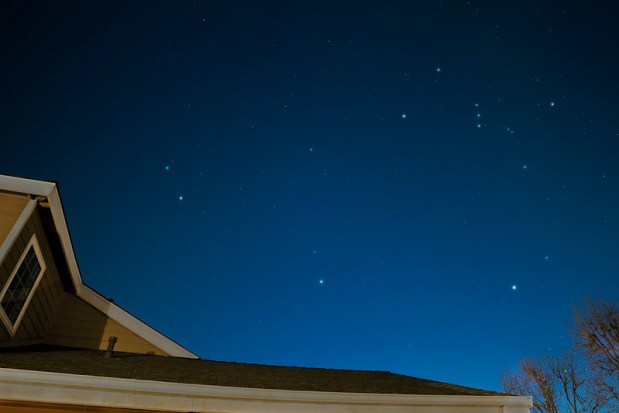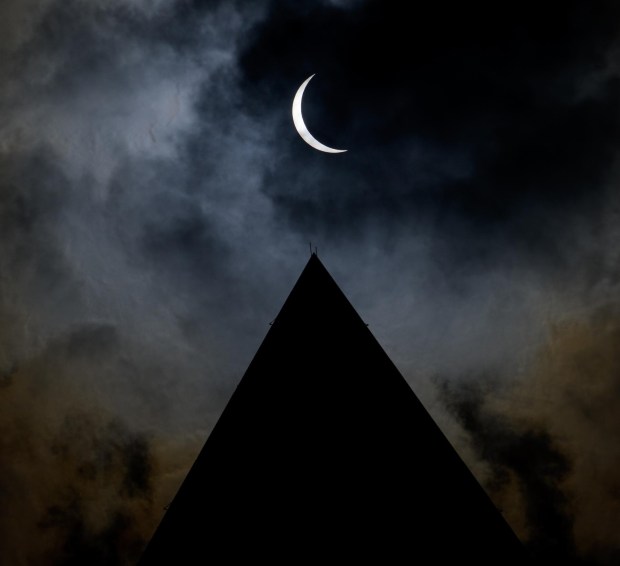
But then, we have the other side of the coin. Even though there are more telescopes for sale today than ever before, many people interested in astronomy never buy one simply because they can’t see the stars. Runaway light pollution is robbing us of the night sky. How often have I heard people lament, “I remember when I was a kid I could see the Milky Way crossing the sky. I haven’t seen it in years.” Many young people today don’t even know the simple joy of standing under a truly dark sky.
But take heed; all is not lost. Many amateur astronomers who live in and around major cities enjoy wonderful views through their telescopes any clear evening they wish. They just have to know a few tricks to pull out the best their equipment has to offer.
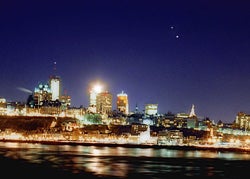
First, let’s look at the problem of light pollution and define a few terms. Light pollution comes in two varieties: sky glow and local, or line-of-sight, glare. Sky glow refers to the sickish orange glow we see rising above our horizons, the combined effect of hundreds, even thousands of lights on buildings, in parking lots, and along roadways all casting some of their light skyward. The net result extinguishes faint stars and washes out the sky.
Localized, or line-of-sight, light pollution can happen anywhere, in the largest cities and in the smallest rural towns. Most often, it is caused by one or more poorly designed or placed lights, either from a neighbor’s house or possibly a badly located streetlight. By itself, line-of-sight light pollution may not wash out the sky like sky glow does, but it can blind an observer to faint starlight by sneaking into the corner of the eye.
The good news is that it is possible to deal with both of these problems, lessening their impact and increasing your enjoyment of observing from your home. Here are some tips and tricks to try.
Let’s begin the discussion of which telescopes are best for viewing from a city by putting an urban legend to rest. The oft-repeated advice of “If you observe from a light polluted area, small telescopes are better than large telescopes” is just plain wrong. That old myth was based on the premise that because larger apertures gather more starlight, they must also gather more sky glow, which in turn must wash out the field of view. This simply is not the case. A larger telescope will gather more starlight regardless of where it is located. A 12-inch telescope will show more stars than a 6-inch telescope from downtown Chicago just as it will from Smalltown, USA. It is true, however, that larger apertures are more sensitive to heat currents and turbulent atmospheric conditions. There have been nights when I couldn’t focus my own 18-inch reflector due to turbulence, while images in my 4-inch refractor and 8-inch reflector were sharp. But that has nothing to do with light pollution.
When considering which telescope to purchase, many people think only in terms of budget. Depending on where you live, your number one concern should be storage. Where will the telescope be kept between observing sessions? Unless a telescope is convenient to use, it will quickly become relegated to a dark corner. Many a stargazer’s zeal has turned to apathy by the harsh reality that setting up a telescope can be hard work. “I know that it’s clear tonight, but I’m tired and that telescope takes such a long time to set up. I’ll just wait until tomorrow night. Hmm, I wonder what’s on TV.”
So, while light pollution should have no impact when choosing a telescope’s aperture, your personal living situation must. If you live in a three-story walk-up apartment, you do not want a large telescope that requires several back-and-forth trips to carry everything out. In that case, an ideal solution would be a small grab-and-go instrument that can be carried in one hand, while a guidebook and chart are held in the other. If, however, you live in a house, perhaps with a garage that has room for storing a telescope, then a larger instrument could serve you well.
I know two amateur astronomers who live in areas that are severely impacted by light pollution. Jack owns a 90mm refractor on a small German equatorial mount. The telescope cost Jack less than $300. He uses it just about every clear night. Then, there is Carl, who owns a beautifully crafted 20-inch reflector that cost close to $10,000. Because of its size, however, Carl only uses it three or four times a year. So, which telescope would you say is better? To my mind, the answer is clear. The small refractor, modest as it is, takes Jack into the universe far more often than Carl’s huge reflector. What matters most is that, be it a small, inexpensive instrument, or a pricey, advanced scientific device, the best telescope in the world is the one you use often and enjoy to its fullest.
Urban astronomers gain great advantage from using computerized telescope mounts. While star-hopping is a wonderful way for locating targets from a dark-sky site, it is difficult to do if the sky is so bright that reference stars are few and far between. But keep in mind that inexpensive computerized telescopes often divide their strengths between electronics and optics, in the process compromising both.
Be sure to optimize the telescope you own, no matter the size or type. One of the most effective ways to improve the view is to add a tube extension in front of the telescope. Not only will the extension slow the onset of dew on a refractor’s lens or catadioptric’s corrector plate, it also blocks stray side light. This is especially important with Newtonian reflectors, where the focuser is often so close to the front of the tube that side light can shine over the edge and right into the focuser. Extending the tube at least one diameter in front of the focuser will eliminate the problem and improve contrast noticeably. Be sure to paint the inside of the extension flat black.
The exit pupil’s diameter will change as magnification goes up and down. To find out its diameter, use one of the following two formulas:
| Exit pupil | = diameter of the telescope’s objective lens or primary mirror in millimeters / magnification |
| = focal length of the eyepiece in millimeters / telescope’s focal ratio (its “f/ number”) | |
Here’s an example. Imagine we have a 25mm eyepiece in a 6-inch (152mm) f/8 telescope. This combination produces a magnification of 48x.
Therefore, the corresponding exit pupil would be:
Exit pupil = (152mm / 48) = (25mm / 8) = 3.1mm
Knowing the diameter of the exit pupil is critical, because if it is too large or too small, the resulting image may prove unsatisfactory. This is especially true under light pollution. Light pollution greatly lowers the contrast between a sky object and the background. If an eyepiece produces too large an exit pupil, contrast will suffer greatly. On the other hand, if the exit pupil is too small, images may be so dim that objects are nearly impossible to see and focus.
There is no single best exit pupil for viewing all objects. The table below offers suggestions for urban conditions.
| Target | Exit pupil (mm) |
|
|
3 to 5 |
|
|
2 to 4 |
|
|
0.5 to 2 |
As you are making your selections, make sure your eyepieces come with eyecups. Eyecups are designed to guard against localized light entering the corner of the observer’s eye. They can make a big difference! Personally, I find full eyecups to be more effective than the so-called wing style.
Eyepieces must also be kept clean, because even a slight amount of oil or grease on the lens will smear and degrade the view. The outermost eye lens is especially susceptible to grease from eye lashes. To clean a lens, use lens tissue dampened with lens-cleaning solution. Lightly wipe the lens surface with the tissue to remove the grease. Lens pens are also good for this purpose, but to prevent scratching the lens’s soft optical coatings, never rub with any pressure.
Many people are under the misconception that light-pollution reduction (LPR) filters are the salvation of urban astronomers everywhere. On the surface, it makes sense. Many outdoor lights do not shine evenly across the entire visible spectrum. Instead, they emit their light at only a few discrete wavelengths. For instance, the common high-pressure sodium streetlight used throughout North America shines principally in the yellow wavelengths. LPR filters are designed to suppress the broad portion of the visible spectrum that includes those wavelengths, while passing others through. They do little, however, to lessen the impact of most car headlights, lights on buildings and houses, and other sources that use incandescent bulbs. Incandescent lights shine at all visible wavelengths.
Let’s put another urban legend to bed once and for all: LPR filters do not make deep-sky objects look brighter. They block all light at their specified wavelengths without regard to where it came from. That means these filters actually dim everything in view. In the process, however, the background sky is usually darkened more than the target, effectively boosting contrast. So, LPR filters should make an object easier to spot but will not make it appear brighter.
Finally, one of the most useful accessories for viewing the sky, regardless of where you set up, is binoculars. While they make wonderful tools for touring the universe on their own, binoculars also help bring urban stargazers into the country. If the naked-eye limiting magnitude from an observing site is only 3rd magnitude, 50mm binoculars will show stars as faint as 6th, possibly even 7th magnitude, which is the naked-eye limit from the best dark sites. Binoculars will also help you find reference stars that are invisible by eye alone, whether they are used for aligning a go-to telescope mount or for star-hopping. Don’t leave home without them!
Another challenge facing urban stargazers is locating a good observing site. Ideally, it should be as dark as possible, readily accessible, and above all, safe. If you will be observing alone, safety must be placed above all other considerations.
If you live in a high-rise apartment, inquire about using the roof at night. Hopefully, there is an easy way to access the roof in the first place, either by elevator or a short flight of stairs. Viewing from a roof gets you above many earthly obstructions, such as trees and possibly other buildings, as well as above many sources of street-level lighting.
There are some disadvantages to keep in mind, however. Roofs absorb a tremendous amount of heat even on the coldest winter day, only to radiate it back out at night. That rising heat can distort the view badly. And then, there are always the neighbors. Brian Kennedy tells how he used to set up his 8-inch Schmidt-Cassegrain telescope on his high-rise apartment’s roof in the Bronx to do some midweek viewing. Then, one day, the building superintendent told him that he had to stop. It turns out that the superintendent had received a complaint that a very influential neighbor down the road — the Russian diplomatic residence — was concerned that Brian was keeping them under surveillance.
Grassy areas in city parks and beaches are natural choices because they absorb relatively little heat during the day. Parks may pose some potential safety concerns, however. Know the location by day before going there at night. Avoid secluded corners if personal safety is a concern.
Your best bet is to join a local club and take advantage of their viewing sessions. Clubs often hold star parties around New Moon weekend. The Amateur Astronomers Association of New York City, for instance, has arrangements with the New York City Department of Parks, the United States Park Service, and other organizations to use several city parks for monthly nighttime viewing sessions. And of course, there is safety in numbers, which is why a club viewing session is such a wonderful resource.
Line-of-sight light intrusion is often more destructive than sky glow, so, once at your viewing site, choose a spot that will block as many sources of local light pollution as possible. Trees, buildings, and other obstructions often serve this role nicely.
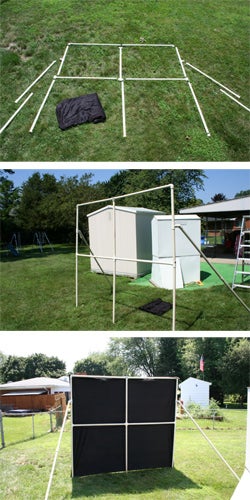
If there are no suitable obstructions at your site, and carrying your own shield seems like too much effort, then drape a dark towel or cloth over your head when looking through the eyepiece, as old-time photographers used to do. I prefer to use a black turtleneck that I call my “personal cloaking device.” Instead of putting it on over my head, I stick my head into the shirt’s neck from the top. Then, as I look through the eyepiece, I pull the shirt up and over the eyepiece. Yes, it looks strange, but I can see about a half-magnitude fainter with it than without.
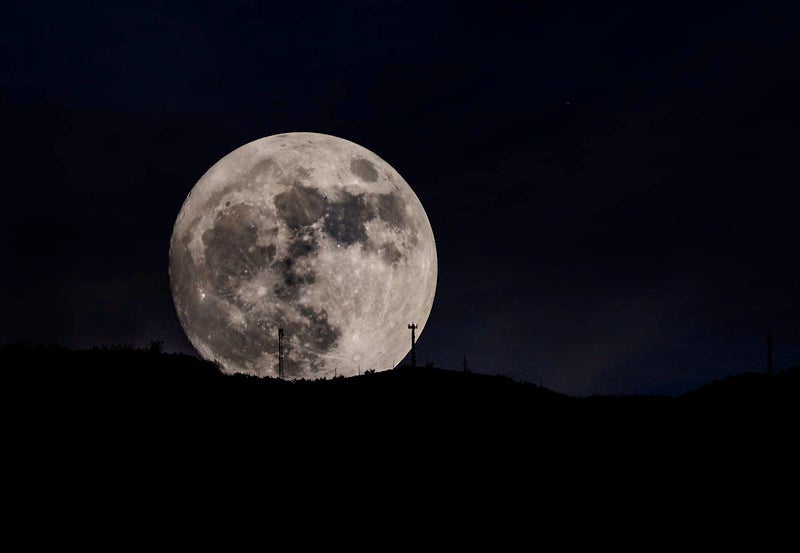
Finally, timing is everything in life, especially when it comes to urban stargazing. Whatever target you choose, whether it’s the Moon, a planet, or a challenging deep-sky object, the best time to look will always be when it is highest in the sky. An object that is invisible when near the horizon may come through clearly when it is away from haze and sky glow.
The level of light pollution also often drops off noticeably after midnight, making the early morning hours the best for urban stargazing. As Glynis van Uden of Tilburg, a small city in the Netherlands, points out, “Getting good viewing means being flexible and keeping an eye open for opportunities. I’ve had some excellent skies in the early morning, and look forward to holidays when I can take more advantage of this. I always enjoy the moment — being out under the stars when most people are sleeping. Just think what I’d miss if I simply shrugged my shoulders and gave up.”
These are just a few tricks and tips for viewing the sky from light-polluted areas. In other installments, we’ll examine the types of objects that put on the best show from the city, and which should wait for a dark, rural sky.
- Video: How to use a star chart — Senior Editor Rich Talcott helps you navigate the night sky using Astronomy magazine’s pullout star chart, located in the center of each monthly issue.
- StarDome — Astronomy.com’s interactive star chart lets you construct an accurate map of your sky and find your favorite constellations, planets, galaxies, and more.
- ABCs of observing — Sharpen your scope skills with these 26 tips
- Constellation observing — Downloadable articles that highlight all 88 constellations in the sky and explain how to observe each constellation’s deep-sky targets.
- Weekly observing podcast highlights three objects you can see in the night sky