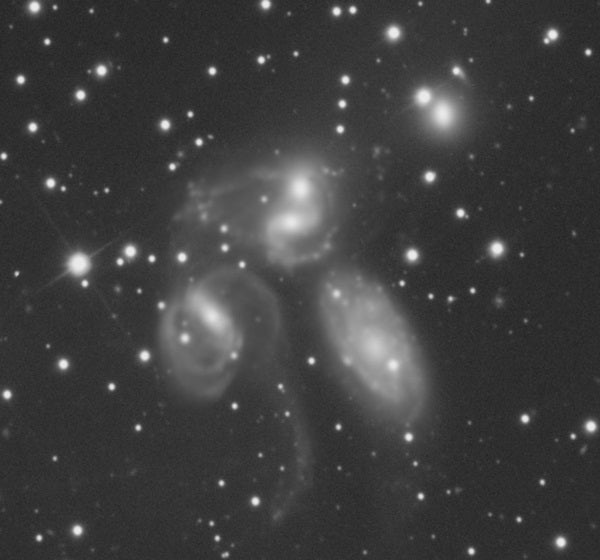
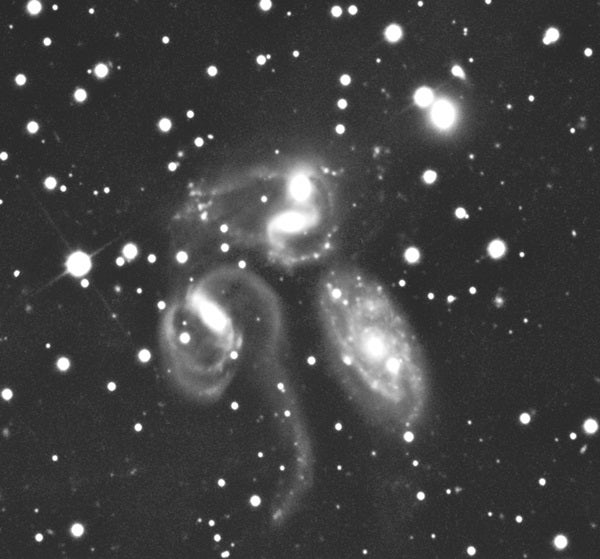
Unwanted amplification of the stars is a natural byproduct when we increase the contrast of our astroimages. Brighter stars also result when we apply unsharp masking to an image. In other words, if the whole point is to make a faint nebula appear more detailed, we don’t need the added distraction of distended stars. What can you do so this doesn’t happen? Follow these eight steps to isolate the stars.
1. First, apply a high-pass filter to a nebula or galaxy. You want to enhance it without affecting the stars. Begin by using Photoshop to make a duplicate layer of your image.
2. Go to “Filter,” then “Other,” then “High Pass Filter.” Initially, try a radius of 30 pixels. Adjust this value to suit the degree of enhancement you want.
3. Make sure the duplicate layer you created is active by clicking on its icon. Go to “Select,” then “Color Range,” and scroll down to “Highlights.” Click “OK.” You have just selected all the bright stars.
4. Next, go to “Select,” then “Modify,” then “Expand,” and put in a value of 6 pixels. You want to make sure you have selected even the faint outer glow of the stars. If 6 pixels doesn’t capture the area you want, make the amount larger.
5. Go to “Select,” then “Modify,” then “Feather.” Choose a value of 3 pixels. Typically, you want a value for this that’s half the amount you expanded.
6. Now go to “Layer,” then “Layer Mask,” and choose “Hide Selection.” This last click is where the magic happens. You just turned a feathered selection into a feathered layer mask.
7. You should still be on your high-pass filter layer. Change the combine method to “Soft Light.” You will notice an increase of contrast and detail, but when you click the “eye” on and off for the high-pass layer, you’ll see that the stars did not change. You have successfully masked them out.

8. If you think the amount of high-pass filtering was too much, you can reduce it by lowering the opacity of the high-pass layer. If it wasn’t enough, simply duplicate the layer again, and you will see added high-pass filtering.
Use your imagination, and you’ll be able to apply this technique to any process in which you can use a layer to modify your image. At the same time, you will isolate the stars from the effects.
Happy star masking!