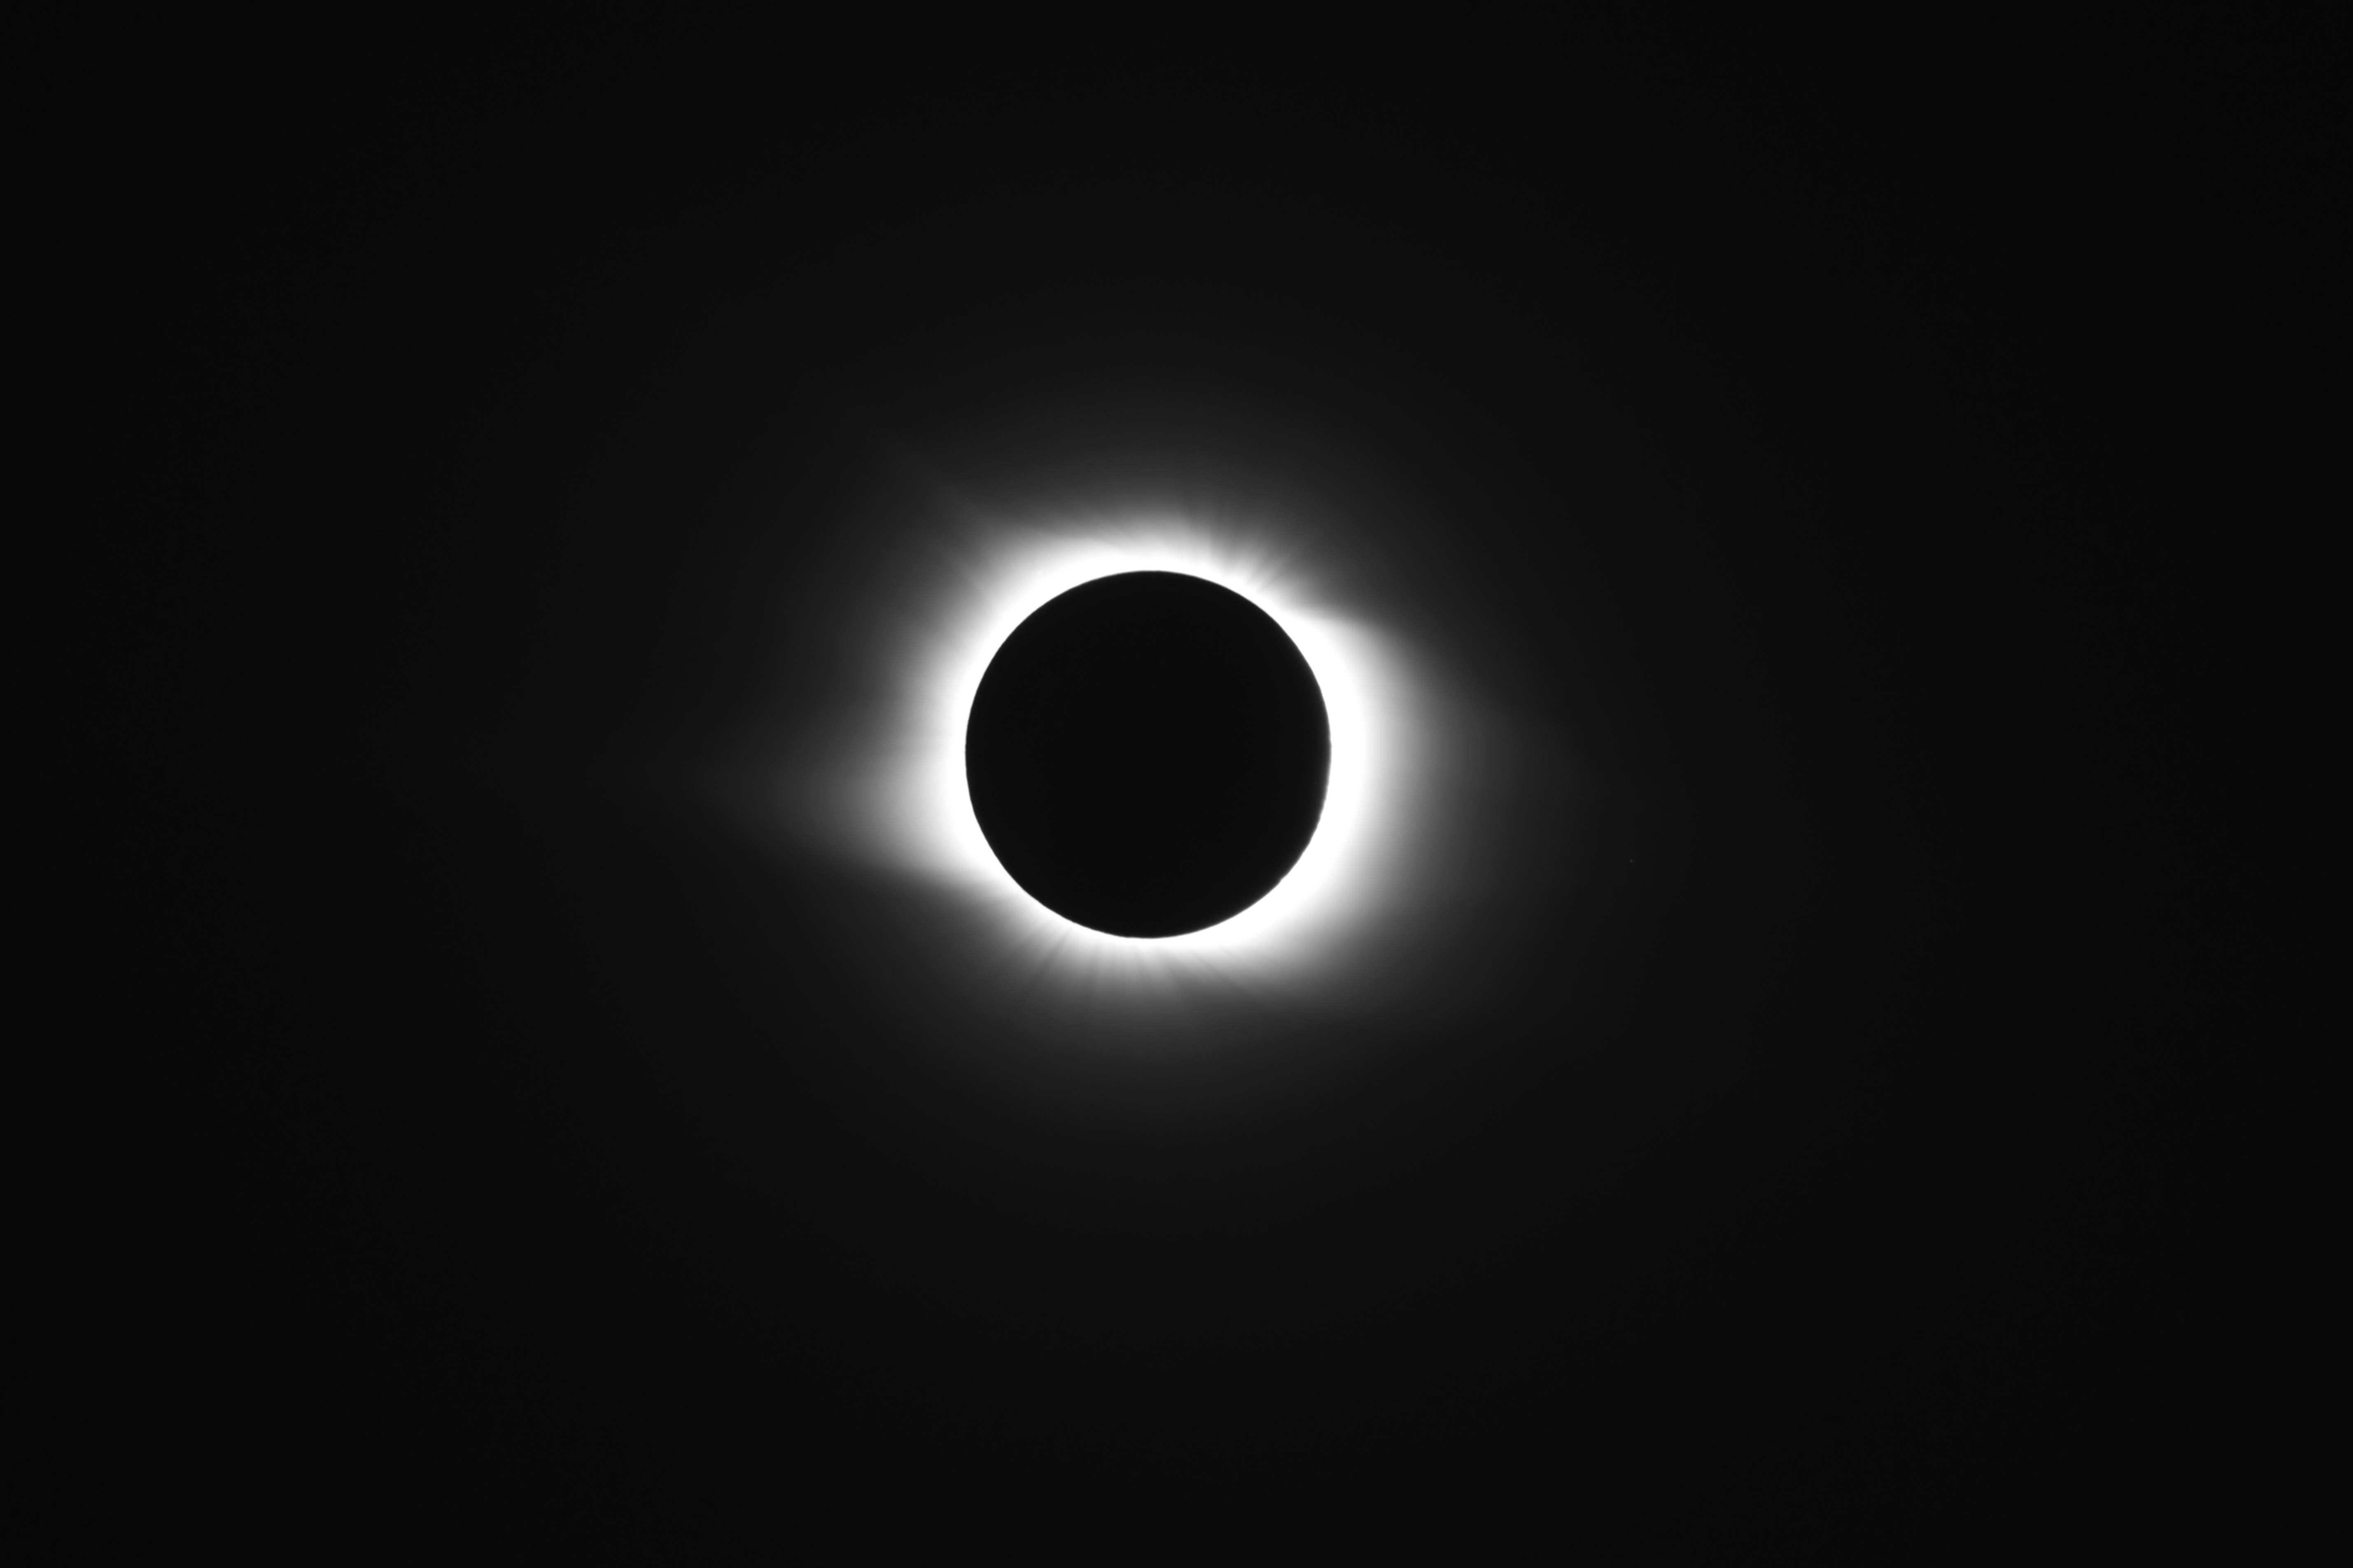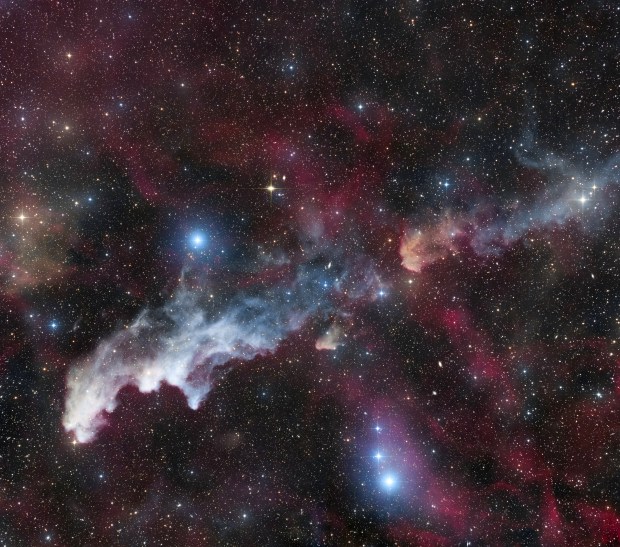
In this column, I want to highlight a few basic ideas concerning image layers and conditional blending modes. Although I’ll use Photoshop as the demonstration software, the ideas are applicable to most software that handles image processing. Once you have a complete understanding of these ideas, it will allow you to appreciate other advanced techniques.
I realize some readers find numbers daunting, but there’s no way around them here, so be fearless! If you are proficient in Photoshop, you can try to do the following example in your head. Otherwise I encourage you to sit at your computer for five minutes and construct the image I describe below.
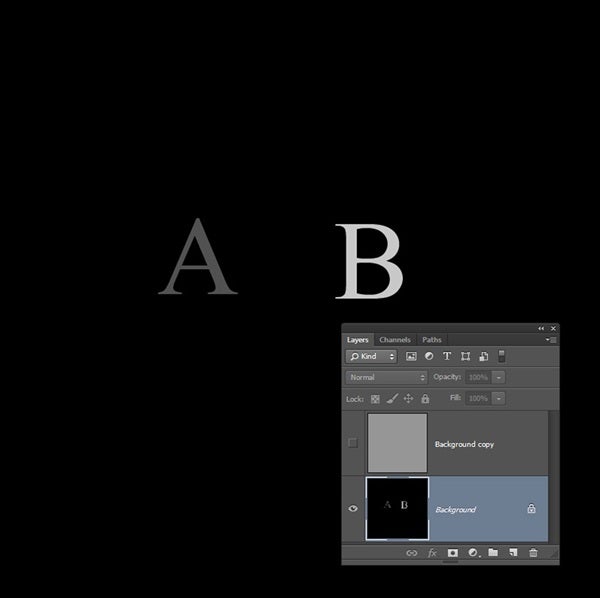
We will be working with four gray colors. Each has a brightness value, like those you would find in an 8-bit image, that ranges from 0 to 255. The bottom layer is black (value = 0) with the gray letters A and B. A has a brightness value of 85, and B has one equal to 200.
The upper layer is gray, which has a value of 150. In Photoshop, you can assign gray colors by specifying equal values in R, G, and B in dialog screens when you either create text or fill with a color. When you display this in the “Normal” blending mode, whatever visible portions of an upper layer there are display over an underlying one. In our case, this will yield a gray screen. Making this layer invisible will show the lower layer with the embedded A and B (see far left image).
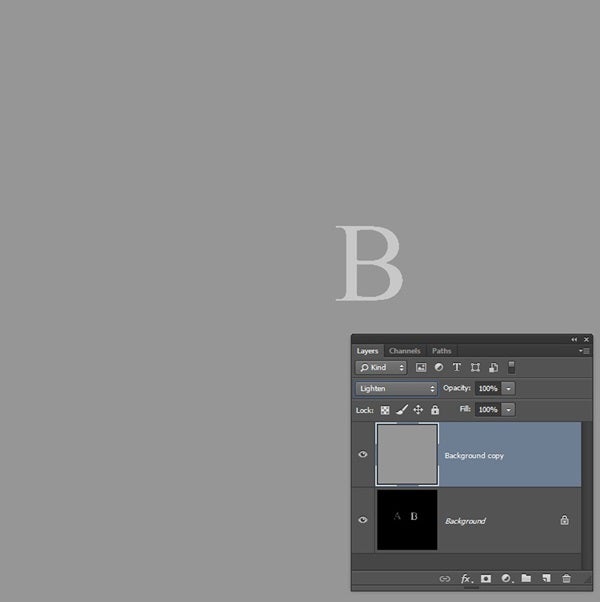
Now with both layers visible, change the blending mode to “Lighten.” The result (see middle image) will show the letter B on a gray background. “Lighten” is a conditional blending mode that picks the brighter pixels from the two layers. Note that for the modes we are using, it does not matter which layer is on top. The gray you see is coming from the upper layer with the value of 150 because it is greater than 0. This gray upper layer is also brighter than the value of A, so that letter doesn’t show. B has the brightest value, so the program displays it, even though it actually resides in the lower layer.
When you fully understand my description, please blend the images using “Darken.” The far right image is the result. It shows the letters A and B as well as the black background. “Darken” is the anti-“Lighten” and chooses the darker pixel values between the two layers. This resulting image looks similar to the lower layer with an invisible upper gray layer.
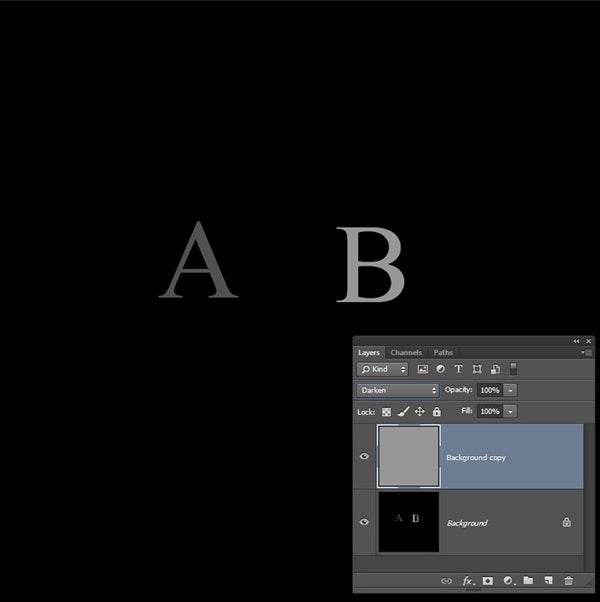
What is going on? You probably expected the black value to show because it is darker than the upper gray layer. This is also true for A. Note, however, that the B is not in its original form. It gets its color from the upper gray layer because 150 is smaller than 200. So, this B is a bit darker than the original B.
These conditional blending modes are powerful global means of blending layers. Instead of selectively adjusting images, we can choose suitable brightness thresholds to blend images in powerful ways. In my next column, I’ll show you how to modify the standard use of the “High Pass Filter” with remarkable results.