how-to-make-a-pinhole-viewer-for-the-2024-eclipsehttps://www.astronomy.com/observing/how-to-make-a-pinhole-viewer-for-the-2024-eclipse/How to make a pinhole camera for the 2024 eclipseA step-by-step guide to show you how to make a pinhole camera to safely see an eclipse or just to observe the Sun anytime.https://www.astronomy.com/wp-content/uploads/sites/2/2024/01/cardboard-box.jpg?fit=792%2C522InStockUSD1.001.002024-solar-eclipseobservingsciencethe-sunarticleASY2024-04-082024-04-08139004
OK, you want to view the Sun or an eclipse, but you don’t have an approved solar filter for your telescope. Maybe you don’t even have a telescope. No problem! I’ll bet you have a cardboard box. That and a few common supplies will let you build a pinhole camera/viewer that you can use to see an eclipse or the Sun.
Just follow the steps in the captions. Feel free to experiment with the size of the box, whether or not you leave the extra cardboard pieces attached, or the pin’s diameter. In fact, if you’re a clever soul, you may want to mount the box on a thin plywood base, which you then can attach to a sturdy camera tripod. That way, you won’t have to hold the box while observing.
This activity is great for school classes. (I suggest the teacher cuts out the hole.)
This story was first published in 2016 and has been updated.
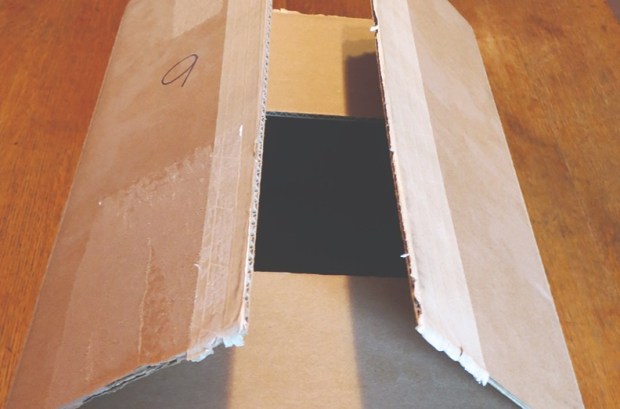
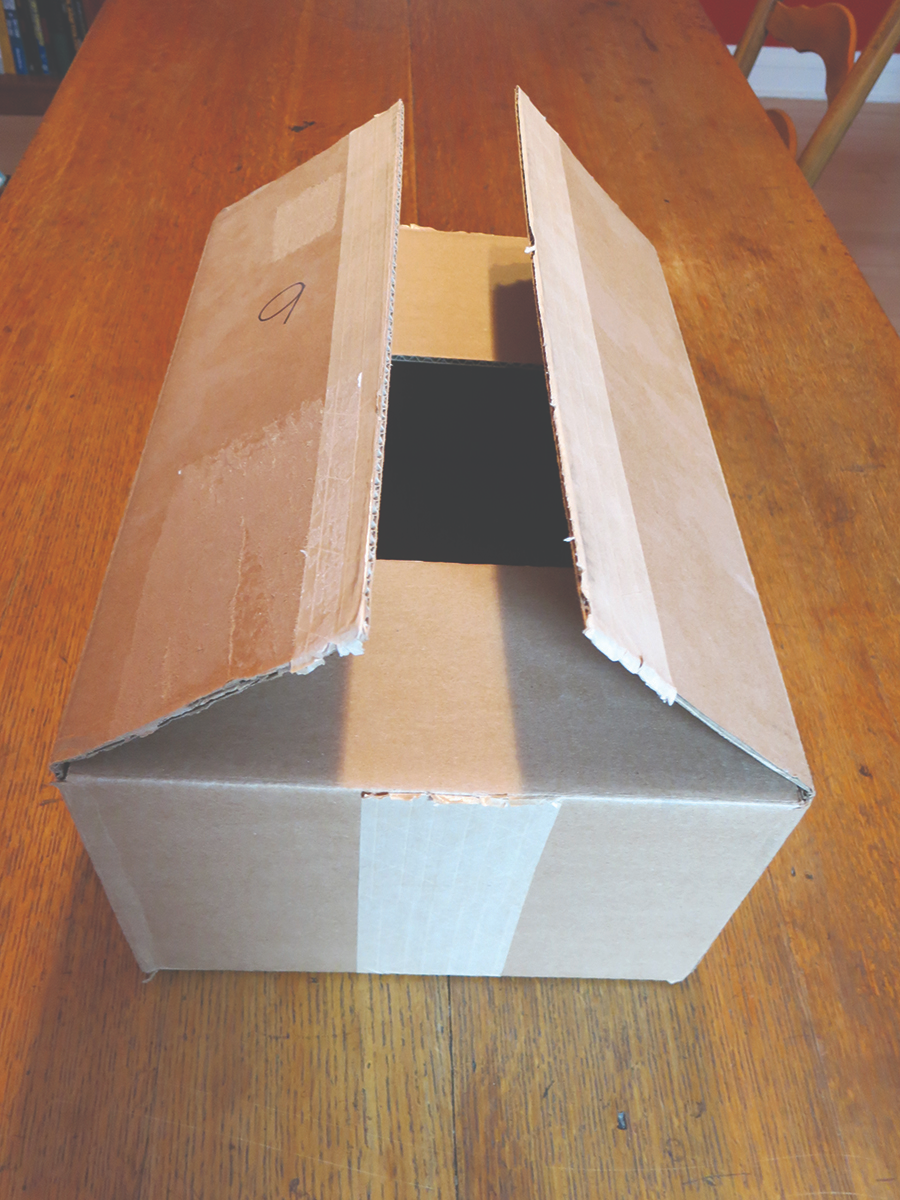
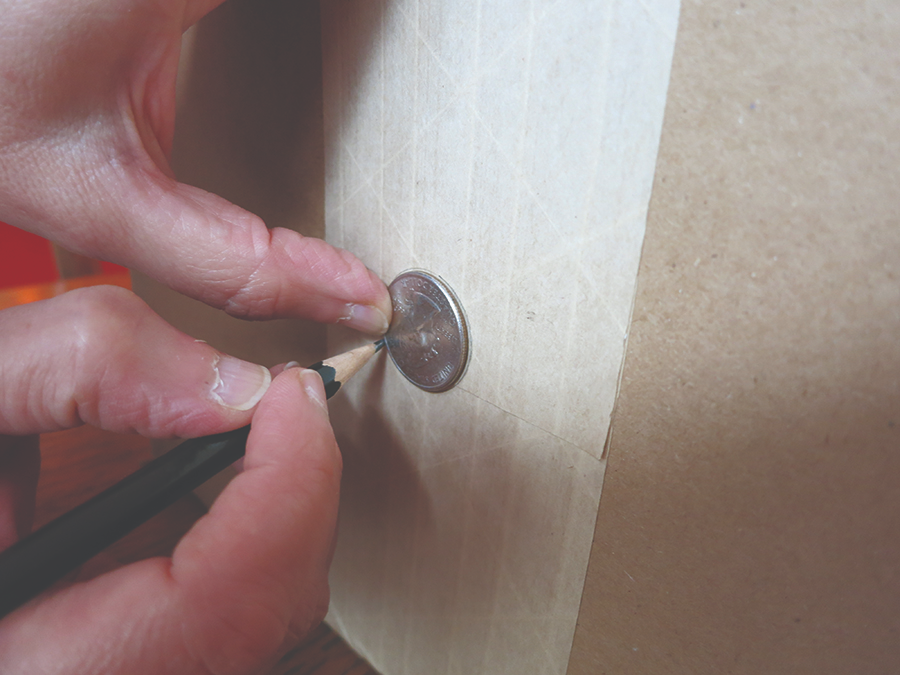
Step 1: Start with a cardboard box at least 18 inches long. If you use a box shorter than this, the projected image of the eclipse or Sun will be unacceptably small. All photos: Michael E. BakichStep 2: On one of the box’s smaller ends, trace a circle by using a quarter.
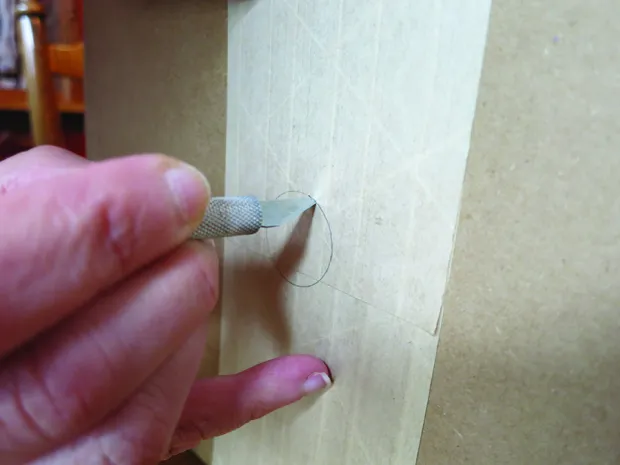
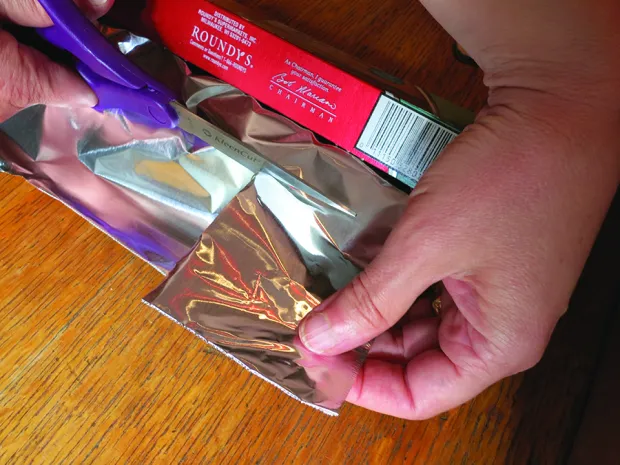
Step 3: Carefully cut out the circle with a sharp knife. Step 4: Note that the hole doesn’t have to be perfect — or even round! Step 5: Cut out a piece of aluminum foil (I used a fairly thick variety) big enough to cover the hole in the box.
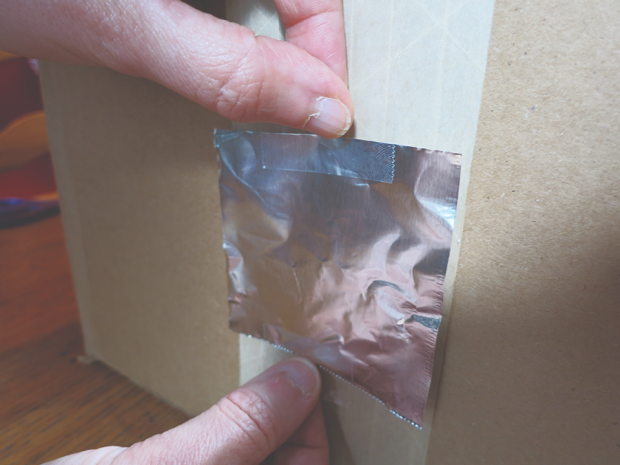
Step 6: Tape the foil over the hole.
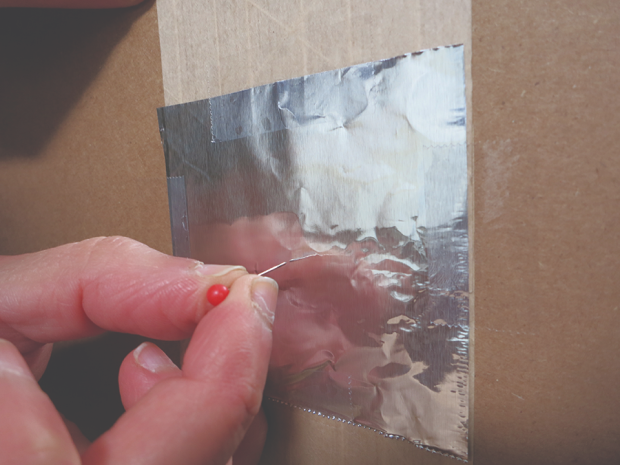
Step 7: Poke a hole in the foil using a pin. A pin is better than most items you could use because you want a hole with clean (non ragged) edges. As a variation, you can try using a sharp pencil. That will produce a larger hole. Careful, though. If your hole is too big, you’ll lose the pinhole camera effect and you’ll just see an out-of-focus blob.
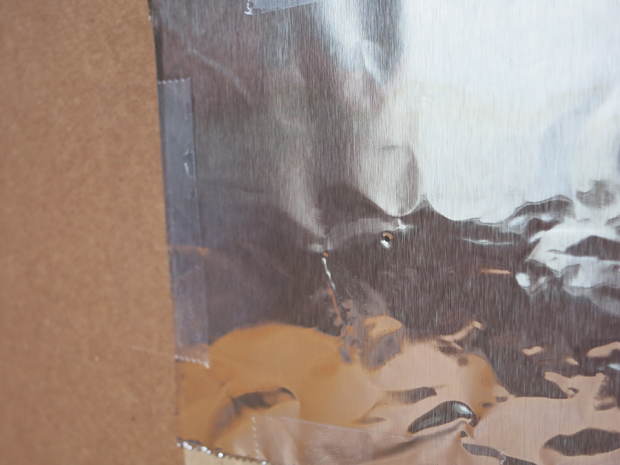
Step 8: Inspect the hole for roundness and make sure nothing is blocking it.
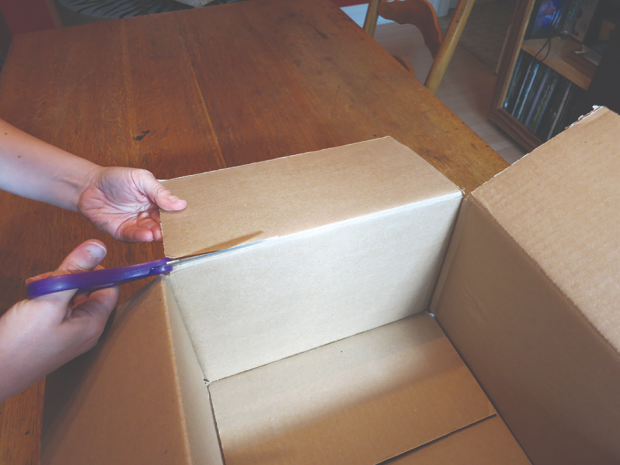
Step 9: Cut away as much of the extra cardboard pieces as you want. Alternatively, you could fold them over and tape them to the box’s sides, making the assembly a bit sturdier.
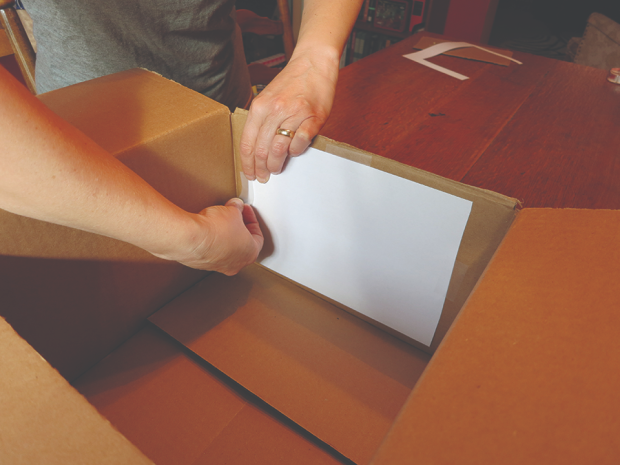
Step 10: Tape a white piece of paper on the inside of the box opposite the hole.
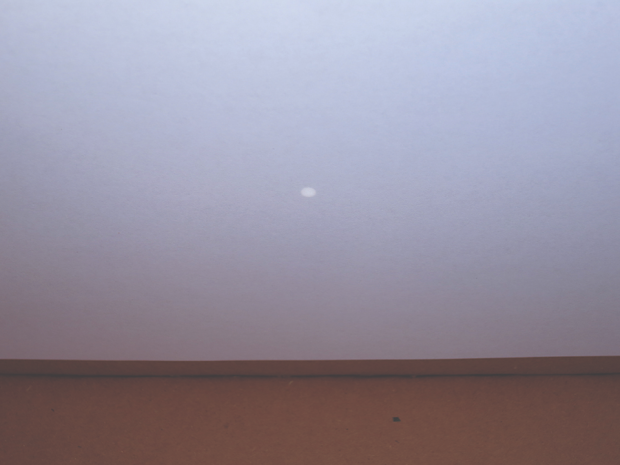
Step 11: Point the hole at the Sun and observe the projection on the paper. Congratulations!